
When homeowners ask how they can insulate the walls of their home from the inside so that there is no condensation on them, experts recall that using such technologies is necessary only in extreme cases. Insulating walls from the inside is only when, for some reason, this cannot be done from the outside.
Content
What you need to know
Before you insulate the walls of the house from the inside so that there is no condensation on their inner surface, you must understand that it is impossible to completely stop the heat loss. When performing work on thermal insulation, the humidity in the house rises from the inside.
On the inner surface, “cold bridges” must remain uncovered with thermal insulation, providing natural air exchange in the room.
Read more: How to insulate the attic for winter living
If natural air exchange is disturbed, mold and fungi can appear in the house, which is very dangerous for the health of residents. To ensure good air exchange, it will be necessary to carry out regular ventilation of the premises, which will negate all the costs of thermal insulation and heat saving.
The installation of thermal insulation materials should be carried out on the crate, which will lead to a decrease in the useful area of residential premises. When using internal thermal insulation, you will have to remove the outer wall cladding and then re-carry out the finishing work, which will require additional costs.
If there is no other choice, and internal thermal insulation is the only way to warm the room, you need to take the following:
- correctly calculate the thickness of the insulating layer;
- select suitable thermal insulation materials;
- carry out installation without violating the technology recommended by the manufacturer.
It should be remembered that internal thermal insulation has more disadvantages than advantages. It is more rational to carry it out during major or cosmetic repairs, when the decorative old layer changes due to its wear. This will reduce the costs associated with the installation of thermal insulation. First, it’s important to understand how to keep your walls dry where there are dew points.
Read more:16 most useful items for storing things from AliExpress up to 300 rubles
What to consider
To reduce the increased humidity in the rooms that occurs after such a warming of the house, you should figure out how to properly insulate the walls of the house from the inside so that there is no condensation. This will require the installation of waterproofing materials.
In residential premises, the source of humidity is the people themselves. During breathing, humans and all living things, along with carbon dioxide, release water in a vaporous state. When calculating, professionals always take into account the number of people living in residential premises.
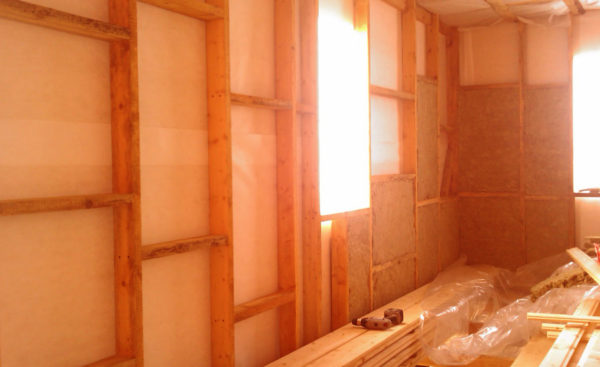
When installing a multilayer waterproofing membrane, it should be properly laid. It is lapped, but not butt to achieve high-quality sealing. Photos show step by step how to do this.
When choosing a heater, you should pay attention to its vapor permeability and its compliance with a similar indicator of the materials of which the house is made. The vapor permeability of the insulation should be lower, this will allow moisture to leave the space between the insulation and the walls outside.
When using a number of heat-insulating materials by technology, glue is required. It must be remembered that glue needs to cover the entire wall, and not its individual sections.
Read more:Luxurious two-story Moscow apartment of Leonid Agutin and Angelika Varum (photo)
In addition, you will need:
- arrange additional forced ventilation;
- put windows with special valves through which moisture will escape;
- to make the optimum thickness of the thermal insulation layer, taking into account the characteristics of the material and the local climate;
- to process the walls from fungus and mold before installing the insulation with special antifungal compounds.
Before starting the installation of internal thermal insulation, it is necessary to remove all possible cold bridges, on which condensate usually settles. It should also be remembered that when laying the insulation of its edge, you need to wind a little on the opposite wall, floor and ceiling. Photos step by step show the technology of such styling.
Materials
For internal thermal insulation, you can use different materials that are sold in hardware stores. When working with each type of insulation, its features should be taken into account.
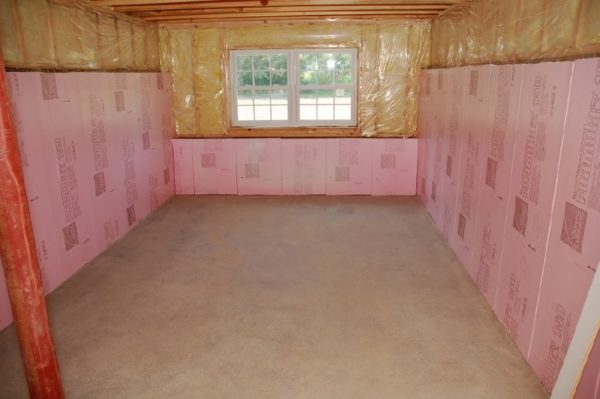
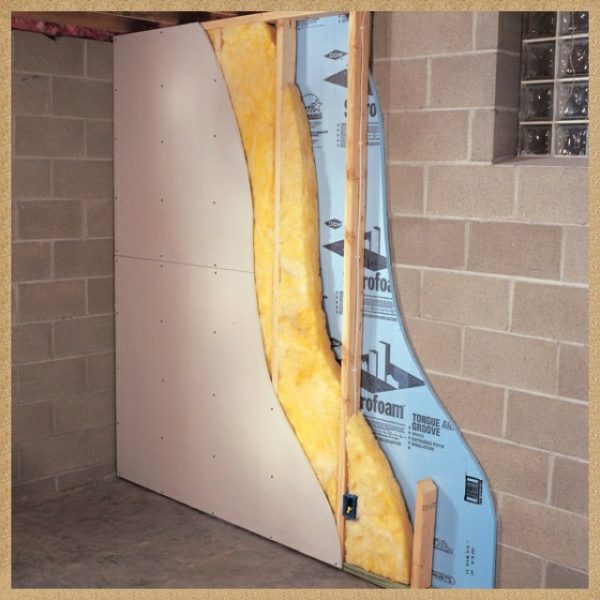
Mineral wool
Professionals do not recommend using it for internal work, although mineral wool is easy to install and inexpensive. If there are no other options, then you need to know how to properly insulate the walls of the house from the inside with mineral wool so that there is no condensation on them.
In this case, basalt slabs should be used, and not mineral wool in rolls. They are denser and better retain heat, do not settle over time. Rolls quickly absorb moisture from the air.
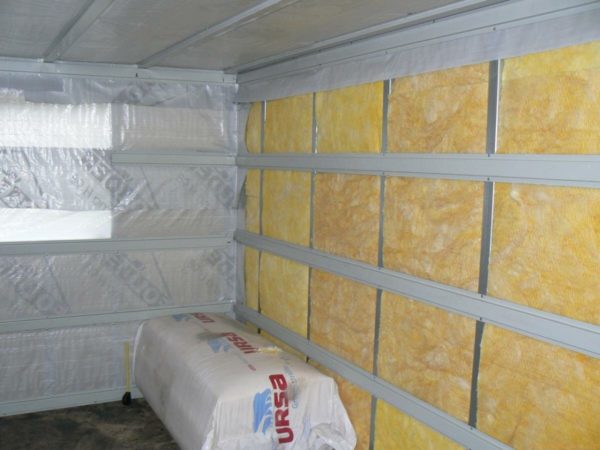
Photos step by step demonstrate the process of installing mineral wool in the plates:
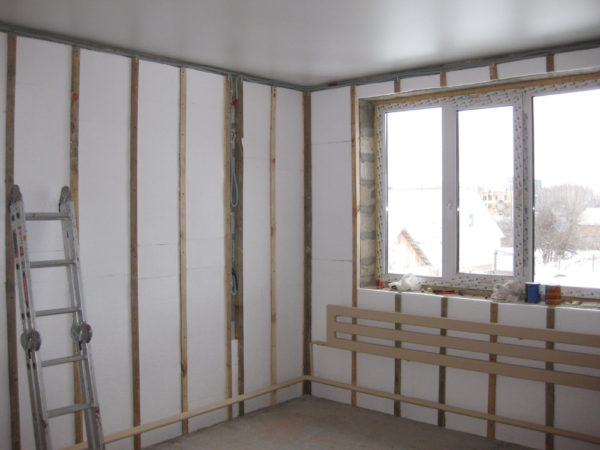
- First, the frame is made of battens or aluminum profiles;
- the first layer of material is laid under the frame;
- the second layer is laid in the frame, displacing the joints so that they do not fall on the joints of the first layer;
- the vapor barrier membrane is being laid;
- installation on drywall frame is carried out.
Read more:Have you seen the foreign house of Oleg Gazmanov?
When working with mineral wool, you should pay attention to the choice and installation of vapor barrier, since basalt plates quickly absorb moisture. If this type of thermal insulation is chosen, one should be prepared for the fact that even installation carried out without violations will not eliminate the appearance of moisture droplets on the walls.
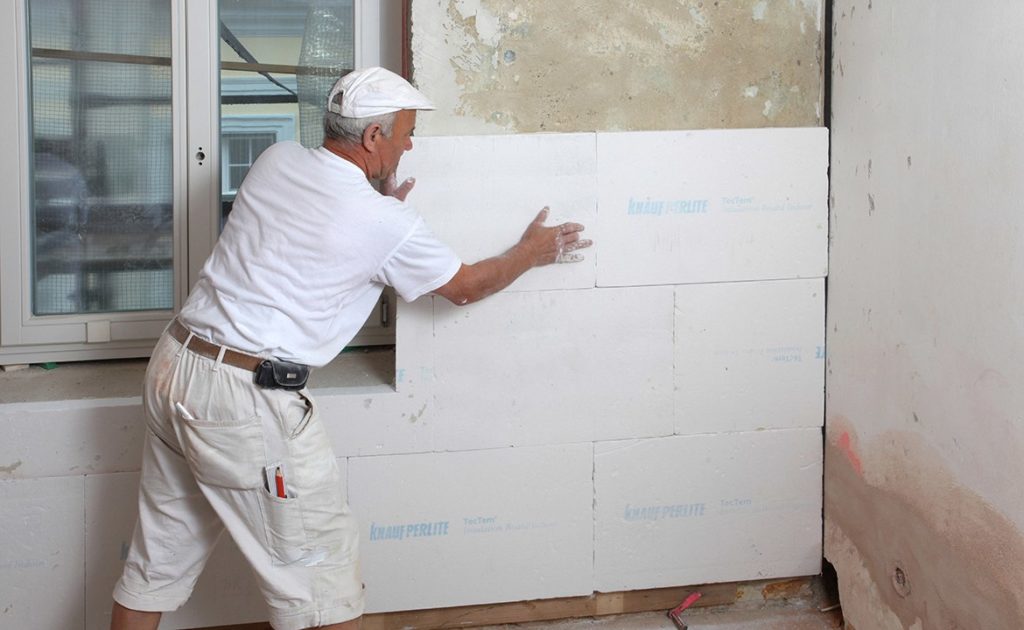
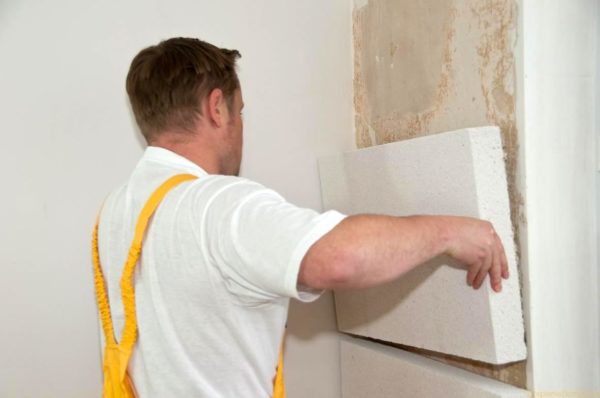
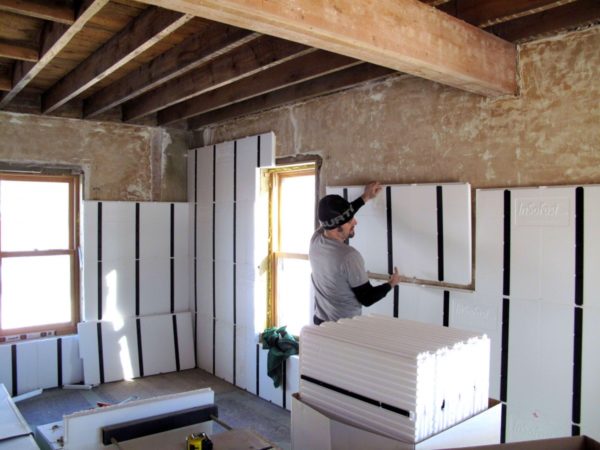
Expanded polystyrene
This is a more suitable material for internal thermal insulation. So called building polystyrene, which distinguishes:
- low thermal conductivity; vapor permeability;
- lack of hygroscopicity;
- high strength;
- a light weight;
- ease of processing.
It is guaranteed that condensation will not appear on it, and the thermal insulation of the room will be more effective. For high-quality insulation, it is necessary to correctly install such a heater.
Such material is not cheap, but during its installation it is not necessary to lay vapor barrier materials, which compensates for the high cost of insulation.
The disadvantage of polystyrene foam is its flammability and the release of a large amount of toxic substances during combustion.
 For internal thermal insulation, foam with high density should be chosen. This value is usually indicated on the label.
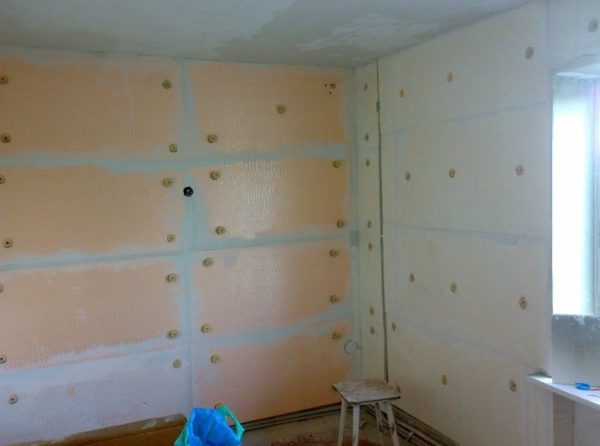
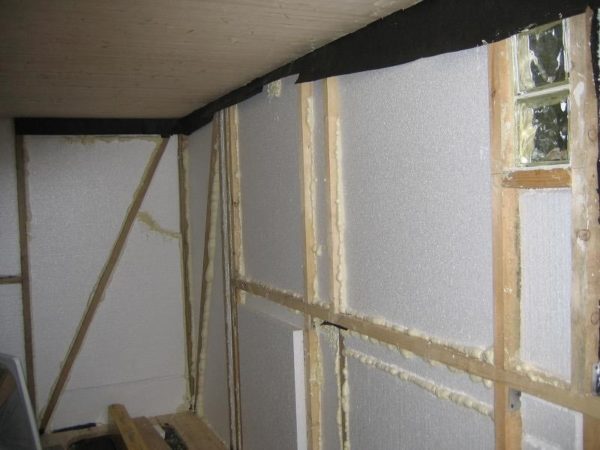
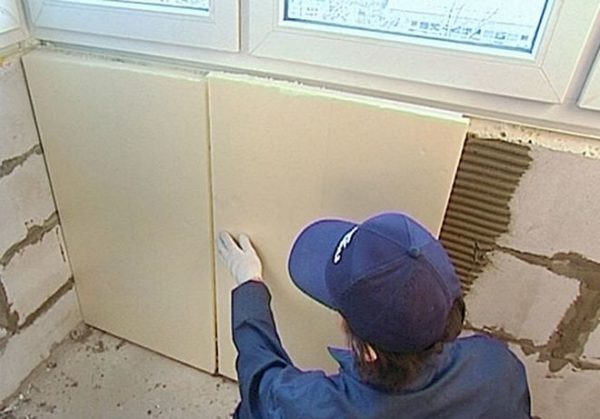
Installation of such a heater is presented in the photo step by step:
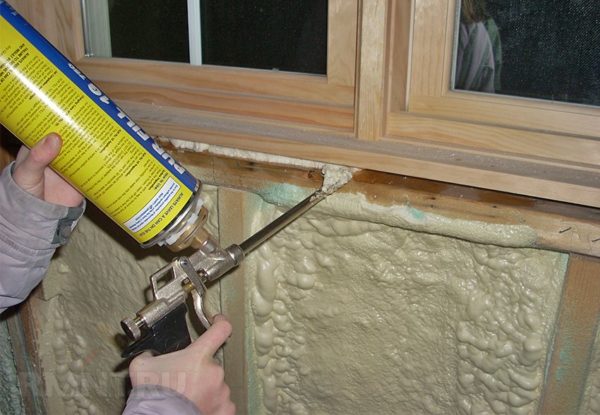
- first the surface of the wall is cleaned, primed and dried;
- foam boards are glued to the wall surface so that the joints of each row are offset to the side;
- joints and cracks are sealed with sealant or foam;
- reinforcing fiberglass is placed on the foam, on top of which plastering can be carried out. It is also possible to stick drywall sheets onto the foam.
You can install using boards. To do this, on the long end faces, make grooves in the form of corners, join the plates and seal the seam. A wooden board is inserted into the created groove. The resulting module is attached to the wall using self-tapping screws. The photo shows step by step how to do it.
The non-adhesive method of installing PPPs is more economical. Drywall is easier to mount on a wooden frame.
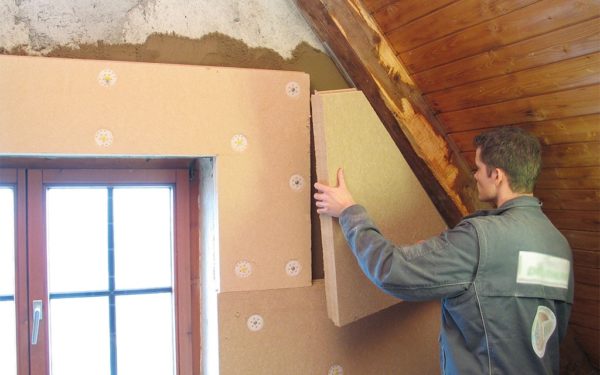
Heaters of a new generation
Today, more modern materials have appeared on sale that allow you to quickly conduct internal thermal insulation:
- polyurethane foam;
- thermal paint;
- special plaster mixes.

Such materials are expensive, but modern technologies can significantly reduce labor costs and avoid loss of usable area. Thermal insulation compounds can simply be applied step by step to the prepared wall. After drying, such thermal insulation perfectly protects the house from the cold. The photo shows how easy it is to use such new types of thermal insulation.
Alas, no comments yet. Be the first!