
Hydroisol is a roll material, the basis for which is fiberglass or fiberglass, coated on both sides with a bitumen-polymer composition. There are also varieties of hydroisol with a cardboard or paper base, but they are less in demand.
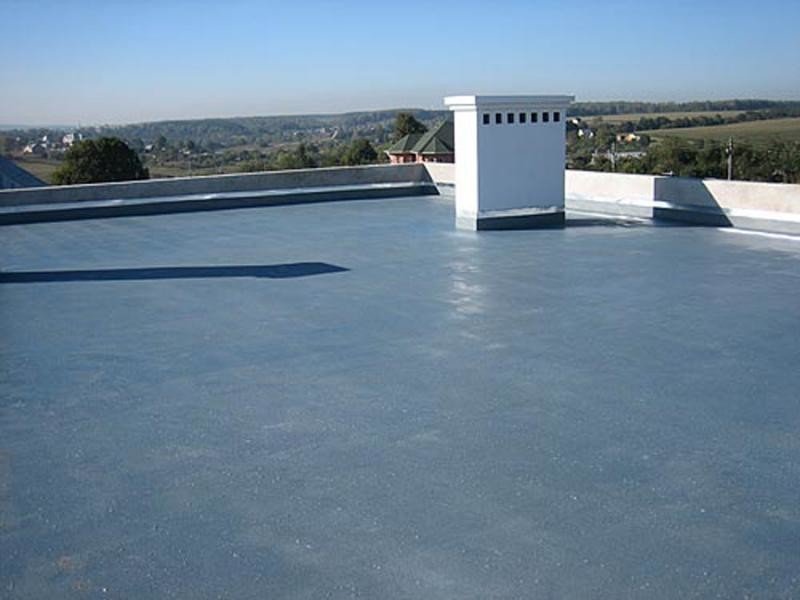
The wrong side of the roll is additionally covered with a specific thin film, which melts and completely burns out during installation, and the front side with granite or mineral coarse crumbs. The material is excellent for flat roofs, as well as roofs with a slight slope slope. In some cases, the material can be used as a waterproofing coating of the foundation.
The main feature of hydroisol can be called the simplicity of its installation. Each master with minimal construction or repair skills can install this roofing material with his own hands.
Content
How to choose hydroisol for roofing?

If you decide to use hydroisol for the roof of the roof, it is best to choose a material based on fiberglass coated with bitumen. Such material is characterized by high strength and ductility, it is durable, resistant to moisture, fire, as well as various kinds of mechanical damage.
If hydroisol will be used as the final roof covering, choose rolled material, the main purpose of which is roofing without further laying other materials on it. This type of hydroisol can be identified by the abbreviation CCI on the package.
Preparation of the roof before laying hydroisol
Preparation of the roof for the installation of hydroisol consists in cleaning the roof of all kinds of debris, elements of the old roofing, dirt and dust. Check for any irregularities on the roof surface. Defects such as chips and cracks can be eliminated with cement mortar. Tightly ramming the mixture in the gap, you need to give it time to completely dry.
The final stage of the preparatory work is the priming of the surface. As a primer, you must use a bitumen primer or bitumen diluted with gasoline. You can start laying hydroisol only after the primer layer has completely dried.
Methods for laying hydroisol
To date, there are three ways to lay hydroisol:
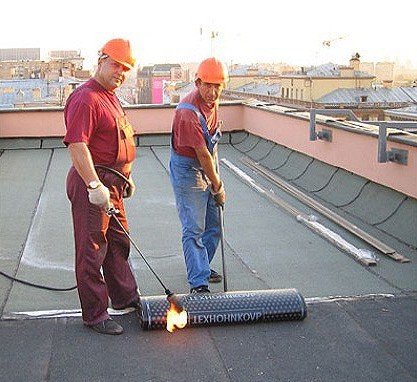
- Hot styling. This technology involves working with an air high-temperature hairdryer or gas burner, which you can do with your own hands. If we are talking about small areas, then a blowtorch is also suitable. The hydroisol twisted into a roll gradually unfolds over the roof, heating up with the help of the selected equipment. The bitumen layer, heated to a certain temperature, is tightly fixed on the underlying surface. Each subsequent piece of hydroisol is overlapped. The overflow should be at least 100 mm. This material belongs to the category of highly flammable, therefore, it should not be allowed for prolonged heating.
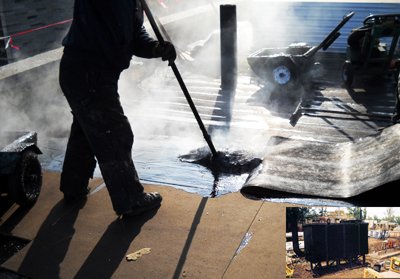
- Using bitumen mastic. The main advantage of this method is the lack of need for additional expensive equipment. Mastic is applied to the base of the roof.A roll of hydroisol is rolled over it and crimped using a heavy roller. Each subsequent strip of roofing material is overlapped.
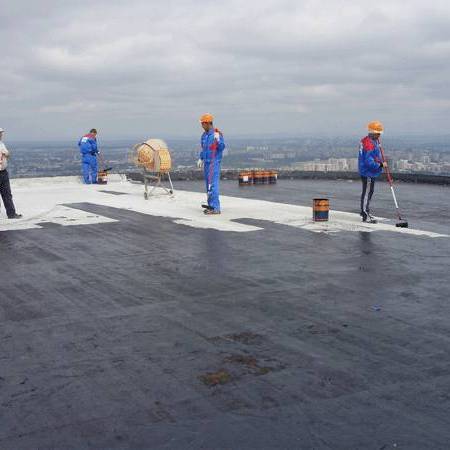
- The technology of mechanical styling. It is considered the easiest way to install a roofing, but not the most reliable. Rolls of material are rolled out over the roof with a 150 mm overlap. Joints can be fastened with a construction stapler, or you can not touch at all. This method is suitable for roofing with a slight slope.
Photo gallery of types of laying hydroisol
-

- Hot styling hydroisol
-

- Laying hydroisol using bitumen mastic
-

- Technology of mechanical laying of hydroisol
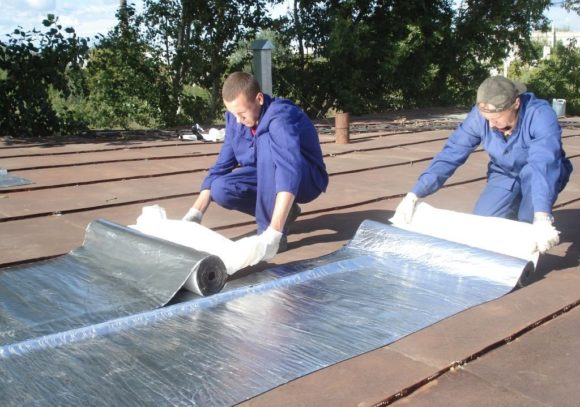
Each of the listed technologies requires the performer to have certain skills and abilities. Less time consuming is the method of mechanical styling. If you decide to lay hydroisol yourself, we recommend that you choose it.
Alas, no comments yet. Be the first!