
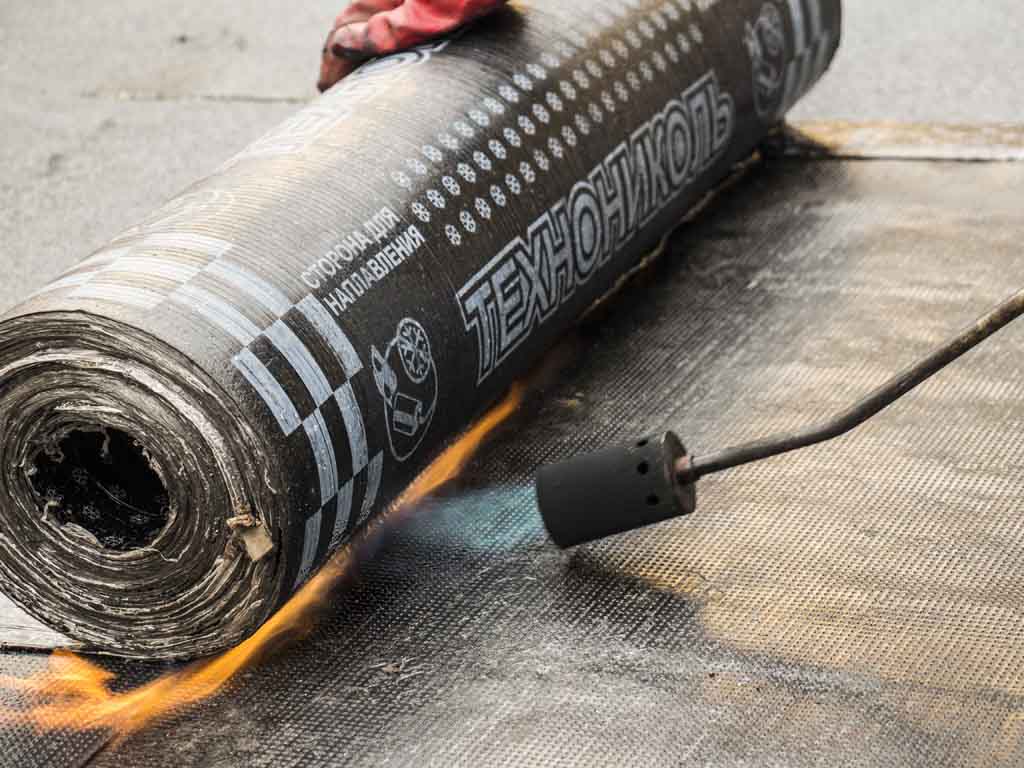
To carry out repair and other roofing works, which involve melting mastics and laying roofing materials, you will need a special gas burner. The device is mainly used for the following tasks:
- heating and drying of roofing materials;
- cutting and soldering of metal;
- firing a layer of old paint.
Content
Gas burner device
The gas burner has a fairly simple design. It is a glass made of metal and equipped with a nozzle and a handle that is mounted on the body. For the manufacture of the handle can be used heat-resistant plastic or wood. Gas enters the casing, passing through the gas channel. In most cases, propane is used under pressure to operate the burner.
The glass of the burner must have a shape that protects the flame from blowing wind.
There is a valve on the body of the burner that allows you to control the length of the flame and the intensity of the gas supplied. It is good if the burner has a reducer that allows you to save gas.
Roof burner components
In the assembly process of the device, mechanical processing is practically not used. The burner is assembled from finished parts. To make it we need:
- Steel valve, which can be taken from a cylinder designed to store liquefied gas.
- A cap that is used to transport gas cylinders.
- A nozzle from a blowtorch with a nozzle diameter of 0.8 mm.
- A piece of pipe one meter long with an inner diameter of 10 mm. and 2 mm thick steel.
- Wooden handle.
As a handle, you can use the handle of a blown soldering iron.
Phased burner manufacturing process
The process of manufacturing a gas burner begins with the fact that the supply pipe, which we will use a steel pipe, we insert into the handle and fasten with glue. The divider and the housing must be machined from a brass bar, the diameter of which should be 20 mm. In the finished case, two radial holes are drilled (each 5 mm in diameter.) And four holes in the divider rod (each 1 mm in diameter).
When assembling, it is necessary to press the divider into the housing with a slight interference. At the same time, the flange is installed inside the case with a clearance, that is, the inner diameter of the manufactured case must be larger by 0.6 mm. diameter machined. The resulting gap is responsible for the inhibition of the gas stream, which is supplied to the drilled holes in the igniter.
Next, grind the nozzle. For this we need a twig of steel.
To make a thin hole in our nozzle, you need to take a drill with a diameter of 2 mm. and with it, make a blind hole, which is 1.5 mm. doesn't reach the exit. Drill with a diameter of 0.4 mm. used for jumper. The resulting hole must be completely minted with gentle hammer blows. Then you need to grind the butt. To do this, take the sanding paper and grind it until the desired section of the outlet is found, that is, until the nozzle can be put on the tip of the threaded burner tube.
An inlet hose made of fabric-rubber material must be put on the end of the gas supply pipe. We fix the hose to the tube with a hose clamp. We set the working pressure, and then we supply gas.Wait until all the air has been displaced from the hose, and only then inject the nozzle into the flame of the gas burner.
Attention! The nozzle is introduced into the flame without a housing and a divider.
Next, you need to polish the end face. As a result, the length of the torch torch should be 5 cm. We put the casing together with the divider on the external thread of the nozzle. Ensure that the burner produces an even flame, without any signs of soot.
To achieve the desired effect, slowly turn the body on the thread of the nozzle.
If you have a loose threaded connection, seal it with the FUM tape.
Leon
The man in the video without overalls and in sandals on his bare foot ....
Would have thought before publishing.
Sergei
This is not a specialist, but people are just kalym, and his bare feet are in vain