
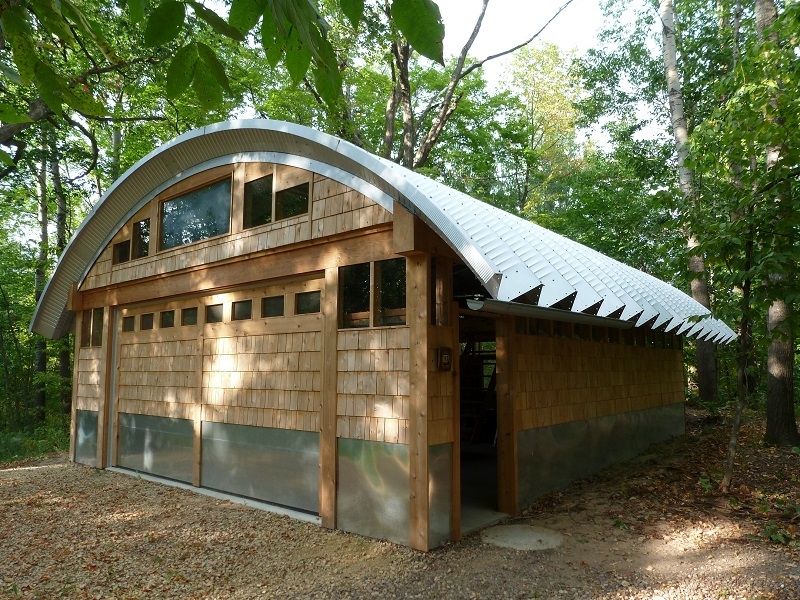
Roofs in the form of domes and arches are most often found in public buildings: such as swimming pools, conservatories, stadiums or exhibition galleries. But now there is a tendency to use such roofs in private construction, because they literally attract attention and create an unusual atmosphere in the premises. In addition, the construction of this design can be done with your own hands.
Content
Arched Roof Benefits

Such roofs differ from pitched roofs not only in appearance, but also in a number of advantages.:
- unique attractive look;
- due to their shape, they have increased resistance to wind loads;
- snow deposits are not formed on them;
- a transparent roof of an arched form will create additional natural lighting, which will save on electricity consumption;
- the arched roof gives the building a look of antiquity both outside the room and inside it;
- Indoors, a large amount of air arises, which, as a rule, has a beneficial effect on the well-being of people.
Design
Supporting structures for such roofs can be made of curved metal, wooden or concrete structures made in the form of arches or trusses. It is possible to use concrete structures as load-bearing structures, but for private houses this is unjustified due to the increased cost of materials, difficulties in transportation and heavy weight. There will also be a need for the construction of a foundation and walls of increased strength so that they withstand the concrete structure. You will need a special lifting equipment to install the farm. All this will lead to increased construction costs.
Among the most suitable roofing options are glass, transparent slate, cell or polycarbonate sheet. If you decide to make the roof opaque, then you can use, for example, galvanized steel or copper.
Polycarbonate allows you to make an unsupported roof over small rooms. It lends itself well to bending and is used to give different shapes to roofs.
If the design is made of metal, then it will also differ in significant weight. This will require strengthening the foundation and walls.
The arched roof is most often made of aluminum profiles. They have several advantages: high corrosion resistance, low weight; neat appearance, ease of installation. When installing an aluminum frame, the step of the crate will depend on a number of factors: the thickness of the polycarbonate sheet, the bending radius, the method of fastening the sheets, and others. In most cases, the step of the crate is made in a ratio of 1: 2 to the width of the sheet. In this case, the type of frame does not matter. Aluminum is moisture resistant. For him, constant coloring is not necessary.
Important: When designing, it is necessary to consider the gaps for thermal expansion equal to 5 mm. per linear meter.
The calculation of the step of the crate depends on the parameters of the polycarbonate sheet. Standard sizes: width - 2-10 meters, length - 6-12 meters. The parameters of sheet polycarbonate are 2.05 x 3.05. In this case, the thickness parameters vary from 10 to 32 mm. Production by individual orders from individual manufacturers is possible.
Construction of an arched polycarbonate roof

The most widely used for the device of arched roofs received cellular polycarbonate. Such material has a number of advantages:
- light weight;
- the possibility of bending;
- mechanical strength;
- thermal insulation;
- soundproofing;
- good light transmission;
- erection of unsupported roofs;
- UV penetration resistance;
- the ability to hold wind and snow loads.
Due to the light weight of the material, it can be used in frameless structures. To improve the fire safety properties, modified polycarbonate is used. It differs from the usual presence in its composition of special additives, thanks to which it can be used in all sectors of construction. True, the cost of modified polycarbonate is 40-50% higher than usual.
When installing such a roof, you need to remember that one of its properties is the creation of a greenhouse effect in the room under sunny weather. Therefore, it is important to organize a competent ventilation or air conditioning system in a living room.
Polycarbonate Installation
When installing sheets, take into account in which direction the internal hollow channels are located. It is best to place them along the roof slope. For structures with a vertical direction, the channels are positioned accordingly.
Polycarbonate mounting rules:
- For mounting, use point mounting with sheet parameters not more than 3 meters.
- The use of thermowells is recommended for installing polycarbonate. Use for fastening screws, nails or bolts can lead to destruction of the sheets of material, because the sheets can change in size under the influence of weather conditions.
- With sheet parameters from 6 to 12 m, they use special polycarbonate, because thermowells do not fully fulfill their function. Such material is obtained by hot molding. In addition, they have stiffening ribs inside. Suitable for frameless roofing.
- Fastenings are made using clamping elements, which are installed on the supporting structure from the outside. They can be made of various materials. For example, steel and wood elements can deteriorate under the influence of atmospheric factors, which can lead to spoilage and subsequent destruction of polycarbonate.
- An aluminum profile with silicone or rubber seals will be the best choice for this design.
- The plasticity of polycarbonate allows the formation of deflection when snow accumulates.
Profile Types:
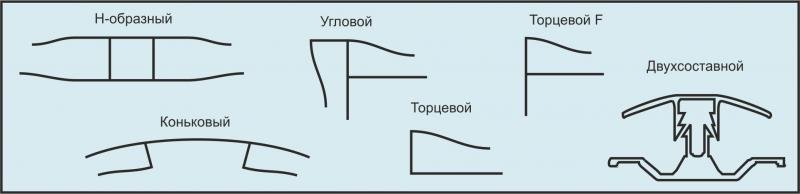
- The most popular profile is in the form of a rotated letter “H”. The edges are placed in profile, securing the panels with bolts. For sealing use silicone sealant, but it can contaminate the surface.
- The second type of profile is the end U-shaped profile. It is installed to protect the end of the panel. The installation of profiles that will connect the panels is not done on the crate.
- The next type of profile is a detachable connector. It consists of two parts:
- The base is a flat and rigid lower part. The ends of those surfaces that need to be connected are placed on it. The base itself is attached to the crate, placing the screws in the center and leaving the ends of the panel free. This allows unobstructed sliding under the condition of thermal expansion or contraction.
- The cover is the upper movable part. To the lower part, its fastening is carried out using mechanical pressure or when pressed by hand.
- Corner profile. It is used when connecting at right angles.
- The ridge profile is used when connecting ridge-type structures.
- The end F-shaped profile is used to close the ends of the panel. With it, the edges of the panel are attached to the base.
When installing profiles distinguish the front side. A special layer is applied to it, capable of protecting it from ultraviolet radiation.
Features of panel mounting
With a width of more than 1 meter, an additional mount is used when installing the panel. This is necessary in order to avoid bias.For fasteners, 5-centimeter self-tapping screws are used, screwing them into supports in increments of 50-60 centimeters, but not more than 20 centimeters from the joint. The distance of the screws from the edge is at least 3 centimeters. It is important to pre-prepare holes for screws with a diameter exceeding the size of the screws by 3-4 mm. - this will avoid deformation during expansion. It is possible to deform or damage the surface with excessive twisting of screws. Mounting should be perpendicular to the plane of the panel. It is best to choose self-tapping screws made of stainless materials: for example, steel or with galvanized tips, to ensure corrosion resistance. The length parameters should correspond to the thickness of the sheet, the type of gasket and the supporting structures. But the diameter is better to take 4 mm.
For self-tapping screws, conical steel gaskets are also used. They help prevent corrosion. Their characteristics must correspond to self-tapping screws or be made of aluminum at least 1 mm. (thickness) and with a diameter of 25 mm., with a rubber gasket. Instead, you can use thermal washers. This will improve the look. A heat insulating tape is used between the metal and the panel at their junction. This is done in order to avoid swelling when heated.
Panel Preparation
When examining the panels packed in a protective film, you can see the side with the printed inscriptions. It is facial and has protection against ultraviolet rays. On the other hand, the film is transparent. The panel must not be stored upside down. This will shorten its service life.
Before proceeding with the installation, the channels are sealed with a perforated tape. It is glued on both sides of the panel ends. The protective film is removed in stages, starting from the inside. The top film is removed after installation. This helps to avoid damage during installation.
DIY arch construction of the roof is a rather complicated process, requiring certain skills, the ability to accurately calculate, and attention in the manufacture of the structure. That is why it is not so often possible to meet this type of roof.
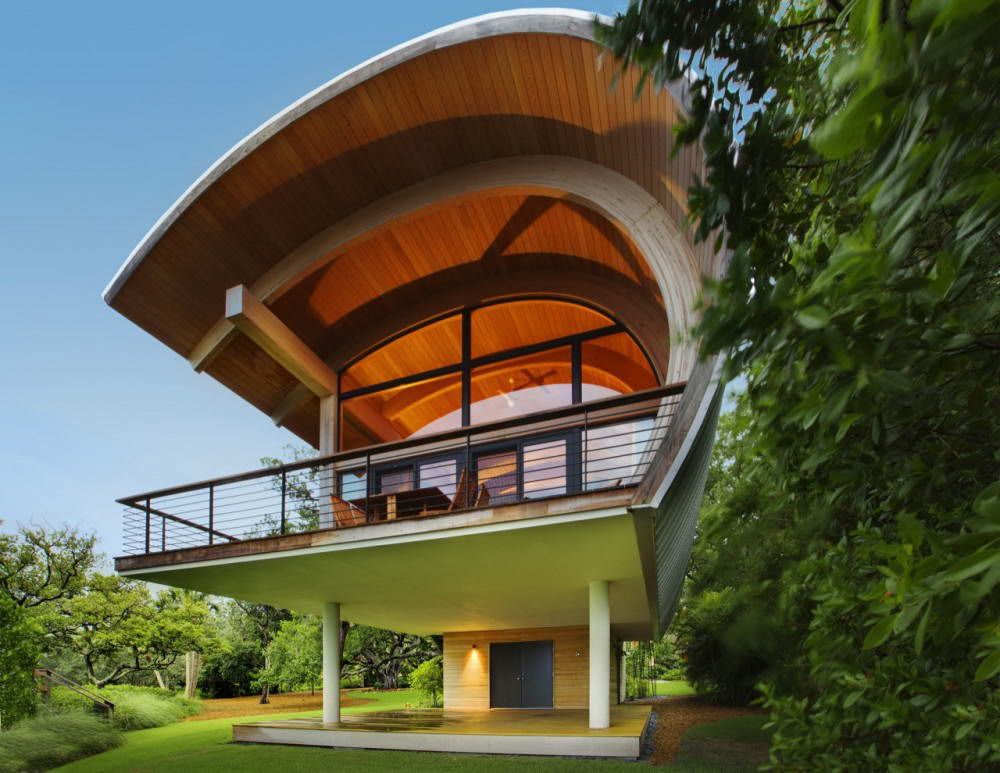
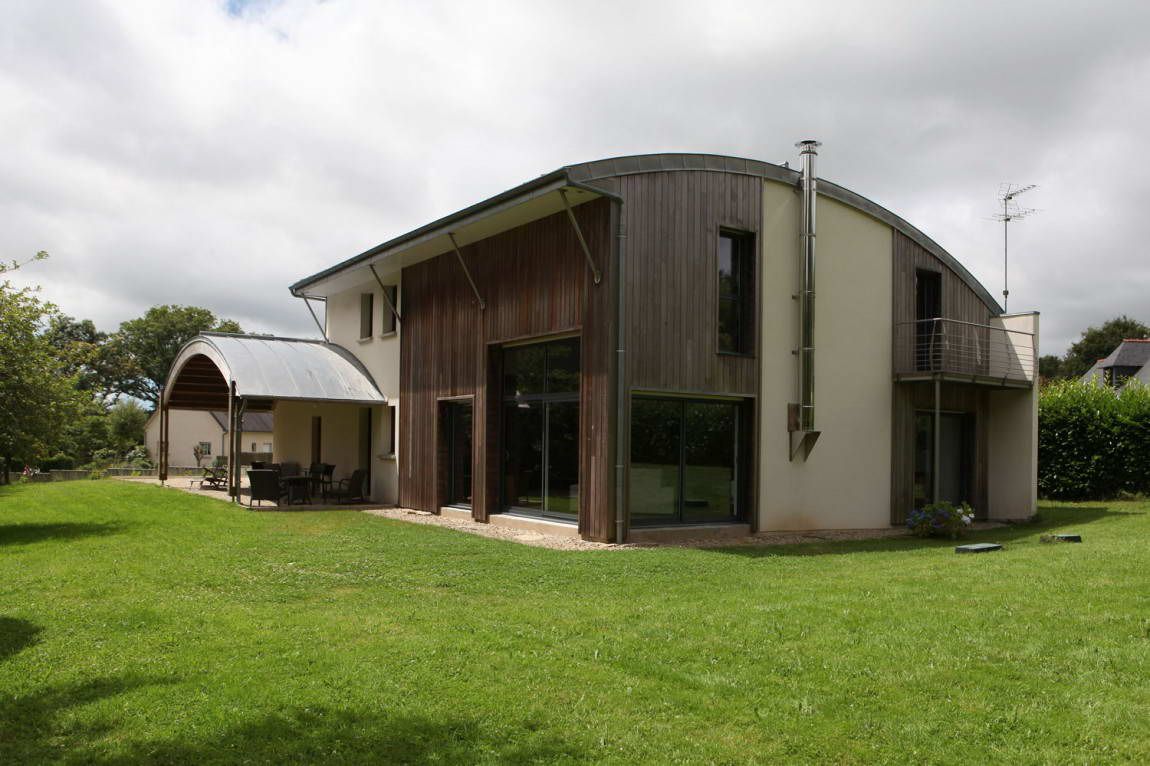
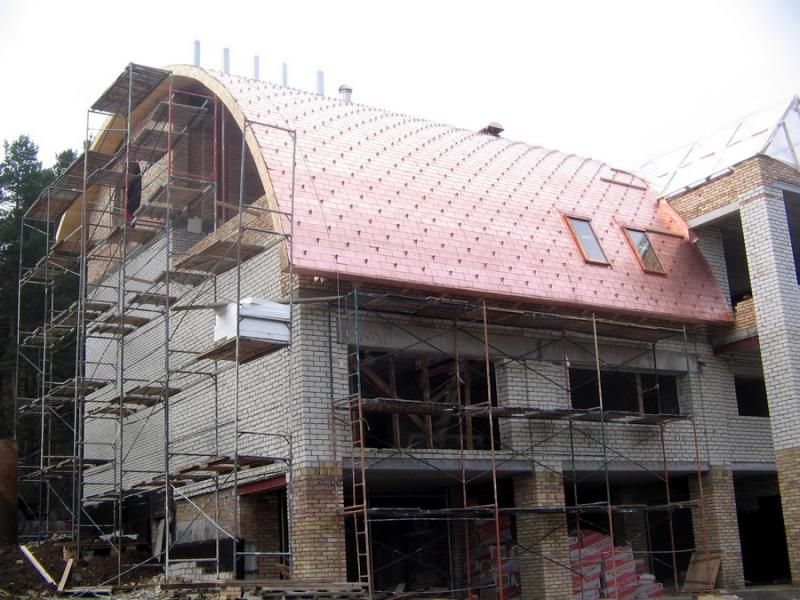
Gallery of houses with arched roof
Video. Design Stories: Green Arched House
//www.youtube.com/watch?v=6Na7pqDHCPE
Alas, no comments yet. Be the first!