
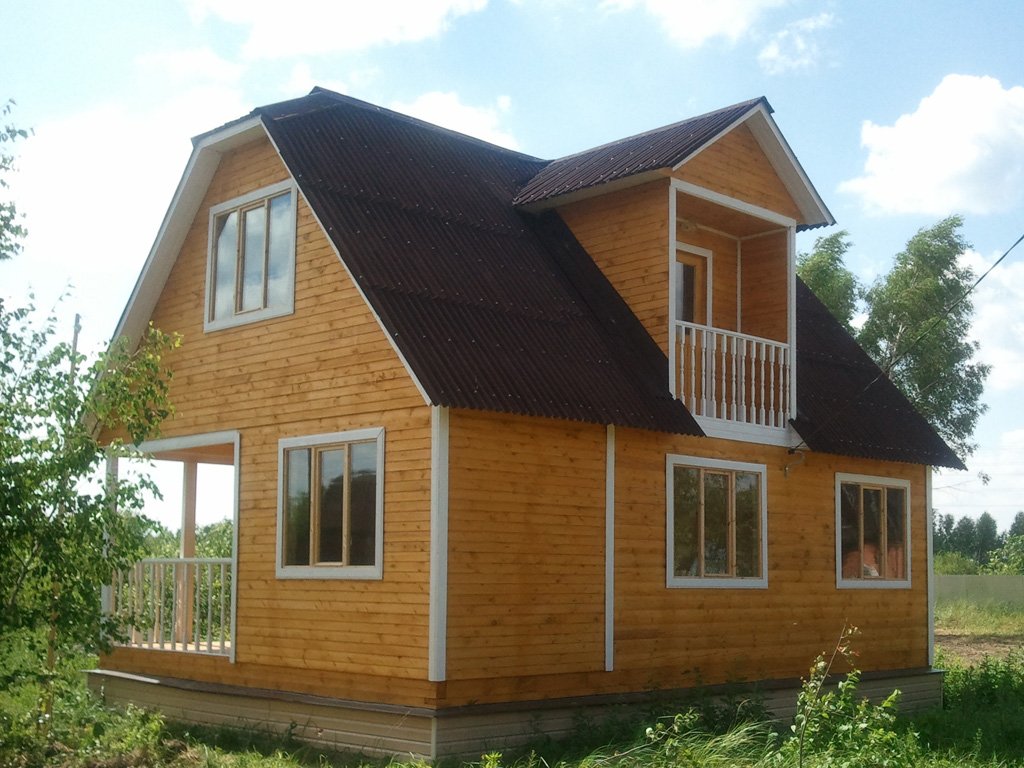
To distinguish your house from other buildings, you can resort to a variety of methods: from the exterior style to the use of rare and expensive materials, but perhaps the most practical of them is the construction of a roof with a cuckoo. This element will not only give an original look to the house, but also provide the building with additional space on the attic floor, as well as add natural light. In order to mount such a structure, it is necessary to follow our instructions.
Device principle
The roof, on which the cuckoo is placed, has in its design a small ledge located in the attic. As a rule, a window is placed in such an addition to increase the amount of natural light in the rooms. She got this name, because in appearance this element resembles a cuckoo clock.
The installation principle includes several stages, but before starting work it is necessary to take measurements. Work on the device of such a "cuckoo" should be carried out carefully, control the design parameters - the angle of inclination, depth of cut, etc.
Stages of work:
- Start work by installing Mauerlat. It is a bar with a section of 10x10 centimeters, designed to support the rafter system.
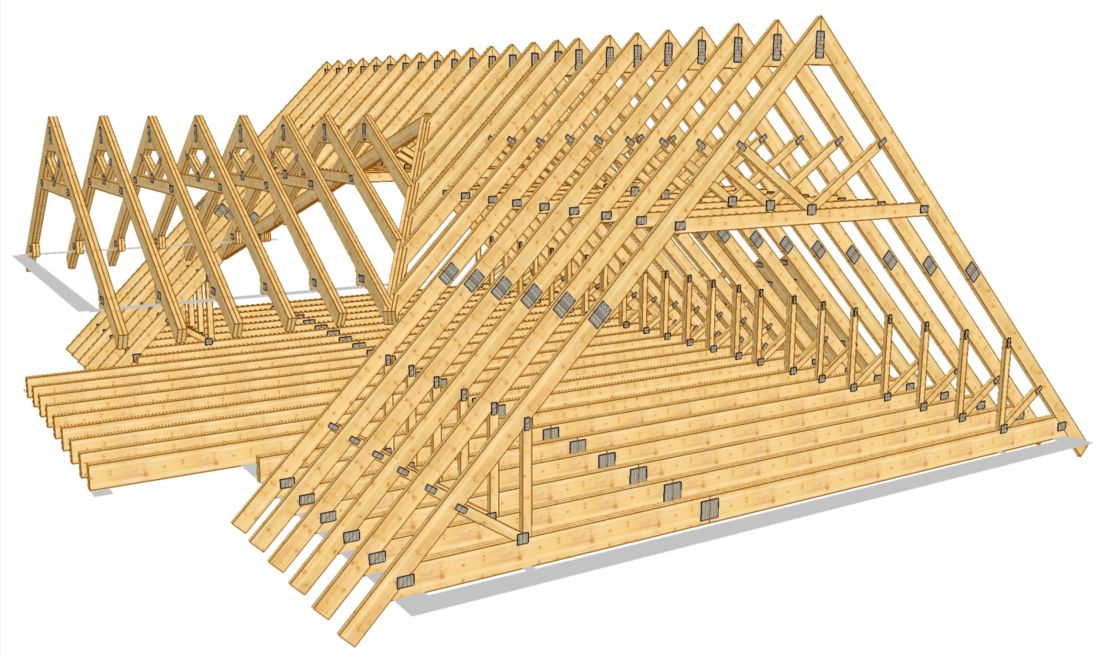
- Assembly and installation of the rafter system. It acts as a "skeleton" for roofing. It is calculated taking into account the snow and wind loads falling on the roof, as well as its own roof weight and temporary loads.
- In order to give the structure the necessary rigidity, additional fasteners are used in the form of struts installed between two connected rafter legs.
- After the installation of the rafters is completed, they proceed to laying the crates. Its type is determined in accordance with the selected roofing. The lathing can be installed with a certain step or continuous. As a material for it, edged and unedged boards are used, as well as sheets of plywood and OSB boards.
- Installation of hydro and vapor barrier must not be ignored. These measures will increase the life of the roof.
- Laying thermal insulation materials for attic floor It will allow you to keep warm in winter and not to overheat indoor air in summer.
- Laying roofing material. It should be the same for the entire roof, this will provide a general aesthetic appeal.
The difficulty in mounting such a roofing system is the presence of internal corners. Snow accumulation can occur in these places and, accordingly, an increase in load - therefore, it is recommended to make a continuous crate.
Advantages and disadvantages of having a cuckoo in the roof
| Benefits | disadvantages |
|---|---|
| The increase in the useful volume of the attic floor. Due to the fact that the roof slopes form the floor, the space inside can be used to arrange the premises only provided that the height from floor to ceiling is at least 1.6 meters. And the presence of such a "cuckoo" allows you to "raise" the ceiling in these places. | An increase in the complexity of roofing. |
| Subject to the presence of windows in the structure, "cuckoos" can become an additional source of lighting, which is usually not enough in the attic floors. In addition, their device may be useful for receiving sunlight from a more favorable side. | Increasing requirements for the level of professionalism of workers. |
| The appearance of a house with a cuckoo is pleasantly different from the rest. In addition, the internal space is becoming more original and interesting. | Increased construction costs. |
| Additional material consumption. |
In the case of illiterate installation of the "cuckoo" in the roof structure, it can cause leakage.
Alas, no comments yet. Be the first!