
The service life of any roof depends on how well it is arranged, and the installation of a soft roof is no exception to this rule. There are many types of such coatings, but all of them need a solid base. Before starting work, you need to analyze the conditions in which the installation of roofing from soft tiles will take place. The lower limit of the temperature range is + 5C, since lower temperatures are no longer suitable for work. The fact is that the fastening of the coating sheet (shingle) occurs with the help of nails and a self-adhesive layer deposited on the back of the shingle.
This installation method is the simplest and most reliable solution, however, its drawback is that one of the elements of the technology is the sun's rays, gluing individual sheets into a monolithic carpet, which makes the roof airtight.
It is worth saying that in cold weather, you can install a soft roof with your own hands. For example, through the use of a kind of greenhouse mounted above the target area of the roof. The technology in this case is the same as in the usual case, since the temperature inside the volume limited by the film is supported by the use of heat guns.
Content
Foundation preparation

In the general case, speaking of the foundation, they mean the rafter system. After its installation, the vapor barrier is installed. As a rule, this is a special film, with which the roof structure is tightened from the inside. It is fixed with wooden planks, which can be used to fasten the inner lining of the attic.
Before covering the roof with soft tiles, a thermal insulation material is also laid, it must be between the vapor barrier and the base of the tile.
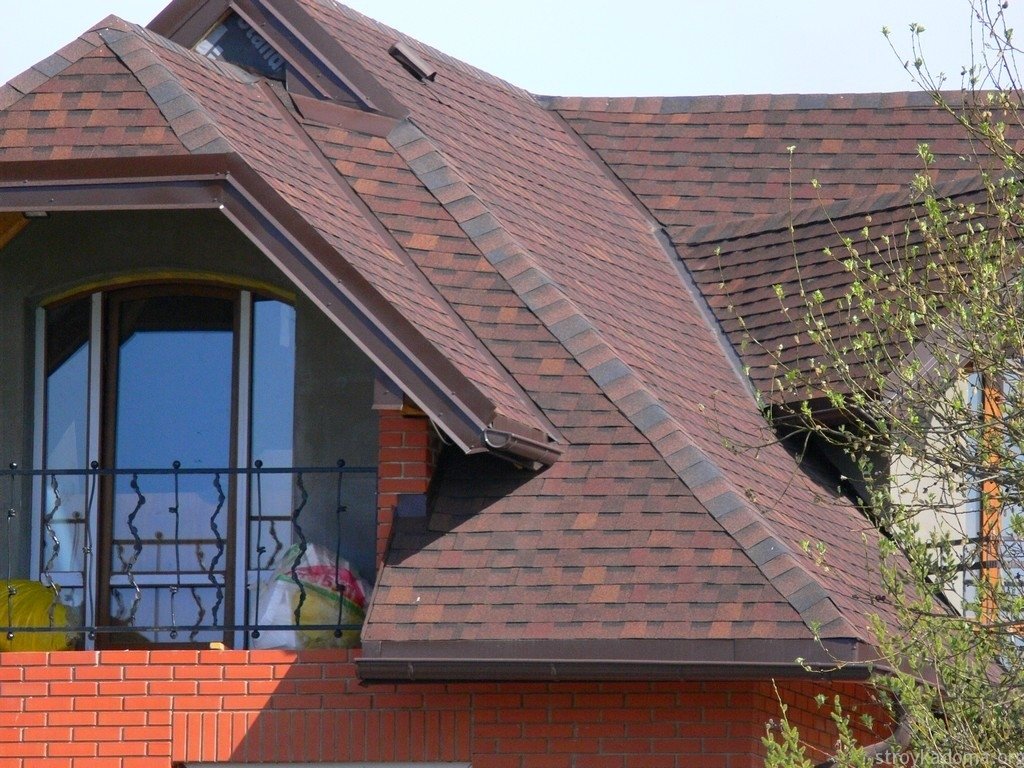
For installation of a soft roof any material can be used that “makes friends” with nails and also has a flat and smooth surface. Another requirement is the ability of the material to withstand the considerable weight of such a roof. OSB board, as well as sheet pile or edged board or moisture-proof plywood, are suitable for the role of the base.

The cost of installing a soft roof also depends on what plays the role of the foundation. However, regardless of the type of material used, the possibility of thermal expansion should be taken into account, therefore, in any case, you must leave the appropriate gaps.
Creating a ventilation gap

The presence of an air gap allows you to solve problems such as adjusting the humidity of the insulation and the material of the crate, and also reduces the amount of ice formed in the winter on the roof. The attractiveness of this element is also that in the summer it provides a decrease in temperature inside the roofing cake.
When performed do-it-yourself soft roof, then you need to ensure that the width of the air gap is at least 5 cm. The openings for the influx of fresh air are best placed at the bottom of the roof, and the hood at the top.
Create a backing layer

Lining is a special material that is laid over the entire roof area. Its installation begins from bottom to top from the edge of the eaves overhang. Rolls are deployed with an overlap of more than 10 cm, and for fastening every 20 cm they are fixed with nails.

In the case when the slope of the roof is large (at least 18 degrees), it is allowed to lay the insulation only along the ridge and along the eaves overhangs, as well as where the chimneys are located or adjacent to the vertical wall.
Setting strips
The technology for installing a soft roof involves the use of curtain rods and pediment strips, which are designed to protect the crate from rain moisture. The first ones are mounted on eaves overhangs directly on top of the lining. Such elements are also called droppers. Laying of strips of this type is carried out with an overlap of more than 2 cm, and fastening is carried out using roofing nails located in a zigzag along the installation line.
Fronton strips are mounted on the end parts of the roof, with an overlap of at least two centimeters. Both types of products are fixed with nails located at a distance of 10 cm along the laying line.
After mounting the planks, the valley carpet is laid, which allows to increase the waterproofness. Its color is chosen to match the color of the tiles, and the edges are fixed with nails located at a distance of 100 mm. After this stage is completed, the soft roof of the cathepal can be laid - its installation begins with the eaves tile.
Eaves tile

It is laid on top of the fixed slats on the eaves overhang. For its fastening, galvanized nails are used, driven into the base material at a distance of 25 mm from the edge of the material. Another option is also possible, which will be suitable if you make a soft roof with your own hands. We are talking about a pattern of ordinary tiles. Make it very simple: you need to take the shingles and cut off the petals from it. Installation of tiles in this case goes “in joint”, and the distance from the eaves overhang should be more than 2 cm.
Laying ordinary tiles
The first thing to note is the possibility of the appearance of various color deviations, since the tone may vary slightly in different packages. To avoid this, mix 5-6 packs.
Installation of a soft roof with your own hands starts from the middle of the eaves overhang and is performed in both directions.
The protective film from the shingles must be peeled off right before installation, since sheets without it are no longer recommended to be stacked.
The shingles are fastened with nails. As a rule, only 4 nails driven in above the groove of the tile are sufficient, but for a slope of 45 degrees (and above) it is better to use 6 nails.

The very first row of tiles is positioned so that the lower edge of the material is only 10-15 mm from the lower edge of the tile located along the eaves overhang.
The "petals" of the shingle should cover the joints of the eaves tiles. Do-it-yourself soft tiles are mounted so that the “petals” of the next row with their extremities are at or above the cuts of the previous layer.
At the ends, the material must be cut along the edge of the roof, and also reinforced by gluing. The minimum width of the interlayer should be 10 cm. The situation is similar in the valleys, where the tile must be cut to get an open strip with a width of 15 cm. The edges of the material in this case are also smeared with special glue 10 cm.
When cutting tiles, it is better to use a small piece of plywood, which allows you to cut the material without fear of damaging the layer below.
Installation of ridge tiles
To perform work with the roof ridge, it will be necessary to prepare the scaffold. They greatly simplify the execution of work, but after their dismantling you need to remember to glue the petals on the attachment points.
Installation of a soft roof with your own hands in this case is carried out with an overlap of 5 cm, and four nails perform fixing. Laying of the ridge layer can only begin after the installation of the ordinary tiles is completed.
The ridge tile is obtained by dividing the cornice in places of perforation.After that, each element is bent in half and mounted on the short side along the ridge of the roof.
Roofing joining
Roof passages can be arranged in different ways. In the event that their diameter is small, it is recommended to use special rubber seals. This applies to antenna inputs and other types of communications, however pipes are insulated differently. This takes into account the possible heating of the pipe, because of which a slightly different technology is used.
First of all, a triangular rail is nailed around the perimeter of the place of contact of the pipe and the base of the roof. The most common option is 50x50 mm. The next step is the installation of a lining carpet, the overlaps of which should be coated with glue. The pipe itself is glued with insulating material so that it covers at least 30 cm of the pipe and 20 cm of the ramp.

When a soft roof is created with one's own hands, this stage is often final, however, one more operation is required - to fix the abutment bar along the perimeter of the pipe. The metal apron is fixed on top of the insulating material, and all seams are sealed with silicone glue.
Connecting to a vertical wall is similar. The only exception is the triangular block, which does not create a perimeter, but is mounted along the wall.
The main issues discussed in this article will help you quickly get into the course of business for a layman. Moreover, it describes many difficult points that a beginner in construction will easily miss. On our site there is also additional information that tells what a soft roof is. Installation technology, professional video work and useful tips allows you to understand this difficult issue in a minimum amount of time.
Alas, no comments yet. Be the first!