

Roofing Ondulin, the installation of which is easy to do with your own hands, is one of the modern materials for creating a reliable roof. It is worth saying that Ondulin is the final layer that protects only from moisture penetration, and other material should take on the task of thermal insulation. For example, mineral wool mats laid between rafters, however, an explanation of the construction of the entire roofing cake is beyond the scope of this article. Here, only Ondulin will be considered, DIY installation of this material, as well as a number of features that accompany this type of roof.
Content
Waterproofing
The first thing you need to remember when we cover the roof of Ondulin is waterproofing, mounted under the finish coating. Any vapor-permeable waterproofing membranes are perfect for this role, however, the Ondutis branded membrane is the best option.
As a rule, the material is laid on top of the rafters with a slight sag (up to 2 cm). I roll the rolls of the membrane across the slopes of the roof so that the top sheet can overlap the bottom. The amount of overlap is determined by the factory marking applied to the material. The joints are glued with double-sided fabric tape.
The original Ondutis membrane can be laid directly on top of the insulation. She will let water vapor pass, but water, on the contrary, will hold it back. The next stage, performed before covering the roof with Ondulin, is the laying of the bars of the counter-lattice. In no case should this moment be ignored, since the counter grill plays an important role - it creates ventilation ducts through which air circulates along the insulating material, ensuring the removal of moisture from the roof. It is thanks to ventilation that the wood lasts much longer, although antiseptic impregnations also contribute.
Crate Creation
The crate is designed to support the weight of the roof, however, the technology of its installation depends on what angle of the roof was chosen when creating the project. In the case when the laying of Ondulin is made on the slope of the ramp, which is within 5..10 degrees, then a continuous crate is required. A continuous crate is made of boards or sheets of durable plywood, and laying is done with an end overlap of 200 mm and a lateral overlap of 2 waves. If the angle of inclination of the ramp is less than 15 degrees, then the crate is performed at intervals of 450 mm. The end overlap in this case is 200 mm, and the lateral overlap is one wave.
In the case when the angle of inclination of the slope is more than 15 degrees, it is recommended to perform the crate with an interval of more than 60 cm, lateral overlap - one wave, and overlap of short sides 17 cm.

To simplify the calculations, we present the ratio of the slope height to its length for each type of roof. In general, the height of the ridge and the length of the ramp can be any, the main thing is that their ratio is maintained.
| Height of the ridge, m | Slope length, m | The angle of the roof, deg. |
| 1 | 11 | 5 |
| 1 | 6 | 10 |
| 1 | 4 | 15 |
Before covering the roof with Ondulin, the installation of bars of the crate is carried out. It is carried out using nails (self-tapping screws), fixing them to the elements of the counter-lattice. Here you need to try to observe the same interval at which nails (or self-tapping screws) will be.
Sheet cutting
Before proceeding directly to the cutting of sheet material, it must first be marked.
Marking is easier to do with a colored pencil, and as a “ruler” use a piece of paper that can be applied to a wavy surface and draw a straight line.
Further, the installation instructions for Ondulin involves cutting sheets, which is performed using a hacksaw for wood, a hand-held electric or circular saw. So that during the work the hacksaw blade does not get stuck, you need to cover it with some kind of lubricant that reduces friction. If you use electrical equipment, you must follow safety precautions when handling it, since its violation when working with the roof can lead to unpleasant consequences.
Sheet mounting

Before covering the roof with Ondulin, you need to carefully study the wind rose. Laying of sheets begins from the side that is opposite to the direction of the prevailing winds in this region. The second row should be mounted so that there is not 4, but 3 at the junction of the sheets. An example of the correct and incorrect installation method is shown in the figure below. This approach significantly reduces the likelihood of leaks.
Ondulin is a very lightweight material, so the installation of its special problems does not cause. The sheet itself weighs only 6 kg and needs to be fixed securely. Special nails for Ondulin in the amount of 20 pieces will be required, since with a smaller number of them the low weight of the roof will make it vulnerable to strong winds.

You need to nail the sheets at the peak of each wave. Fastenings are made on the short sides of the sheet, as well as on the sides. Installation of sheets must be carried out, guided by a stretched rope. In the center it is best to use a staggered arrangement of fixtures.
The nails must be driven only perpendicular to the top of the corrugated element so that the sealing washers fit snugly against the material. It is not recommended to hammer nails at an angle, since such a fastener will allow water to pass through.
To check the quality of installation, just click on the corrugated surface with your hand. If it does not bend, creating a small gap, then everything is done correctly.
Installation of a roof from Ondulin: valleys, skates, junctions

For the endow, it will be necessary to create an additional element of the crate, on top of which a special endow Ondulin is mounted. An example of mounting this element is shown in the figure below.
Ridge elements are best laid on the same side as the coating sheets. In this case, an overlap of 125 mm should be observed, and the attachment points should be on each wave of the sheet connected to the ridge.
Before covering the roof with Ondulin, you need to make sure that the material is not stretched and lies on the crate exactly.
The design of joints (side) with vertical walls is best done using the Ondulin valley, which should receive reliable waterproofing. In the case when the work is carried out at a positive temperature, you can arrange the forceps as follows: the edge of the sheet is bent and nailed to the gable board.
When the roof is being roofed by Ondulin, the rib can be made in two ways. The first of them involves the use of a gable element, and the second is based on the use of a ridge element.
When it comes to the junction of the roof with a vertical wall (butt joint), it is necessary to use a covering apron. In this case, all joints must have reliable waterproofing. An apron is attached to the sheet on each wave.
Before covering the roof with Ondulin, they often choose the wrong type of installation, which leads to the fact that the cost of work is higher. It is not difficult to avoid this, you only need to follow the basic requirements listed in this article and remember that the eaves should be less than 5 cm. Otherwise, you will need to trim the material, since it will begin to lose shape under the influence of its weight.
In that case, if a roof window is used to exit to the roof and illuminate the attic space, then when it is installed, fastenings must be carried out at the peak of each coating wave. The base sheet for the roof window should be under the next row of coatings.
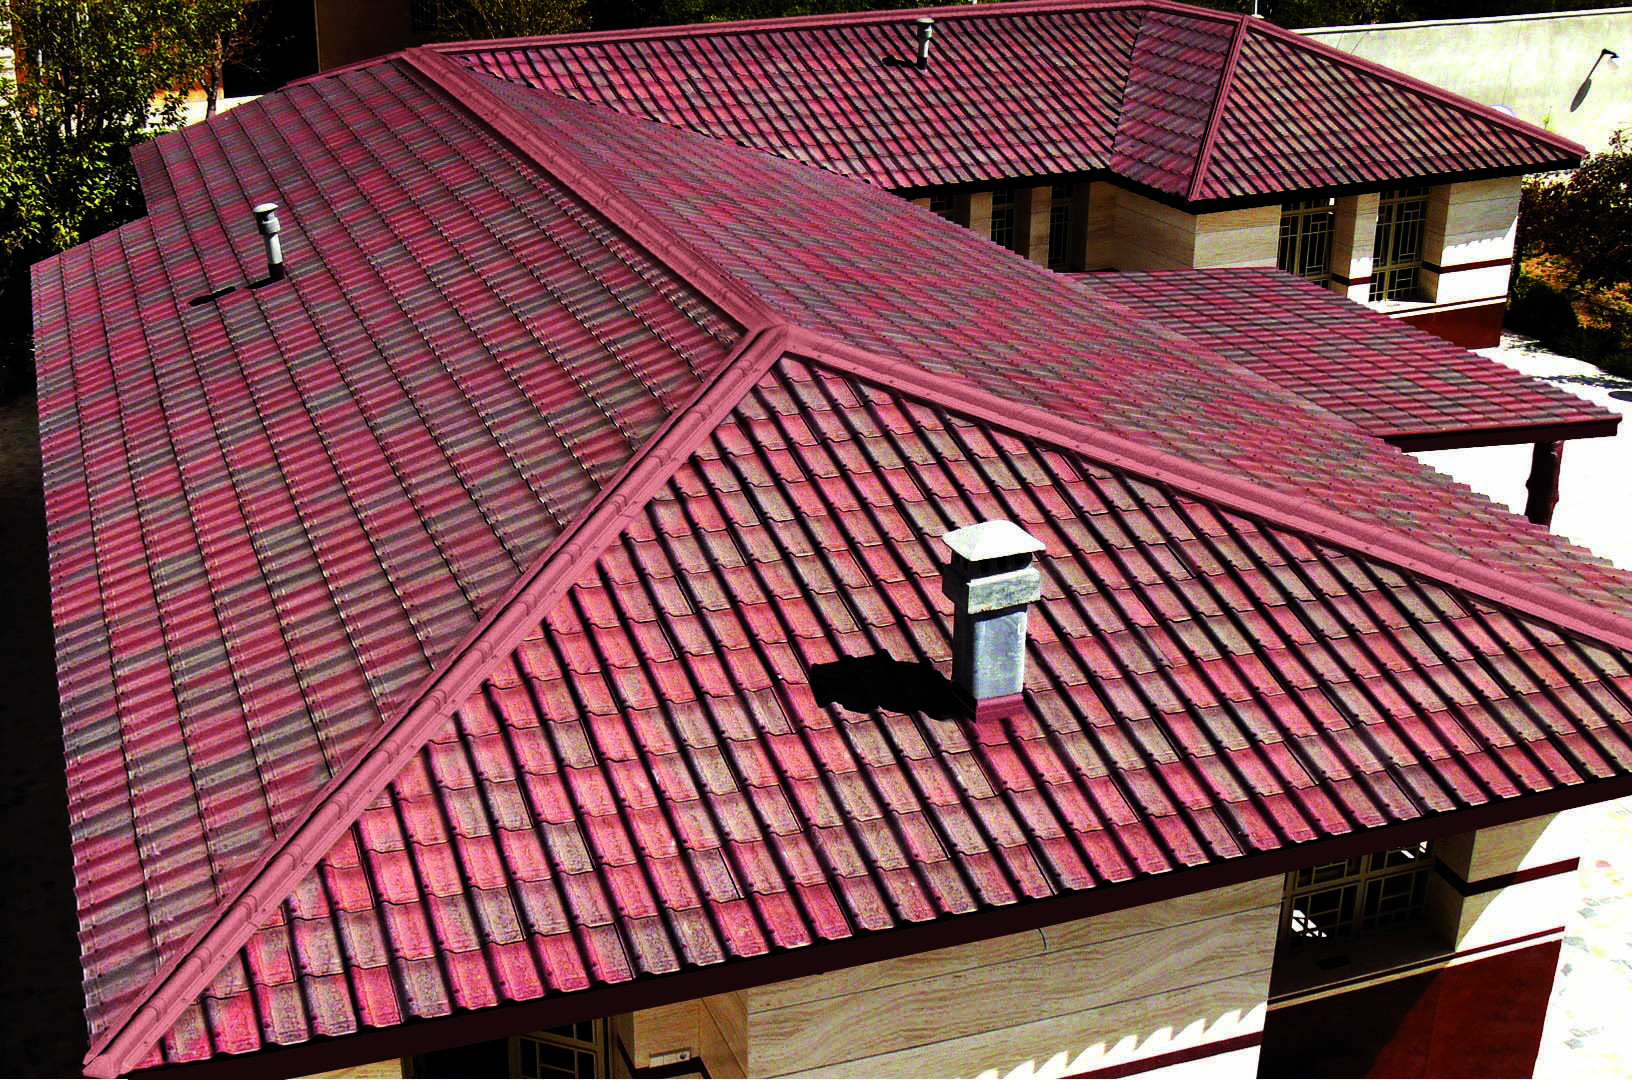
Adjacency to the pipe and ventilation
When you need to bypass the pipe, you need to carefully measure its perimeter for proper cutting of the sheets. For fastening the roof, it is better to use additional bars. After completing the preparatory operations, it is necessary to make cutouts on the sheets of the desired shape.
Installation of a roof from Ondulin is attractive in that you can cut the sheets inside the wave with an ordinary knife, so the speed of laying is quite high. Connections to the pipe are carried out in exactly the same way as to the wall, taking into account their type (end or side).
The ventilation pipe allows the ventilation ducts to exit through the roof. It is better to use a special solution that is suitable for installation on coatings of this type. You need to nail the pipe to the crest of each wave of material.
Onduflesh tapes are perfect for sealing vertical joints and joints. It is their manufacturer that recommends using when it is necessary to waterproof the chimney. This technology is also well suited for sealing windows cut through the roof.
The use of insulating materials
The most universal way to seal the roofing of Ondulin is to use Onduflesh tape. They are needed for the device of the valley, and for the design of junctions and for insulation of the eaves of the roof. The waterproofing properties of the resulting layer are quite high, therefore, such tapes are widely used both in the protection of any superstructures on the roof, and for vertical adjacencies.
Above is the basic information that will help lay Ondulin, the installation of which is carried out independently. The technology of building a warm roof is quite simple and has a minimum of difficult moments. It is worth saying that 20 nails is the minimum number of fasteners and should not be reduced. When using a metal crate, installation should be carried out using self-tapping screws.
Alas, no comments yet. Be the first!