
It is more difficult to work with non-woven wallpaper than with regular ones. Therefore, before purchasing this type of material, you need to familiarize yourself with the methods of how to properly glue non-woven wallpaper. In addition, it is additionally recommended to study the main features of this material for wall surfaces.
Advantages and disadvantages
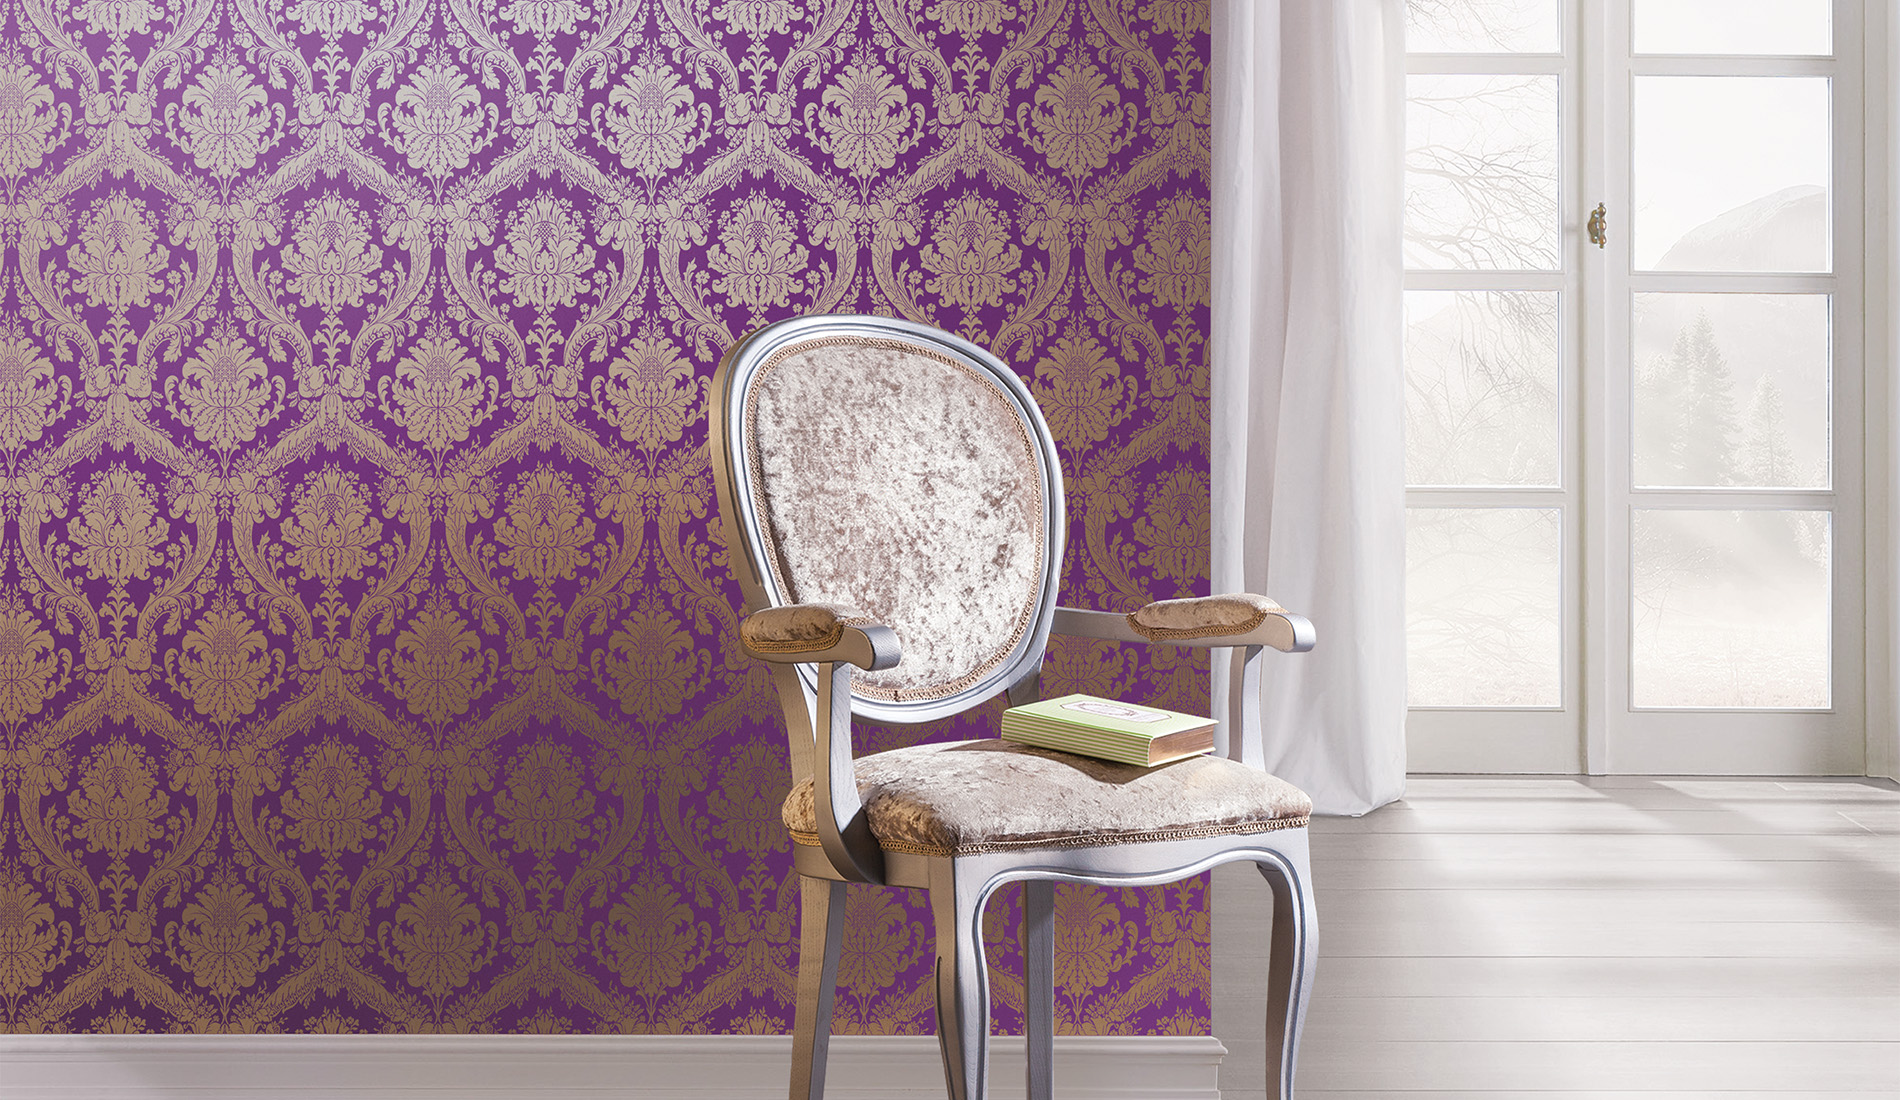
DIY non-woven wallpapering is a popular phenomenon.
Advantages of this material:
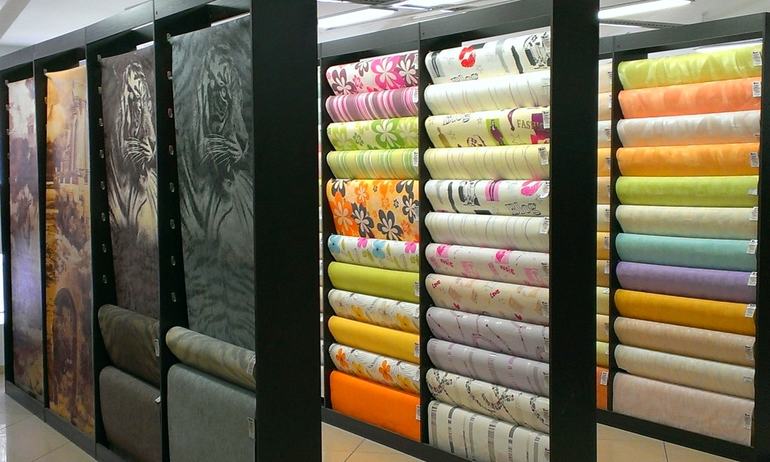
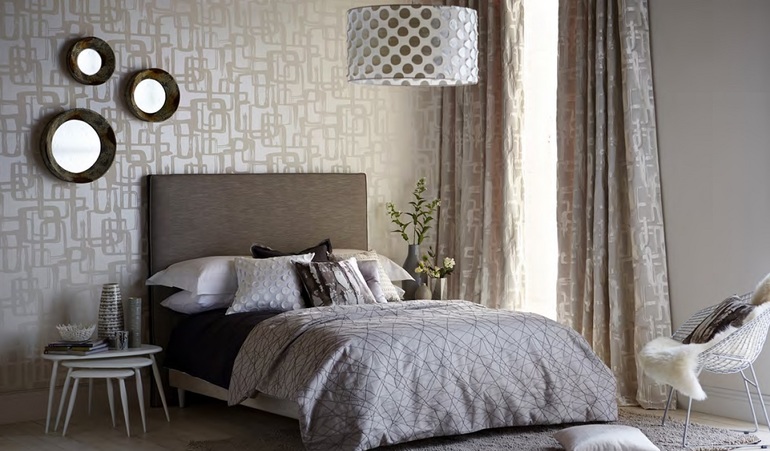
- rich assortment of textures;
- high level of strength;
- high degree of moisture resistance;
- does not absorb odors in its structure;
- has vapor permeability;
- does not burn;
- does not contain harmful substances;
- easy to dismantle when replacing;
- does not fade under the influence of sunlight.
However, this coating also has disadvantages:
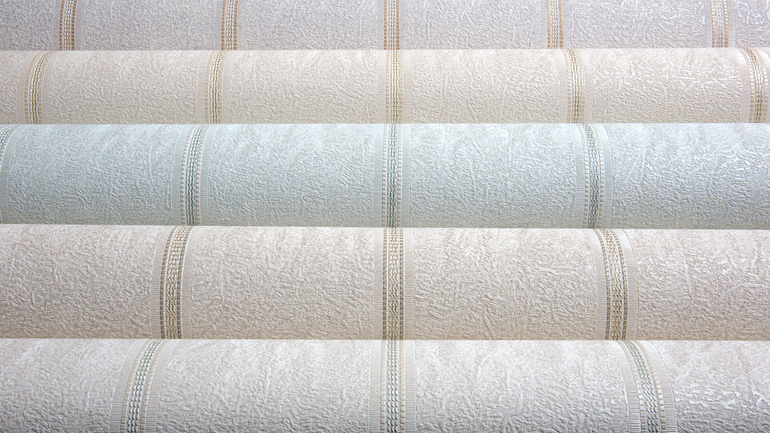
- high cost (1 roll of wallpaper on a non-woven basis costs about 1000 rubles);
- transparency;
- on the surface of non-woven wallpaper, often there are traces of glue that accidentally fell on the outer surface of the material.
Preparation and necessary tools
Before sticking non-woven wallpaper, the wall surface must be prepared. For this purpose are carried out following works:
- the wall is cleaned of old finishing material and pollution;
- all existing defects in the form of delaminations, chips, microcracks, etc. are sealed up;
- the surface is covered with a soil mixture;
- the wall is leveled with dry or cement-sand plaster.
To stick this kind of wallpaper, you need to use special tools.
It is necessary to prepare:
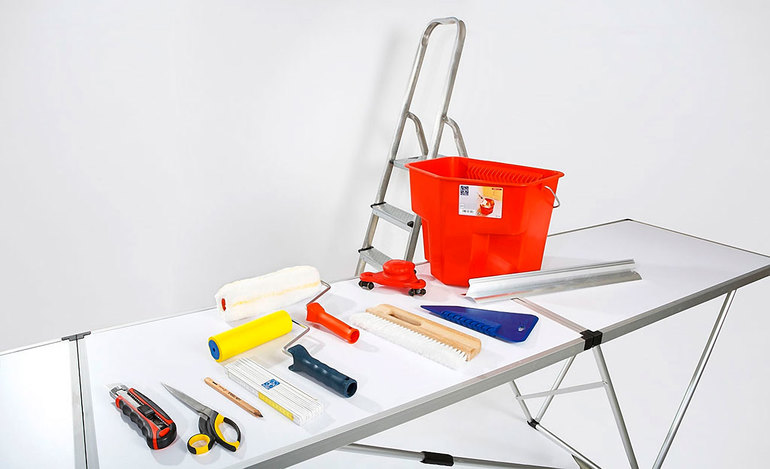
- pencil;
- towel;
- a knife;
- rule
- building level;
- three meter tape measure;
- building level;
- special glue;
- rubber and foam rollers;
- plastic bucket for water;
- a cone-shaped roller that will be used to apply glue to the joints;
- foam sponges;
- ditches for glue mix;
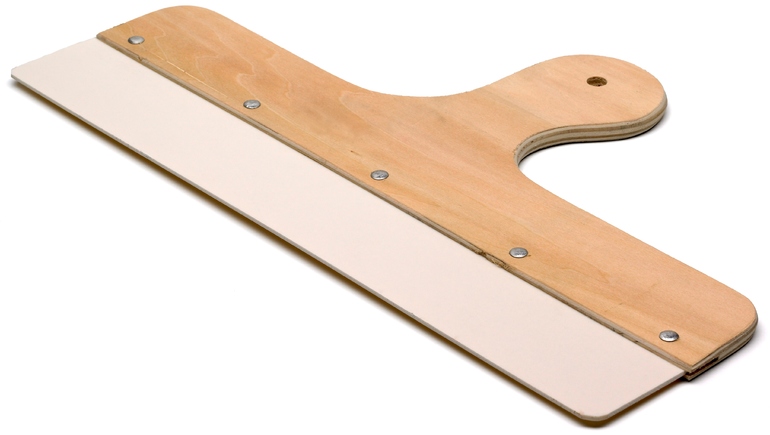
- wide spatula.
Glue for gluing non-woven wallpaper must be diluted in accordance with the instructions. After mixing, the mixture must be insisted for 15-20 minutes.
The consistency of the finished composition should resemble jelly. If it is not cooked correctly, it will not stick.
Pasting Instructions
Before gluing non-woven wallpaper to the wall, you should familiarize yourself with the main stages of this procedure. The work is carried out according to the following scheme:

- the room in which the work will be carried out is thoroughly ventilated, after which all doors and windows in it are closed;
- the height of the wall surfaces is measured, and the required amount of material is calculated;
- after that you need to prepare the glue;
- places where processing will be started are marked;
- a straight vertical strip is applied with a pencil on the wall surface, along which the first sheet will be glued;
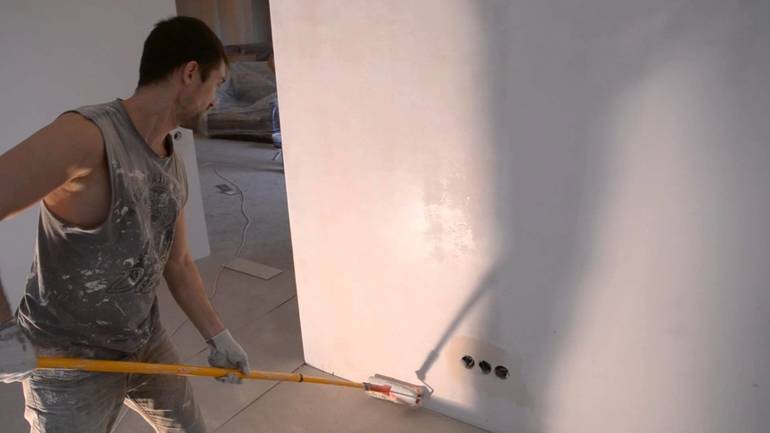
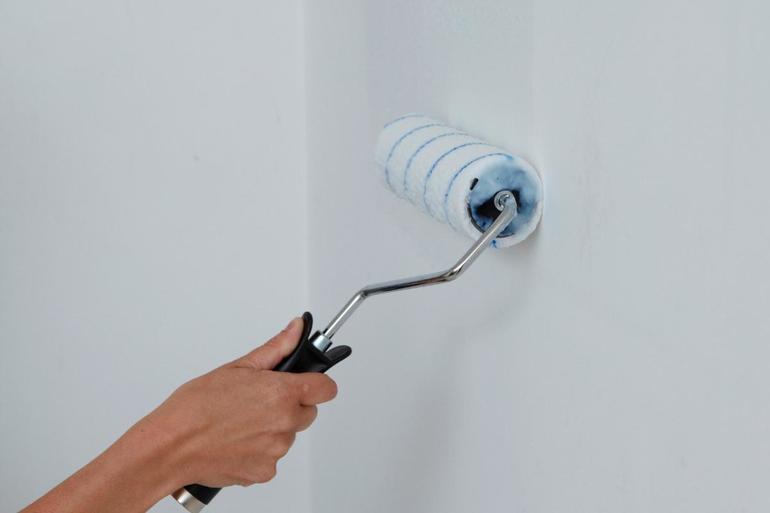
- glue is applied to the wall surface with a brush or roller;
- a sheet of material is fixed in the intended line;
- wallpaper coating rolls onto the wall surface with a spatula or roller;
- all subsequent sheets are fixed butt to each other;
- at the final stage, excess air is removed from under the material using a rubberized spatula, and glue residues are removed using sponges.
The manufacturers of this wall covering note that it dries in 48-50 hours. Non-woven trellis dries for about 12-13 hours.
Alas, no comments yet. Be the first!