
Often in the winter the apartments are damp and cold, although the heating works at full capacity. The reason for this phenomenon is thin, rapidly cooling floors, unable to fully retain heat. Such a problem is especially relevant for owners of apartments in panel houses. To keep warm, it is easiest to insulate the walls in the apartment under the wallpaper from the inside. All work is easy to do on your own by purchasing the necessary material.
Content
Features of insulation
In homes with brick or panel walls, heat storage problems often arise. If you do not solve them, with the onset of the heating season in the apartment it becomes cold, the walls freeze, damp and mold. According to the requirements of SNiP building insulation is carried out from the outside. Then an additional layer heats the surface completely.
This method of solving the problem does not change the dew point. It shows the boundary at which condensation forms due to equalization of temperatures indoors and outdoors. Near an insulated wall, the dew point is in the center of its thickness. If warming is carried out outside, this indicator shifts towards the street. With internal thermal insulation, the dew point becomes closer to the room.
It is not always possible to insulate a building from the street. Installation of such thermal insulation is always technically difficult. One cannot do without the services of a special team. Also, it is impossible to perform such thermal insulation on walls bordering technical rooms. If the building is a historical object, changing its facade is not allowed.
Then the problem of heat conservation can be solved only by internal insulation. The advantages of this method include:
- low cost of materials and work;
- the possibility of wall insulation at any time of the year;
- the possibility of independent work.
The main negative consequence of internal insulation is the dew point shift towards the apartment, the formation of condensation inside the room. It destroys insulation, decoration. As a result, the efficiency of thermal insulation is greatly reduced, moldy fungus appears on the walls.
Among other disadvantages of internal insulation indicate:
- reduction of the area of the apartment to 2 square meters;
- the need for complete release of the premises during operation;
- arrangement of ventilation and waterproofing.
How to perform warming correctly
To avoid condensation in the cold season under the insulation, all work is carried out in compliance with technological recommendations. Then the mold spots will not appear on the wallpaper, the apartment will be warm and dry.
When arranging a thermal insulation layer, high-quality vapor barrier is laid. It does not allow moisture to penetrate into the thickness of the insulation. Then the whole heat-saving design lasts a long time, performs its purpose well. For vapor barrier use a special high-quality film. Its sheets are interconnected with a waterproof sealing tape. The joints between floors and walls are especially carefully closed so that “cold bridges” do not occur.
As the main insulation layer, materials are used whose vapor permeability is lower than the corresponding wall index. Then the moisture will not evaporate inside the apartment onto the street.Before gluing, the insulation is covered with glue over the entire surface, pressed as tightly as possible to the wall to avoid cavities.
To prevent high humidity from creating inside the apartment, additional forced or natural ventilation is equipped. This problem can be solved by installing additional valves on the windows that let in street air into the room.
Before installing the insulation, calculate its thickness. This indicator depends on the average winter temperature in the locality. To maintain the thermal balance, this value should be no less than the value obtained.
Before mounting the entire structure, the walls are coated with a primer with antiseptic properties. It will protect against fungus formation and improve wall adhesion and thermal insulation. In this case, the main work is carried out only after the surface has completely dried.
Types of insulation and their use
For the construction of thermal insulation with your own hands inside the apartment, several materials are used. Their choice is determined by the installation conditions, and by what degree of protection should be provided. The insulation must be fireproof, environmentally friendly, with a long service life. Materials with high waterproofing qualities and low vapor permeability are better than the rest.
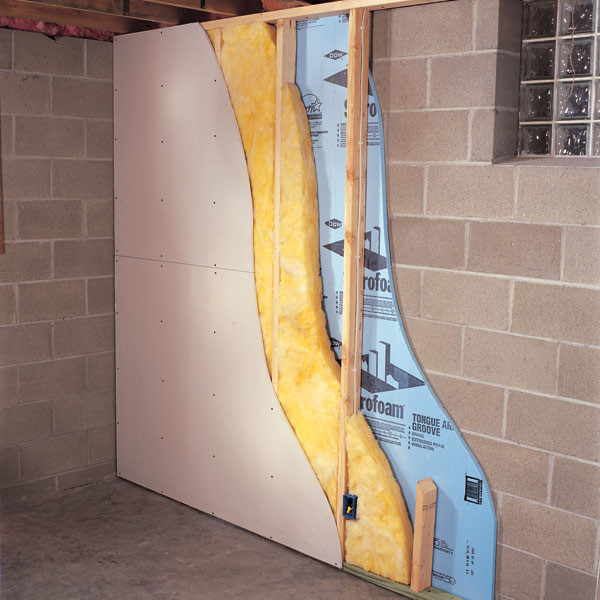
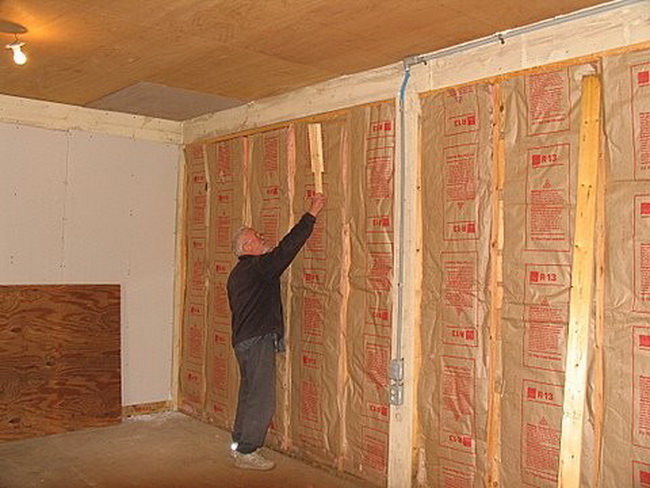
Mineral wool
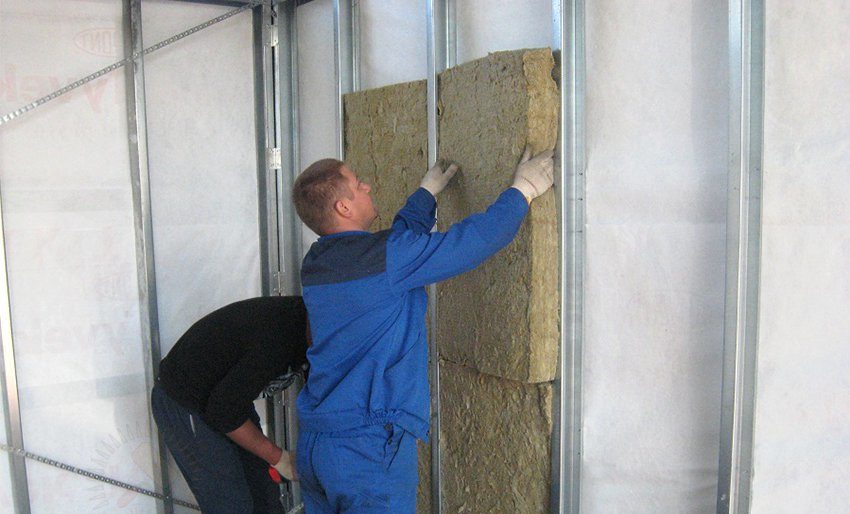
This material has been used for many years as a heater for walls. For warming, species having a high density and low vapor permeability are suitable. The ability of mineral wool to “breathe” for thermal insulation is harmful because it creates good conditions for the formation of condensate. To prevent dampness, choose a material comparable in density to expanded polystyrene in density. Material for insulation must be laid carefully. Violation of technology leads to the appearance of dampness and fungus. Then it becomes necessary to dismantle the insulating layer.
For these reasons, mineral wool is rarely used for internal thermal insulation. In this case, only dense types of material are used and they necessarily make an air gap for good ventilation.
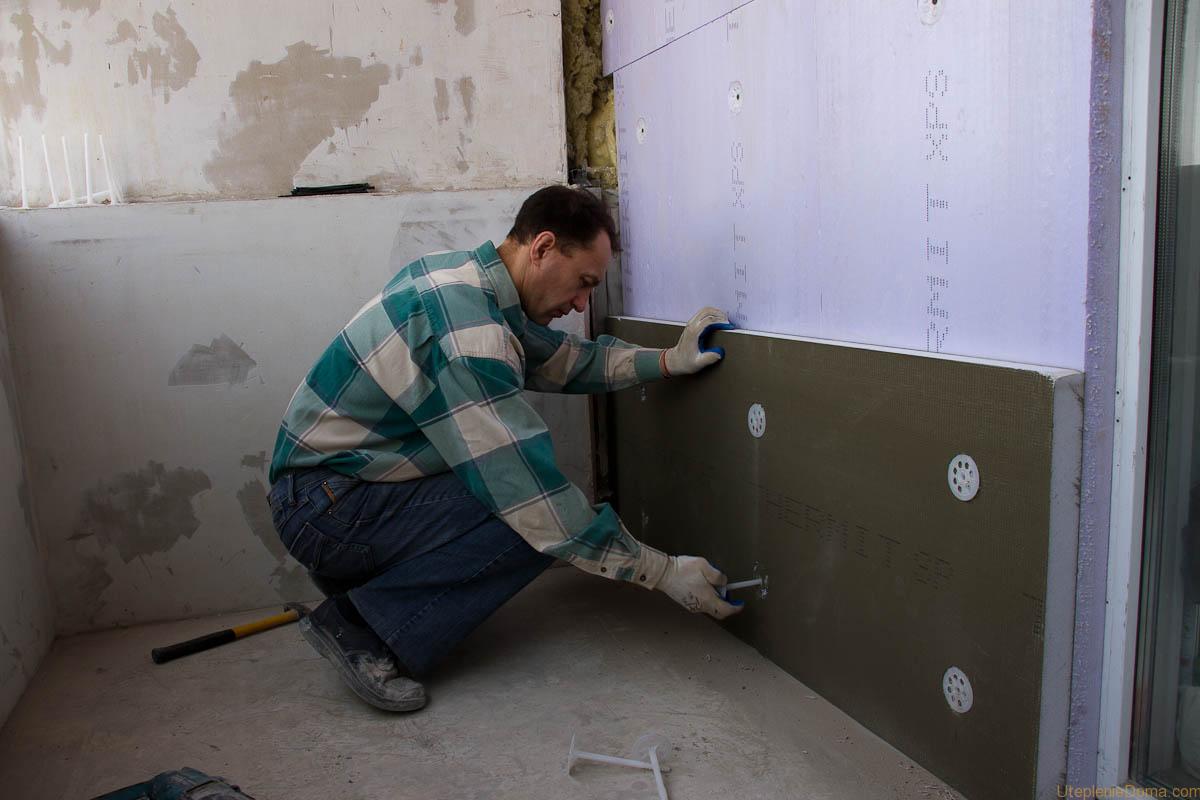
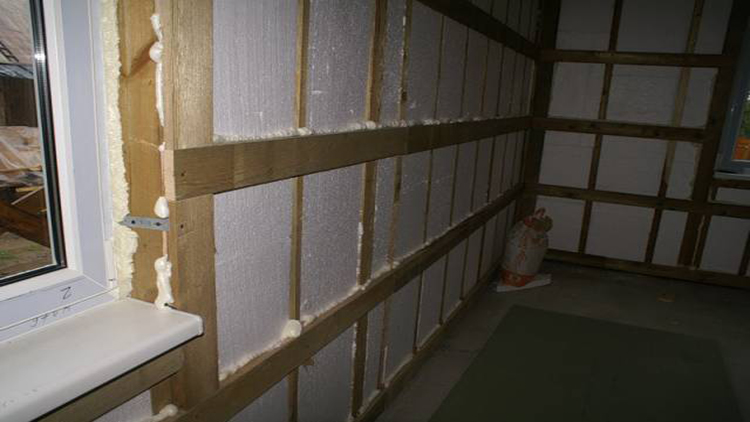
Expanded polystyrene
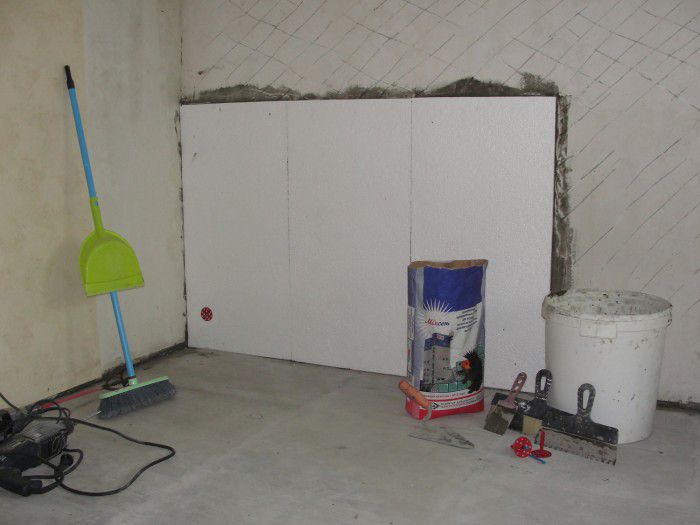
Materials from this category, including foam, are suitable for internal wall insulation. They have low thermal conductivity and other properties necessary to create a thermal insulation layer. Expanded polystyrene has a small mass and a very smooth, rigid surface. Therefore, it is easy to mount on a vertical wall. Moreover, this material is well cut. With a sharp change in temperature or in the case of strong compression, the expanded polystyrene does not deform.
Penoplex and similar materials do not absorb water. Therefore, for thermal insulation from it, additional vapor barrier is not needed, since moisture will not get to the “dew point”. To isolate the "cold bridges" in the area of the joints of walls and ceilings, use foam. To fix the polystyrene foam on the wall also use mounting foam. After expansion, it fills all the voids and securely fastens the plate to the wall.
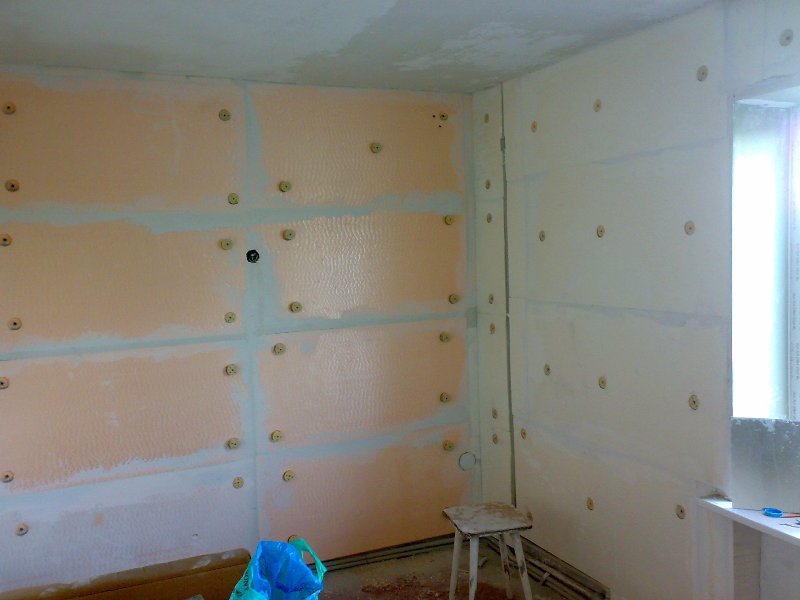
On the polystyrene plate there are grooves for fixing the elements. Therefore, the assembled structure is sealed. Having assembled one row of plates, it is fixed to the wall with fasteners with a wide hat. The plate is drilled through and capture part of the wall.
One of the main disadvantages of polystyrene foam and other materials of this group is called poor sound insulation. In addition, they burn and release hazardous substances. After attaching the plates and sealing the joints for thermal insulation, they make plaster or close the insulation with decorative panels.
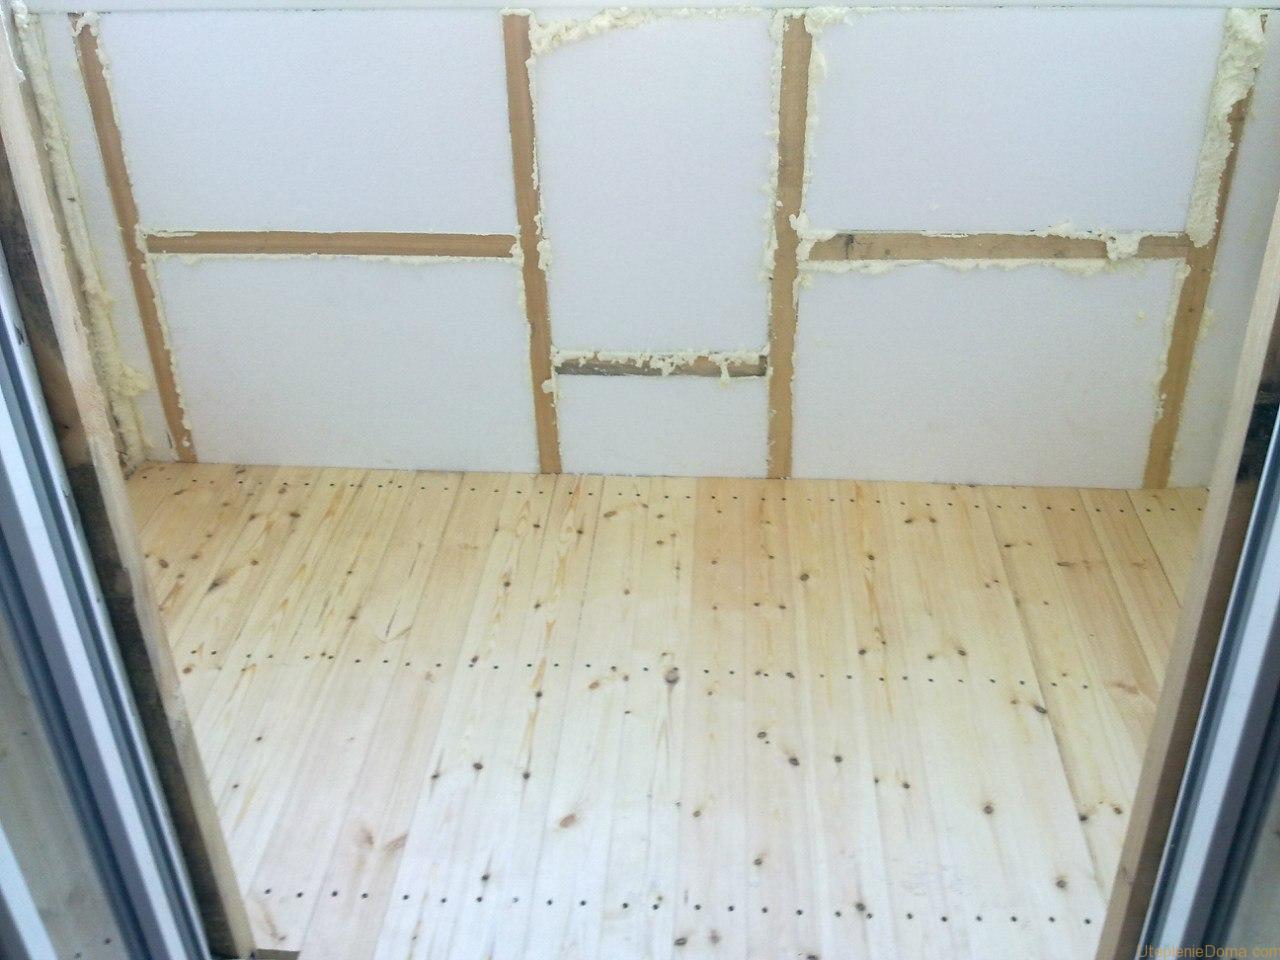
Polyurethane foam

Such a material is an expandable polymer. To create thermal insulation with it, you need a special installation. Before applying the material, the wall is prepared, a wooden frame is fixed on it to create support for the sprayed material and give direction.Then, sheets of drywall are attached to this frame or used as the basis for other decorative finishes.
The main advantage of this material is its ability to fill in all the bumps and gaps, creating a seamless layer. After its application, there are no cavities and voids where condensate can settle. Polyurethane foam does not pass moisture and hardly conducts heat. Therefore, when using it, you do not need to do waterproofing. This material is applied very quickly, but few can do it on their own.
After installation, the polyurethane foam dries in a few hours. The very next day after applying the material, you can close it with a decorative layer. It is especially convenient to use this material for thermal insulation of a room with complex shapes, arched structures and curved configurations.
Bung
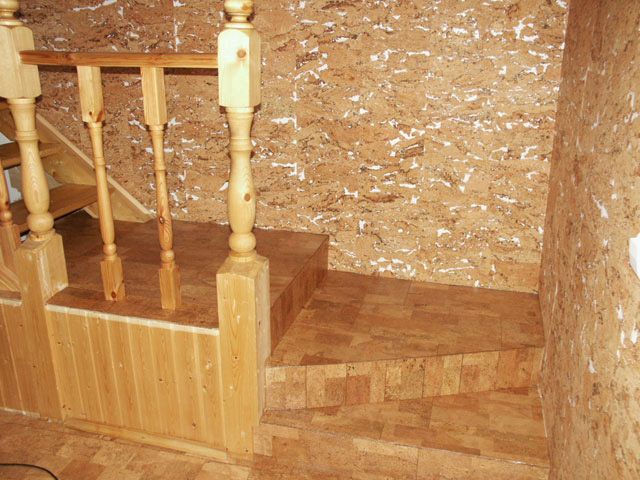
This is another quality material that can retain heat well and is suitable for self-assembly. To create such a heater use bark of balsa wood. Therefore, it is safe, environmentally friendly and especially recommended for wall insulation in living rooms. On sale there are rolled or tiled options.
Cork in itself has good decorative properties. Therefore, it does not need to be covered with additional decorative materials. It absorbs sound well and plays the role of sound insulation.
Before gluing the cork, prepare:
- The wall is cleaned of the old coating.
- To protect against fungal mold, the surface is treated with an antiseptic primer.
- Apply a leveling layer of plaster. Instead, you can use drywall, fixing it completely on a mounting foam or special glue so that there are no voids under the sheet.
- After complete drying, the surface is glued onto it with a special glue.
Unlike other heaters, the cork has a small thickness. Therefore, when using it, the area of the room is almost not reduced.
Penofol
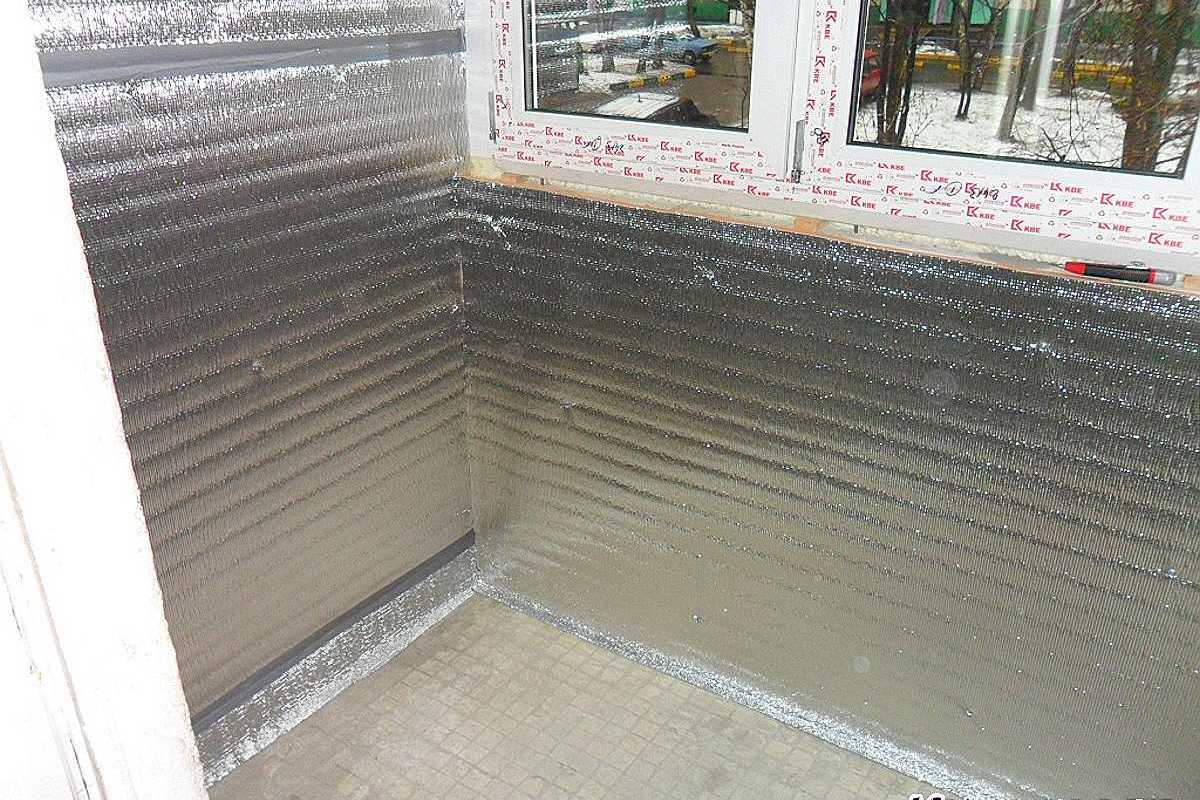
Another convenient to use insulation with a small thickness is penofol. It is a foamed polyethylene. One side of this material has a foil coating that reflects heat inside the room.
Installation of penofol requires the same preliminary preparation of surfaces as for cork thermal insulation. The material itself is attached to the prepared wall with double-sided construction tape. In this case, the side with the foil should be facing inside the room. This arrangement creates the effect of a thermos and retains heat inside. The strips of material are placed end-to-end and connected to each other with the same foil tape. In this way create an even tight surface.
Having fixed the insulation, a crate is installed on top of it for laying drywall or lining. Then, plaster is applied over an even layer, painted or glued with wallpaper.
To prevent condensation from accumulating, small gaps are left for free air circulation during the installation of the finishing layer on top and bottom.
Penofol has excellent insulating properties. Therefore, it can be used alone or in combination with other materials. Among its positive qualities are simplicity and high speed of installation, long service life.
What materials are not suitable for internal insulation
Until recently, foam was used as thermal insulation of walls inside and out. It has good thermal insulation properties, does not absorb moisture and is inexpensive. It is now used for additional external insulation.
But compared to other materials, it has several important drawbacks. They do not allow it to be used for insulation from the premises:
- The material has a little stiffness. Therefore, gluing wallpaper on it is impossible without the risk of mechanical damage.
- To achieve optimal thermal insulation, the layer thickness should be at least 5 cm.This significantly reduces the area of the room and looks too bulky.
- If in the future you need to make repairs, you will have to dismantle not only the top decorative coating, but also the insulation itself.
- Material easily ignites. Therefore, for safety, it must be covered with another non-combustible layer.
How to insulate a wall yourself
Before warming the walls, their surface is prepared. Moreover, the preparation differs depending on whether there is a decorative coating on the surface or not.
For a surface with a decorative coating, the preparation consists of the following steps:
- Remove paint or wallpaper.
- The surface is treated with a primer with an antiseptic effect.
- After the primer dries, putty is applied.
If there is nothing on the wall, the following work is done to prepare:
- Primed surface.
- Perform alignment with plaster.
- Putty is put and let it dry.
When insulating the walls with polystyrene foam, special glue is used. It is diluted with water according to the instructions on the package and cover with it the surface of the insulation boards. For convenience, the adhesive is applied with a notched trowel, evenly covering the plate. Set the sheet in the desired position and press firmly against the wall so that all the air comes out. Additionally, glue the ends of the plate with glue. After laying all the boards, glue hardens.
Then, plaster is applied to the prepared surface with a layer of up to 5 mm. While the mixture is still plastic, lay on top of the mesh for reinforcement, recessing it in a layer of plaster. It will prevent cracking of the finish layer. After complete drying, the wall is sanded, achieving smoothness. This work is done by protecting the face with glasses and a respirator.
Finally
Insulation of the apartment from the inside is possible only with high-quality materials with low vapor permeability and high density. Work is carried out only after preparation of the base to prevent the formation of mold and condensation. Wall insulation can be done independently; no special equipment is needed for this.
Alas, no comments yet. Be the first!