

There are several ways to make a butterfly out of paper. Depending on the size, complexity and craftsmanship, they differ in the amount of materials used, time and effort. Winged paper insects can be either part of the overall composition or act as an independent decoration. The lightness and delicacy of butterfly wings makes them suitable for many interiors.
Paper cut
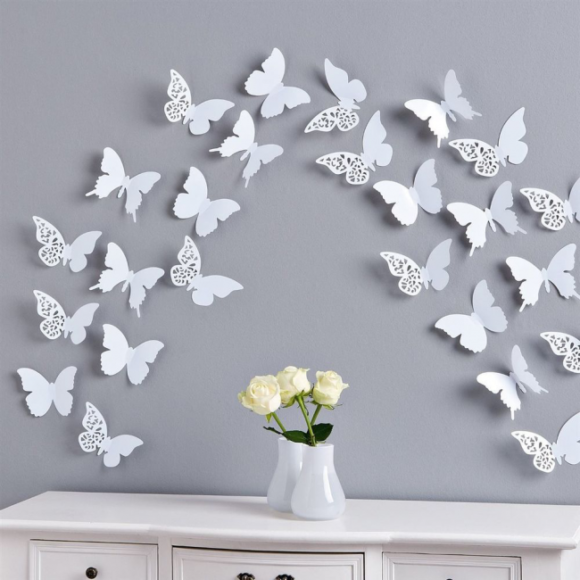
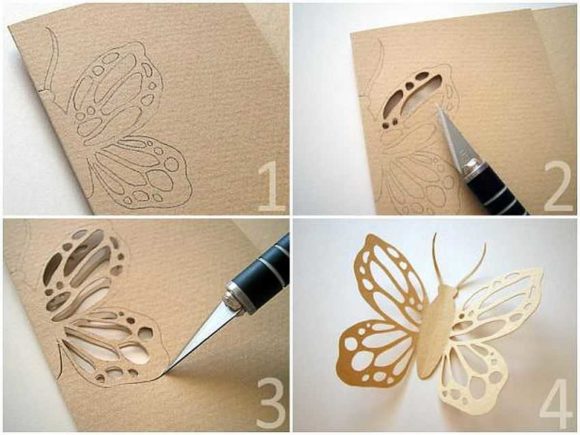
The easiest way to make a butterfly out of paper is to cut it out. To do this, you need to draw a diagram or print it using a printer. As a material, you can use colored or white paper, old newspapers or magazines with bright pictures or thick cardboard. In terms of complexity and the number of details, homemade butterflies are very different from each other: it can be either simple contours or openwork vytynanka with a large number of details.
To make them you will need:
- paper or cardboard;
- pencil;
- scissors or a paper knife;
- stencil drawing.
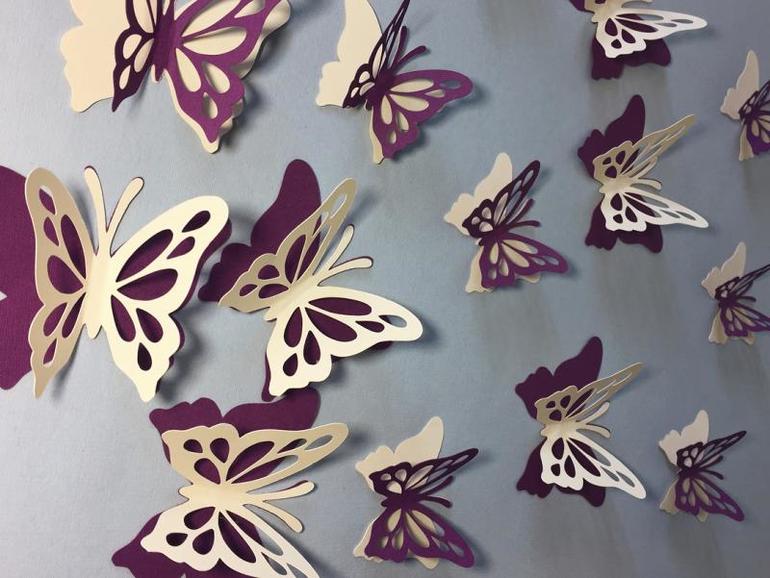
Using a pencil, you need to transfer the butterfly stencil to a sheet of the selected material. Then fold it in half to divide the pattern into 2 symmetrical halves. Both of them are cut out simultaneously - this serves as a guarantee that the wings of the butterfly come out the same. If a simple contour is used as a stencil, scissors are used. But complex crafts with patterns and details, many of which are in the center of the picture, are cut with a paper knife.
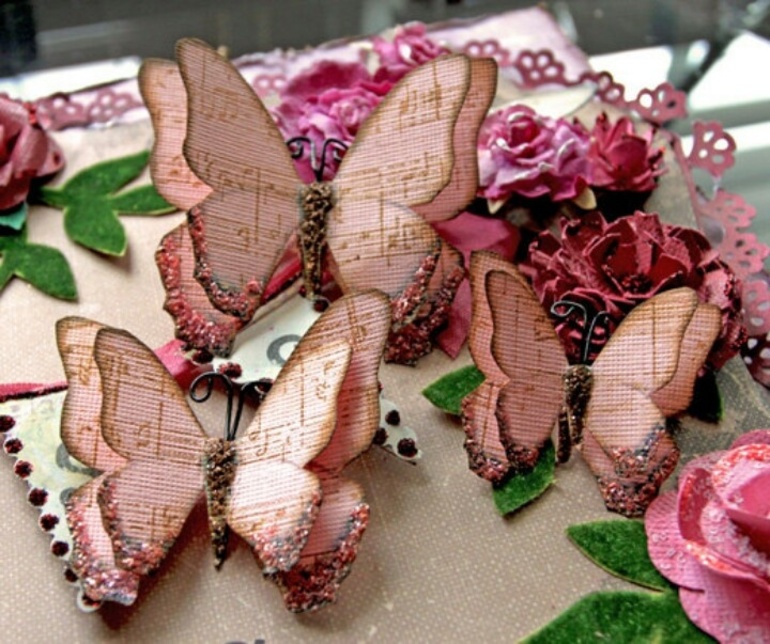
To give such products volume, several of them can be glued together. But you need to make sure that they blend well in color and shape.
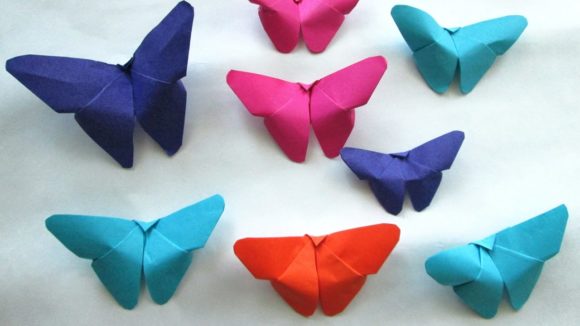
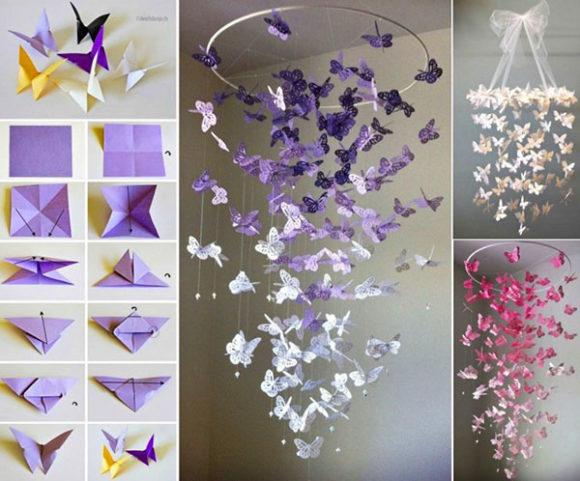
Origami Butterfly
One of the most famous paper craft techniques is origami. With its help, you can make small neat butterflies by spending a minimum of effort and time. For the manufacture of crafts, you will need only one square piece of paper - you do not even need scissors or glue. The procedure looks like this:
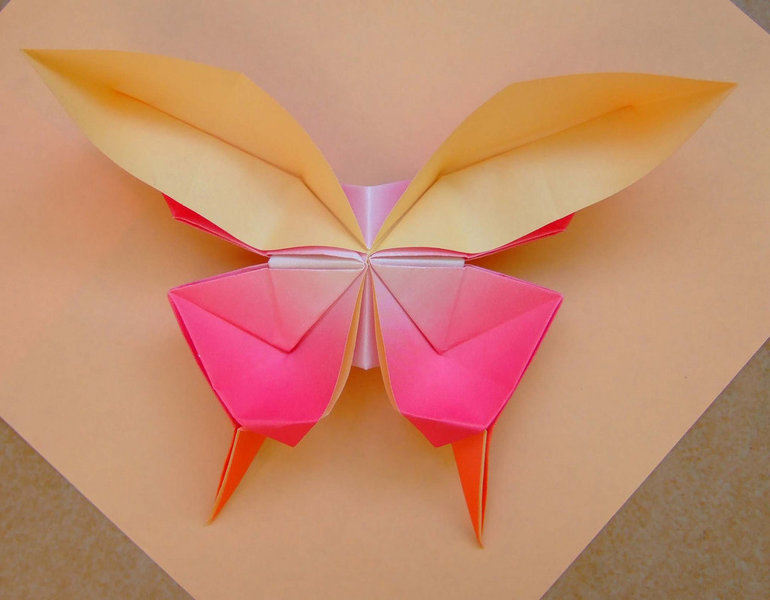
- Lay the sheet with color side up. Bend it in half horizontally, then bend it and fold it vertically and diagonally in both directions - this is necessary to form reference lines.
- Following the fold lines, make a triangle out of the sheet. To do this, you need to bend the right and left edges inward, holding them in the center.
- Bend the corners of the resulting triangle up so that they protrude slightly above the top of the part. Turn the part to the other side.
- Bend the top of the inverted triangle up, holding the "pocket". Bend the protruding tip to the other side.
- Fold the resulting figure in half across.
When making butterflies in the origami style, it is important to remember that the folds cannot be smoothed out too much - then the figure will be too flat. For crafts in this style, you need to choose only high-quality paper that holds its shape well.
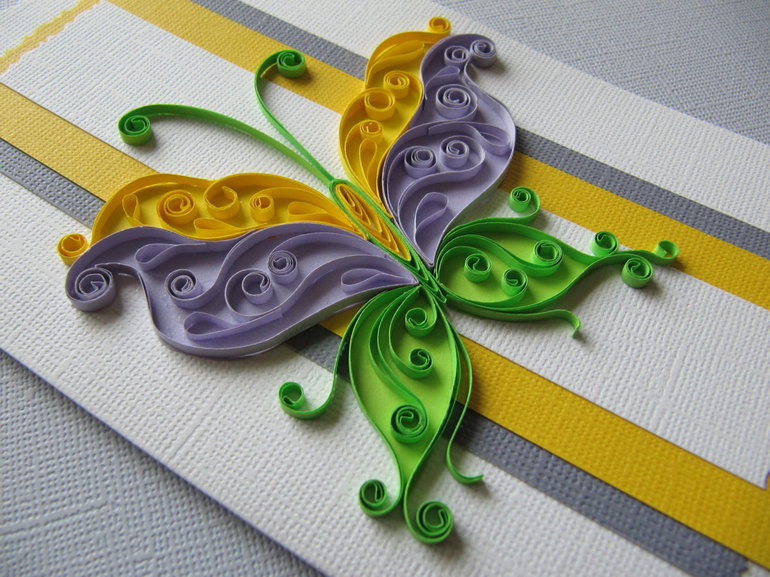
Quilling technique
An interesting option for a paper butterfly is a quilling or paper-rolling technique. It consists in twisting narrow and long paper strips and giving them the necessary shape. Beginners are advised to take simple schemes with a small amount of detail, but complex voluminous products in this style can consist of hundreds of paper tapes. To make crafts, you need to take:
- colored strips of double-sided colored paper 0.7-2 cm wide;
- twisting rod - it can be a simple thick needle, a toothpick or an empty rod from a ballpoint pen;
- scissors;
- glue;
- stencils or curly ruler;
- pins
- butterfly pattern diagram.
The first step to creating a quilling style butterfly is to choose the right pattern. You can draw it yourself or find it on the Internet and print it. Looking at the diagram, you need to determine the quantity and shape of the necessary parts.
They are done this way:
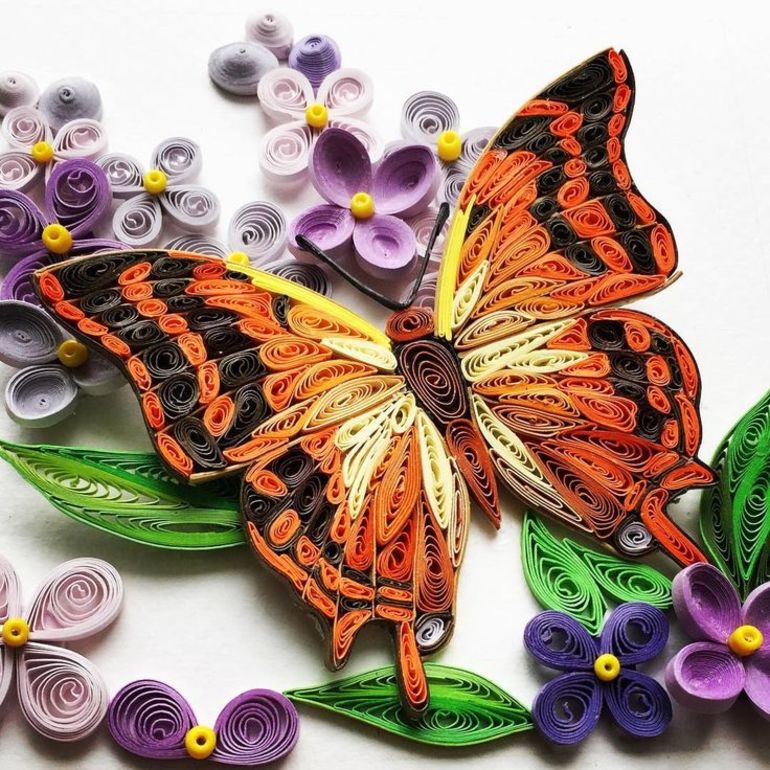
- Take a paper strip of suitable length or width. Screw it onto the rod to get a neat tight roll.
- Remove the part from the shaft. Using stencils or fingers, give it the desired shape and size, if necessary, loosening the twisting density.
- Having twisted the necessary number of parts, it is necessary to attach them to the paper circuit of the product using pins. This should be done carefully, trying to deform the paper as little as possible.
- After the workpiece is completely filled, carefully glue the parts. If the butterfly is made for a card or applique, they are glued to paper, and if not, to each other.
There are quite a few ways to make a butterfly out of paper with your own hands.. Most of them do not require special skills or tools - only imagination, patience and perseverance. Such a craft can become both an independent decoration of the interior, and an element of pendants, panels, postcards and other products.
Alas, no comments yet. Be the first!