
One of the first buildings that need to be installed on a suburban area is a country toilet. To assemble such a structure on the street is not at all difficult, but first you need to understand the type of structure, the installation location. It is also important to properly prepare the materials and tools that may be needed during installation work.
Content
Selection of location and design
Most often, for the closet, choose a site located to the far border in order to avoid the unpleasant odor that will be present anyway. But in any case, there are a number of requirements that need to be considered, if you plan to install a country toilet yourself:
- if the bathroom is equipped with a cesspool, then it should be located so that there are no groundwater near it;
- in the event that a septic tank is installed, then it must be at a distance of not less than 15 meters from the country house;
- if an isolated container is placed in the pit, which is planned to be periodically cleaned, then it is allowed to be installed anywhere.
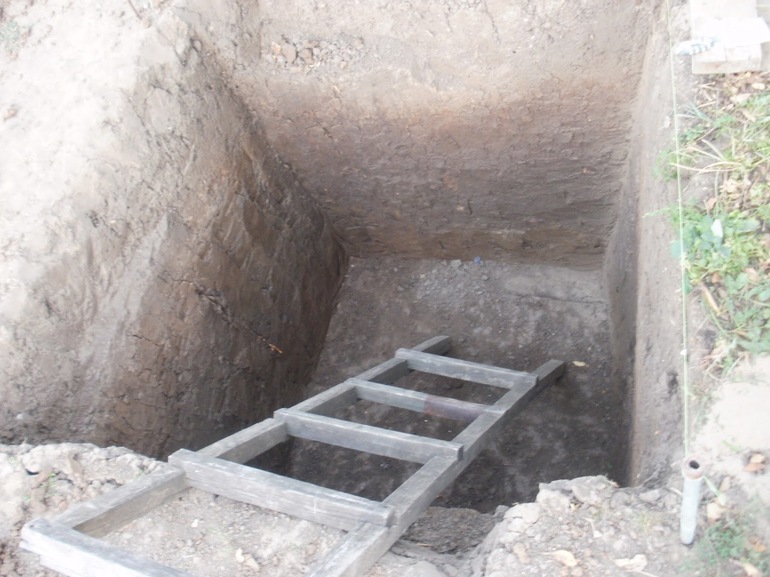
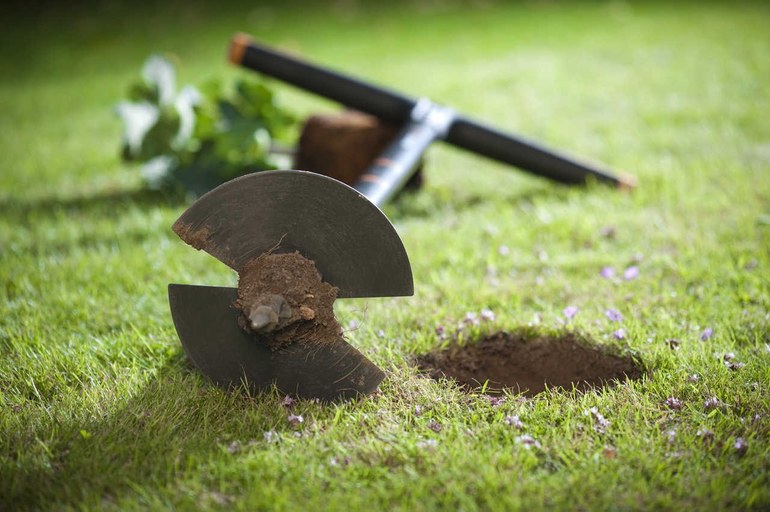
A standard pit for the simplest outdoor toilet is excavated with an area of 1 square. m. A depth of about 2 meters, it all depends on the occurrence of groundwater.
If the installation location is determined, then proceed to the choice of design. The main thing to consider during construction is the weight of the building. The construction should not be too heavy, since over time the severity of the soil will subside, causing the house to deform and become unusable.
It is best to use wooden blocks or boards to make a closet. A galvanized profile is also perfect, this material is quite thin and light.
In the case when you need to build a toilet at the cottage of brick, it is worth taking care of a reliable foundation in advance. Although many summer residents believe that such buildings are useless, since financial investments are required much more, and the village toilet does not get warmer.
Ideally, you should build a house, the dimensions of which are:
- width - 1 m;
- height - 2.3 m;
- length - 1.5 m.
Although, if desired, you can make the building a little larger or, conversely, smaller. This data is not considered dogma. But in any case, the toilet should be comfortable.
Preparation of materials and tools
After the ideal place for the restroom is selected and the design is determined, you can start preparing the material.
To assemble the toilet in the garden, you must prepare:


- wooden boards and whetstones;
- fasteners in the form of nails and screws;
- corners made of metal;
- slate or decking;
- door handle;
- toilet seat with a lid;
- reinforcing bars;
- mesh netting;
- cement;
- sand;
- gravel.
The metal mesh can be replaced with ordinary brick, the material simply lay the walls of the pit. Many summer residents use concrete rings that are equipped with holes. Old rubber tires can be a good option, but you need to take only large-sized products.
In addition, to equip the summer closet, you will need tools:
- hand drill;
- bayonet and shovel;
- electric jigsaw;
- grinder, as well as wheels for working with metal and stone;
- screwdriver;
- hammer;
- level;
- building tape measure.
If the soil on the site is very stony, then you also need to prepare a perforator. After everything is in stock, proceed to installation work.
Cesspool device
The workflow starts from the pit.To begin with, it is worthwhile to make markings, and already dig them. Depending on the design features, it can have a round or square shape.
The step-by-step process is as follows:
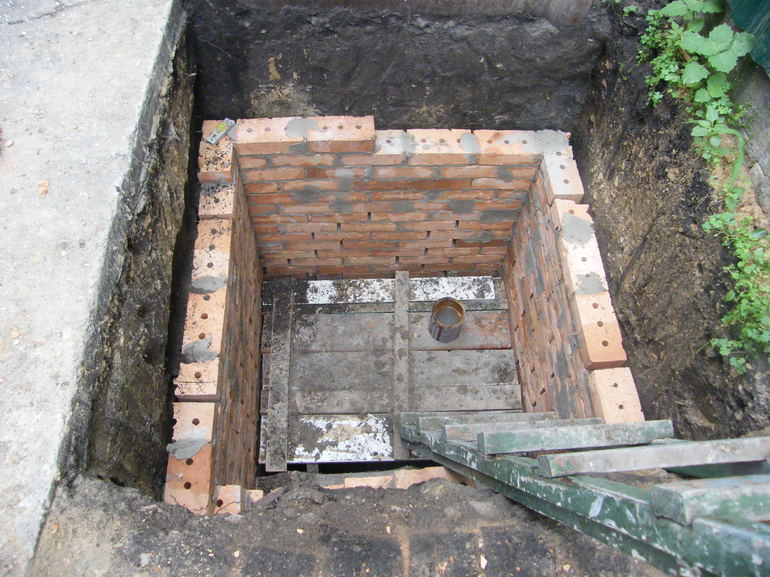
- Dig a hole to the required depth, lay a drainage layer on the bottom. For this, large gravel or large fragments of bricks are best suited.
- They fit the walls with a metal mesh, the cells of which should be no less than 50 by 50 mm. This material is then fixed using pins or steel wire.
- Concrete solution is poured onto the walls, left to dry. Then repeat the procedure.
- They overlap the surface of the pit from the boards, but previously make two holes in it. One for the toilet seat, and the second for the arrangement of the hatch.
Actually, the cesspool is ready for this. At the next stage, they begin to build a house.
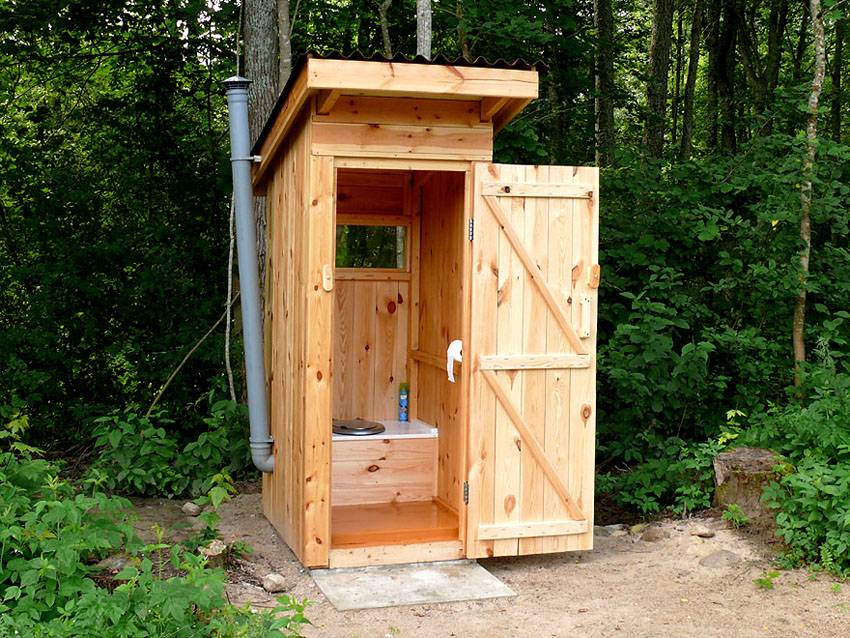
House assembly
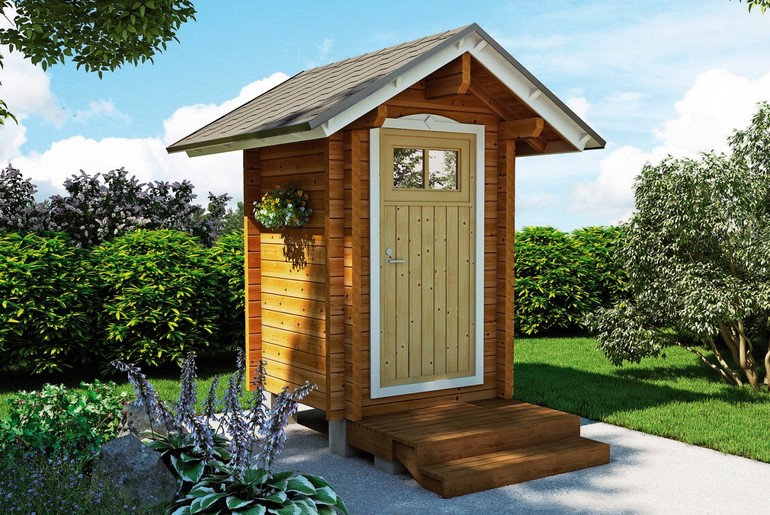
Absolutely any outdoor toilet is installed in the booth. Most often, a rectangular structure is chosen. The roof is usually sloping. Everyone can make such a building in a private courtyard.
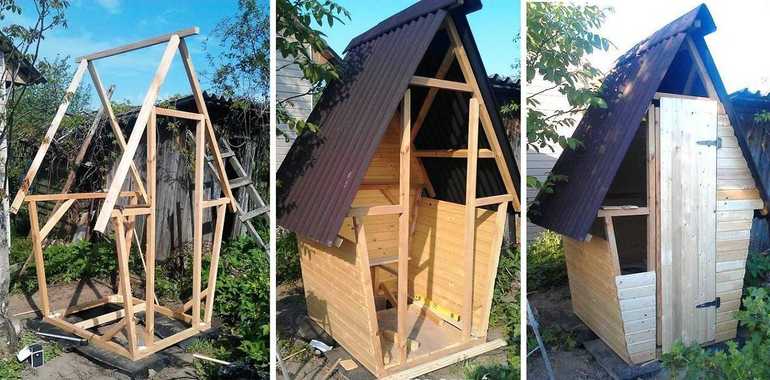
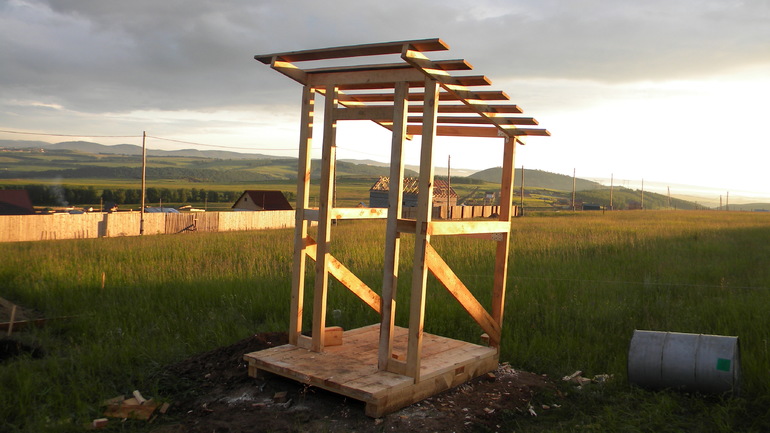
To begin with, they are engaged in flooring, the floor must be raised above the ground. This can be done using wooden posts, which are buried in the ground at 20-30 cm.
Then the wooden flooring is laid on the posts, but it must first be greased with a protective agent. After that, they begin to install vertical racks of timber, the cross-section of which should be 100 to 100 mm. The front struts are fixed to the podium using metal corners, and also fix the structure with support bars.
The upper part is fixed around the perimeter using the same bars. Now the assembled frame is sheathed, and a crate is made on the roof. For this, plywood is laid on it, and then roofing material.
Lastly, a chair and a door are installed. On this street toilet is considered ready.
Alas, no comments yet. Be the first!