
Entering your home, the first thing we get into the hallway, where we remove our outer clothing, carefully hanging its hanger. This attribute can be bought at the store or made independently according to your own sketch.
Mini workshop
The best location for the hanger, near the front door.
In order for the necessary corridor structure to fulfill its functions 100%, it must possess such qualities as:
- convenience;
- ease;
- reliability.
The choice of material for making the hanger depends on what the walls are made of.
Drywall wall may not withstand heavy construction, so you should think about the floor option. The main advantage is that it, if necessary, can be moved to another place.
Read more:How to make original shelves with your own hands
Necessary materials and tools
- tree (particleboard, fiberboard);
- paint or varnish;
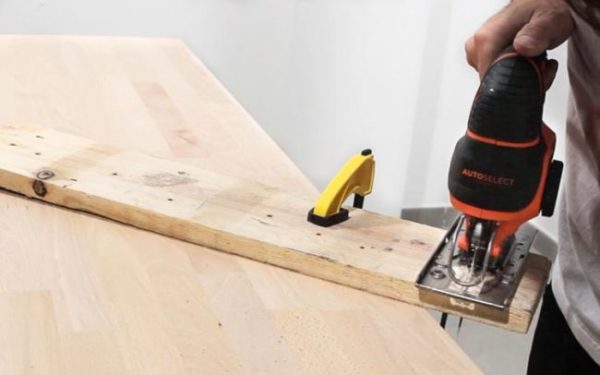
- jigsaw;
- hacksaw;
- sandpaper;
- hooks;
- screwdriver.
Principle of action
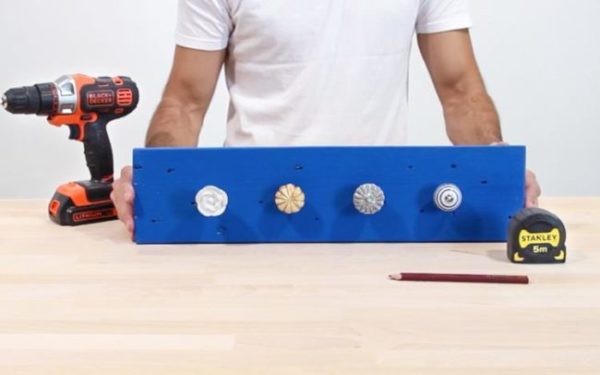
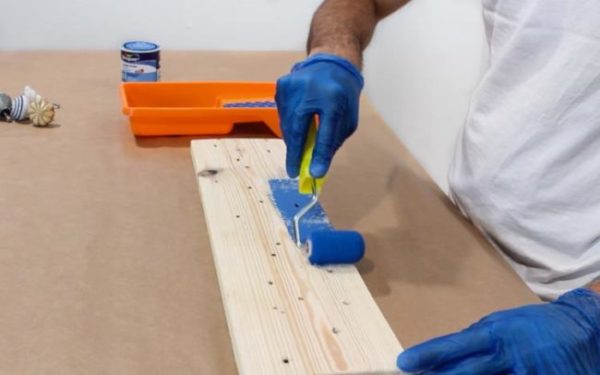
- Sand the boards of the right size, go over the entire surface with a sandpaper to get rid of all the roughness and make the material smooth.
- Apply paint or varnish. Wait until the paintwork has completely dried and screw the required number of hooks with a screwdriver.
- Attach the finished product to the wall in one of the convenient ways: by drilling right through to the wall or making loops on the back side, hang the hanger on the screws that were previously pinned to the wall.
- The makeshift garment holder is ready for use as intended.
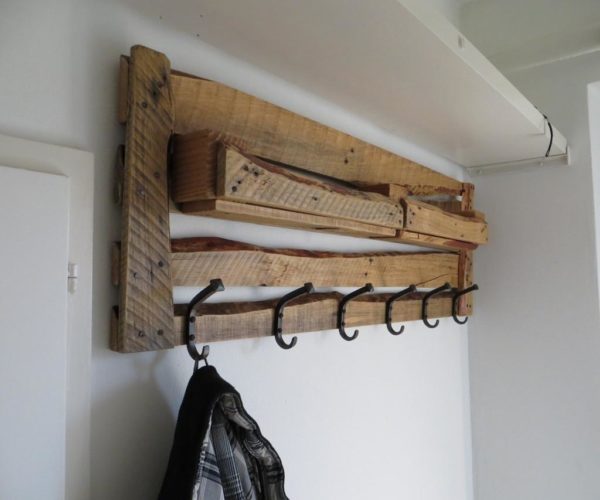
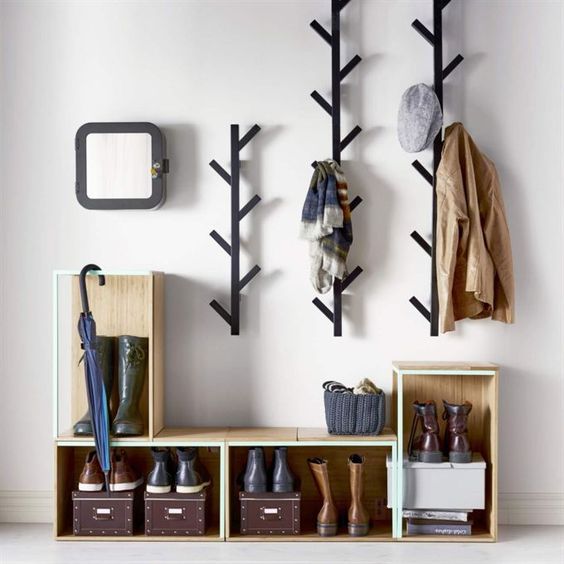
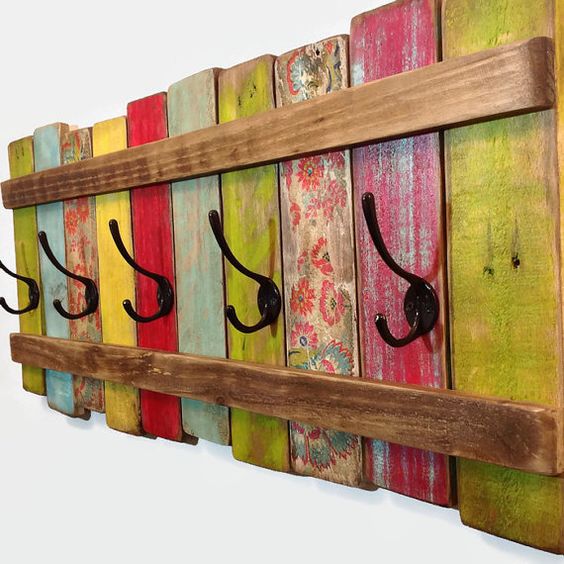
Original hallway hangers
For the manufacture of suitable unnecessary boards, skis, boxes and even old furniture. All these things are often gathering dust on the balcony or in the pantry.
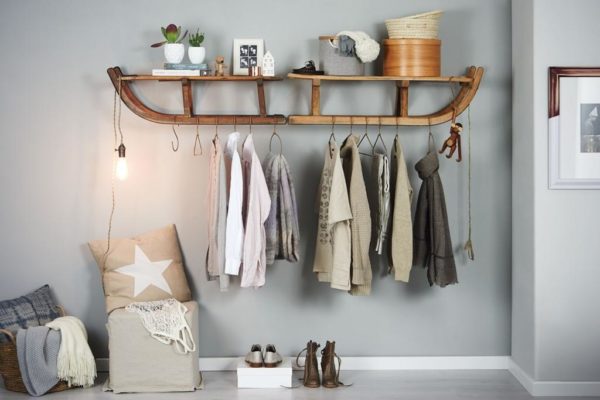
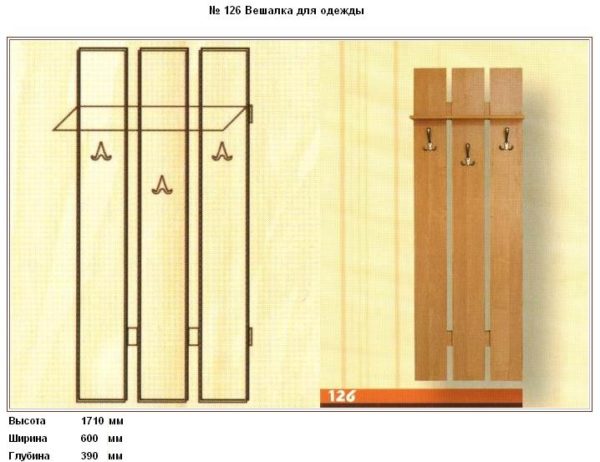
For the classic version you will need:
- boards (the quantity depends on the desired size);
- two cross rails;
- hooks;
- paint or varnish on wood;
- brush;
- screws;
- drill or screwdriver.
Having prepared the necessary materials and tools, we proceed to the action:
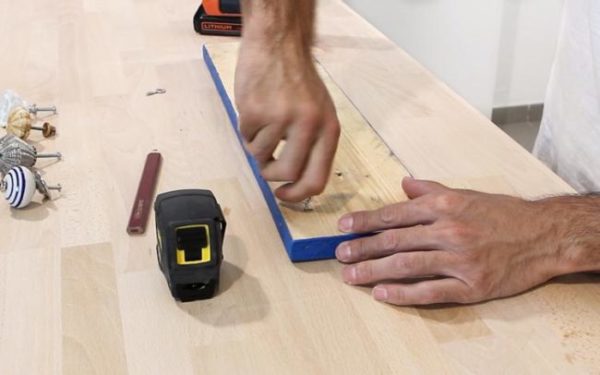
- We pass all the wooden parts of the future design with sandpaper and apply paint or varnish.

- We are waiting for complete drying. Without wasting time, we drill fastenings for the transverse rails to the wall, to which we will further fasten the boards.
- Having completed this part of the work, we proceed to fastening the hooks.
The holder for outerwear, as well as bags, umbrellas and other accessories is ready.
Read more:Ideas for interior room girls 15 years
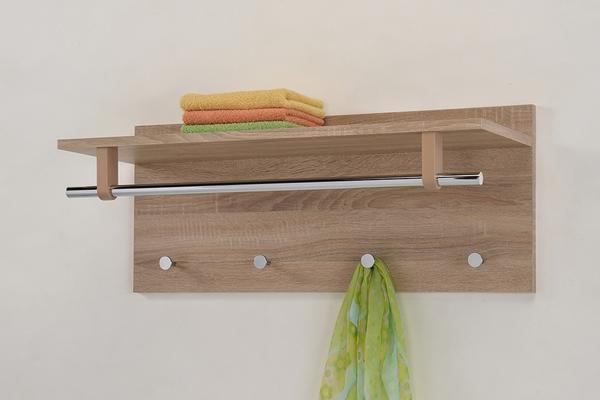
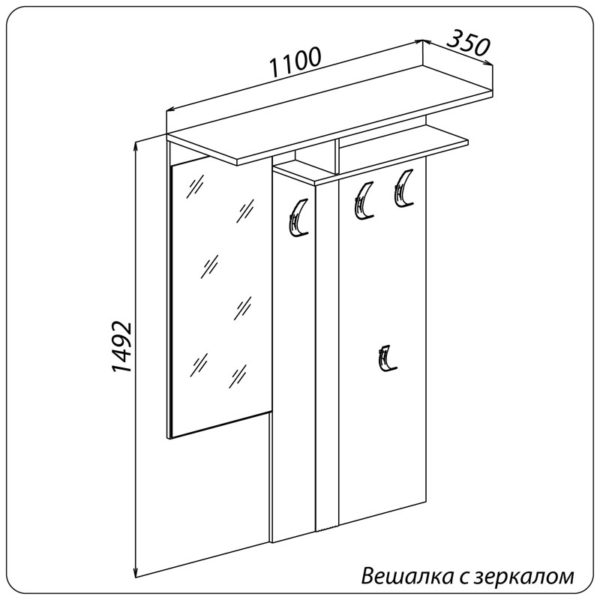
If desired, you can supplement the hanger with an upper shelf for storing hats.
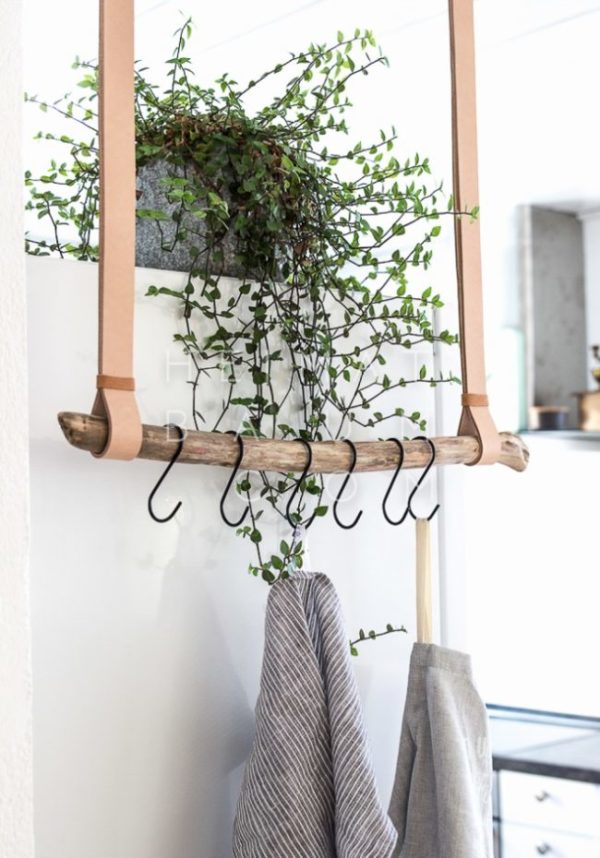
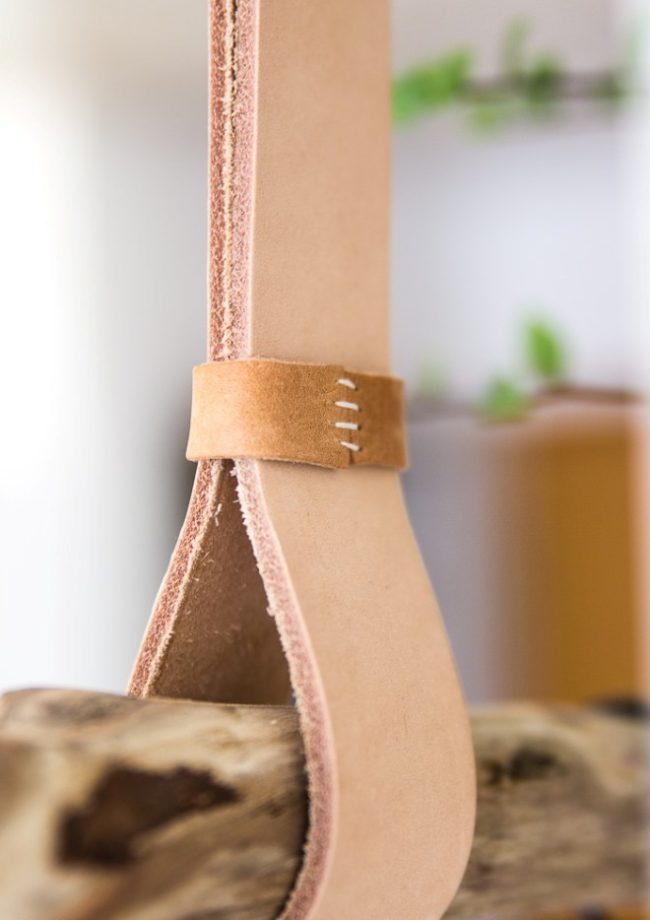
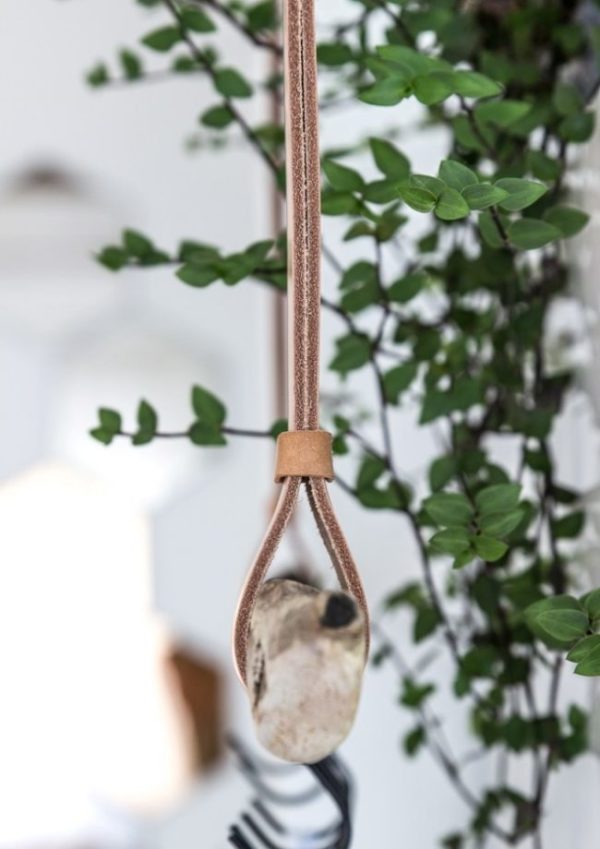
From leather belts
This type is ideal for hallways, bathrooms and kitchens. To make it will take quite a bit of effort and time.
Necessary tools and materials:
- soft leather belts - 2 pcs.;
- a few pieces of strong skin;
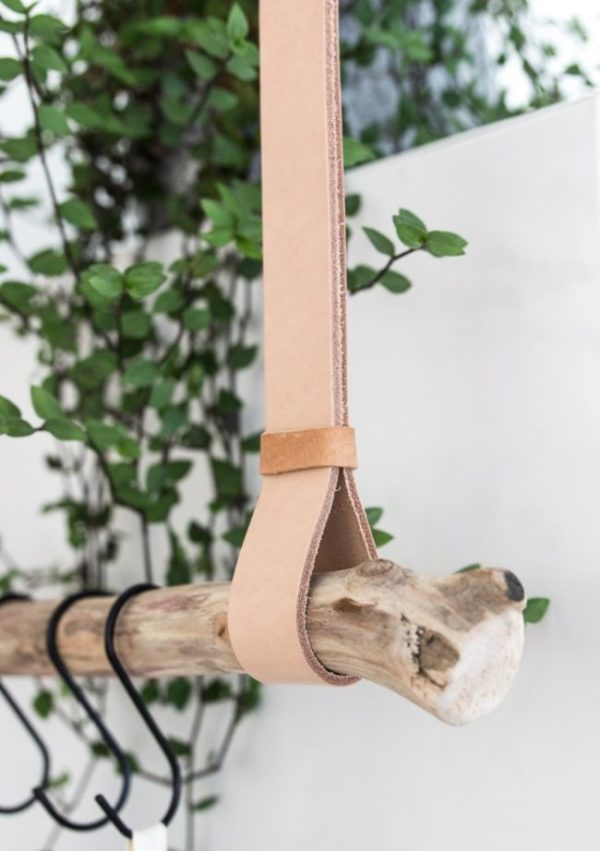
- stick (a strong tree branch is suitable);
- S-shaped hooks;
- scissors;
- needle and thread with which you can flash the skin;
- awl.
The principle of action:
- We cut leather belts, their length should be the same.
- We wrap the stick with them, marking the desired girth distance and sew together, a loop should be obtained.
- We do the same with the second belt.
- We decorate the seam with leather stripes. We grab the belt attached to the stick, sew it. We do the same on the other side.
- In the center of each strap using an awl we make a hole. We insert hooks in them, pre-drilled to the wall or ceiling.
- We hang on the wooden stick the required number of S-shaped hooks.
The original hanger is ready to use.
Read more:Home decor from old leather things (photo)
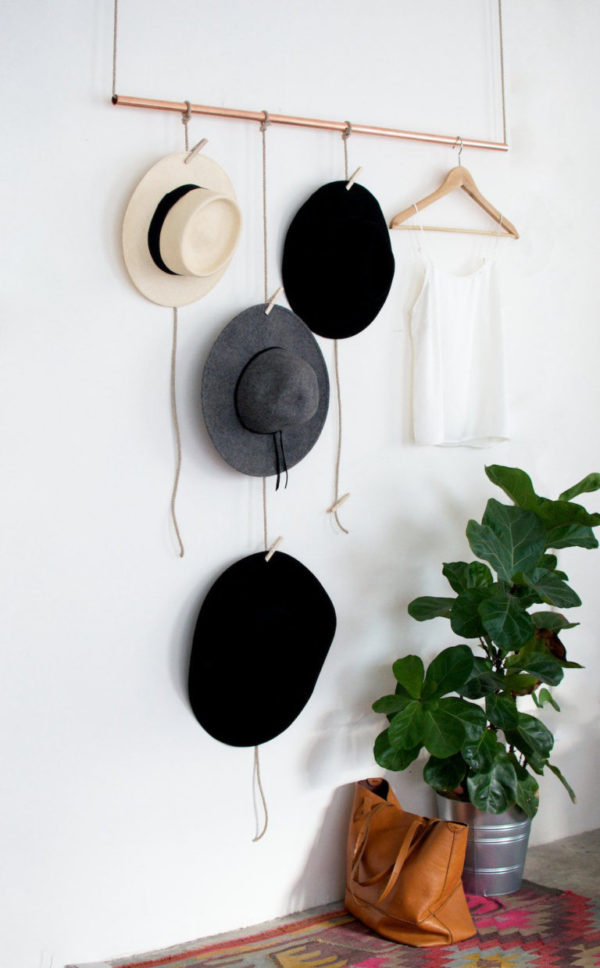
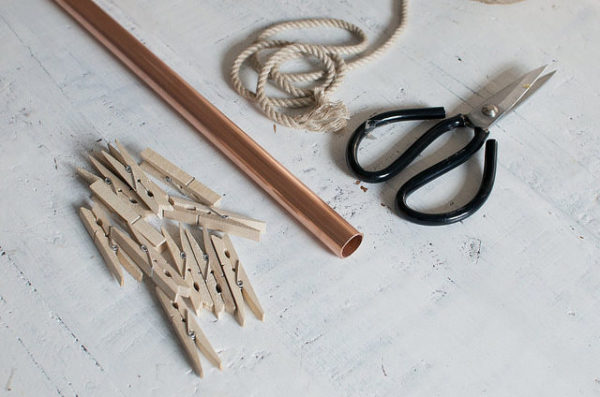
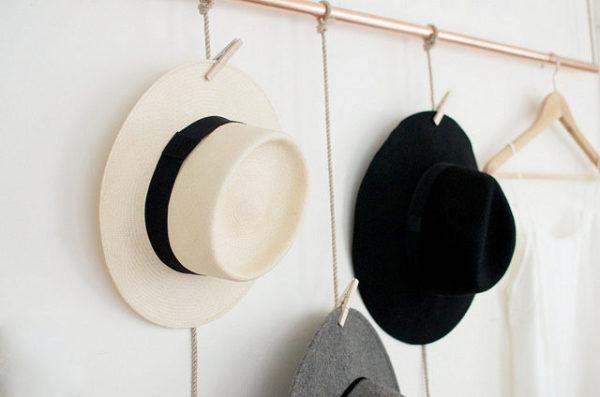
Copper pipe construction
Hat lovers will surely like this option.
Necessary materials and tools:
- copper pipe (choose its length depending on the free space on the wall);
- rope;
- clothes pegs;
- scissors.
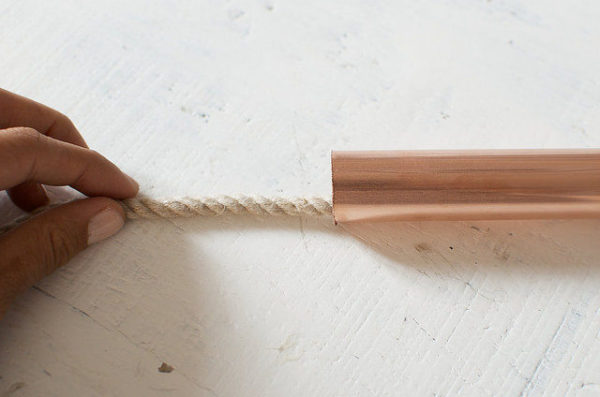
The principle of action:
- Having cut off the rope of the required size, we put it inside the pipe.
- We will need a few more pieces of rope to tie them to the pipe. We determine the distance between them so that the hats do not touch one another.
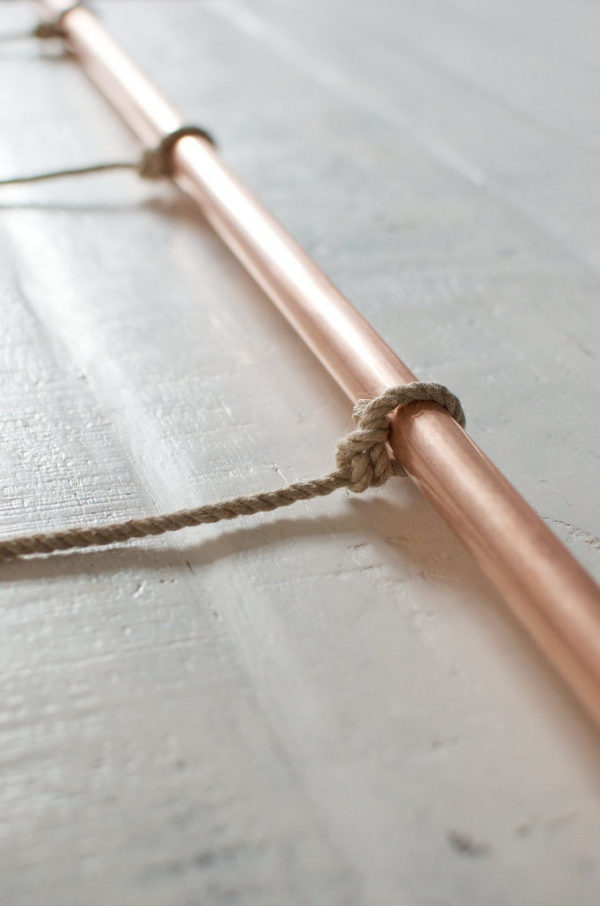
- We fasten the ends of the rope on which the pipe weighs on hooks to the wall or ceiling.
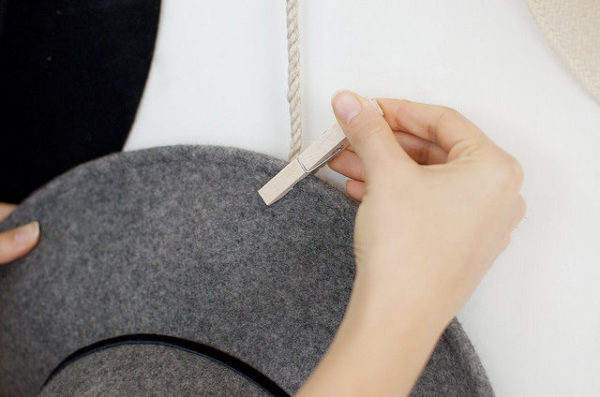
- Fasten clothespins to the ends of the hanging ropes.
The hanger is ready, you can hang hats on it. In addition to them there is a place for clothes hanger.
Decorating the interior of an apartment or a country house is easy. To do this, you need very little free time, a minimum of materials, often things that simply did not reach your hands and throw away fantasy are often suitable.
Read more:5 do-it-yourself pillow decor workshops
To breathe in unnecessary things such as: old oars, skis or boards, a second life, paint will help. There is another, no less interesting option, to go through the foundation with an antiseptic. In this case, the natural color of the material is preserved. Everyone can think of a shape of a hanger and its decor at its discretion. Hooks can be bought at the store, or again, use what is at hand. This is how easy and simple it turns out to be an unusual, and most importantly, an exclusive model of a hanger.
Alas, no comments yet. Be the first!