
To choose high-quality double-glazed windows, to correctly install them in window openings, as it turned out, this is not the end of the work. Foam is visible along the edges of the frame of the plastic windows, in some places other building materials. And this calls into question the thermal insulation in the house. It is necessary to make accurate slopes and of course it is important that they are not afraid of wet cleaning. Let's consider how and how to arrange the windows from the inside. For convenience, we provide photos step by step, diagrams and videos.
Content
Processing drawing
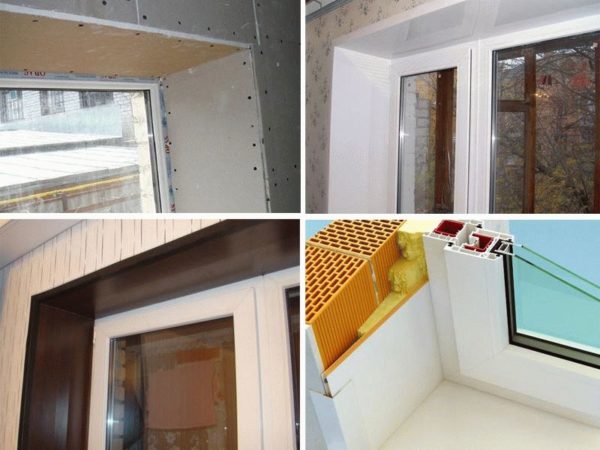
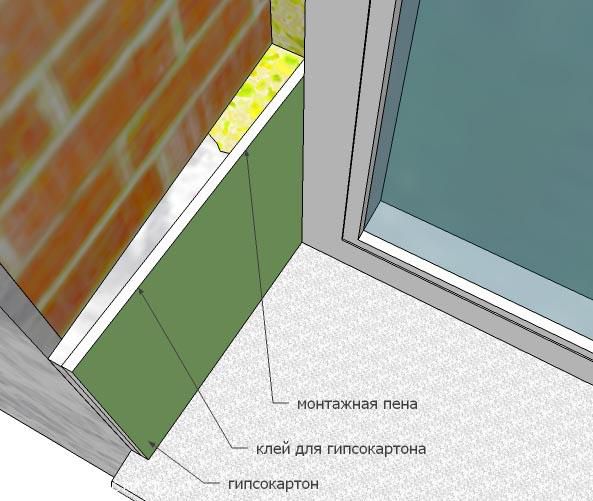
This scheme is for volumetric representation of the internal structure of the slope. In this case, a sandwich panel is used, but in this way you can arrange any selected material.
Processing options
To handle the slope, first of all, you need to choose a method that suits the installed window or just like the owner.
Plastering
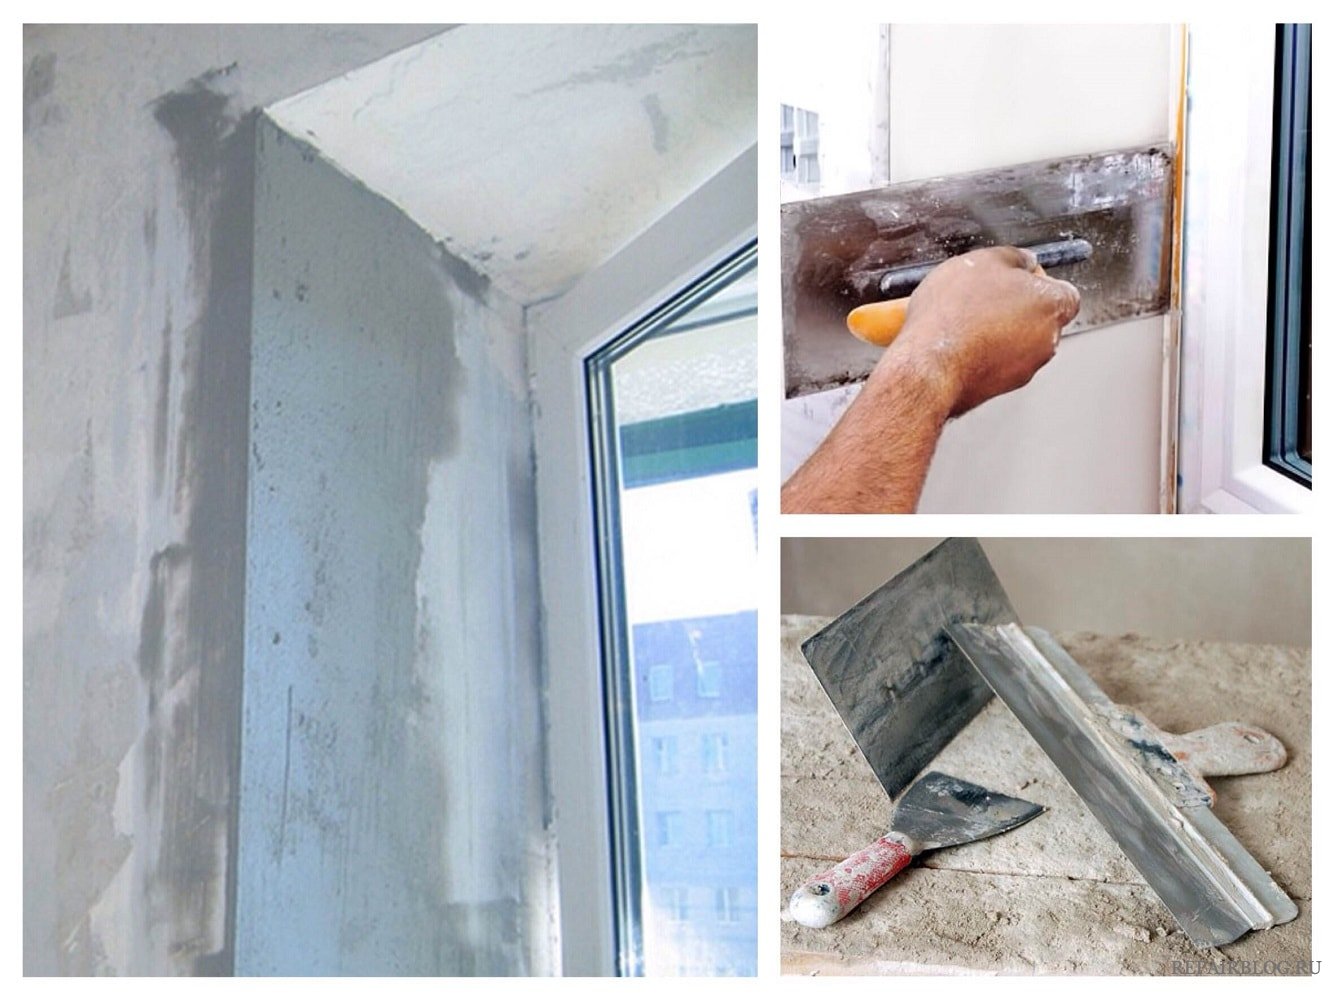
This is the most common method and relatively inexpensive. After thorough plastering, the wall must be painted. Or you can glue the dried solution carefully with plastic.
Plastic sheathing
A large selection of shades will allow you to choose the material in color to the window frames or in tone to the already processed walls. If you have at hand all the necessary tools, the work will move very quickly.
Read more: What lighting to choose for the bathroom and how to implement it
Drywall Processing
A great way for fairly wide slopes. This finish requires additional processing. But the perfectly flat surface of the turns will certainly delight the eyes.
If you plan to replace the windowsill, this must be done before processing the slopes.
We start the work by protecting the window, window sill, battery and pens. Cover with paper or plastic wrap. We fix with masking tape.
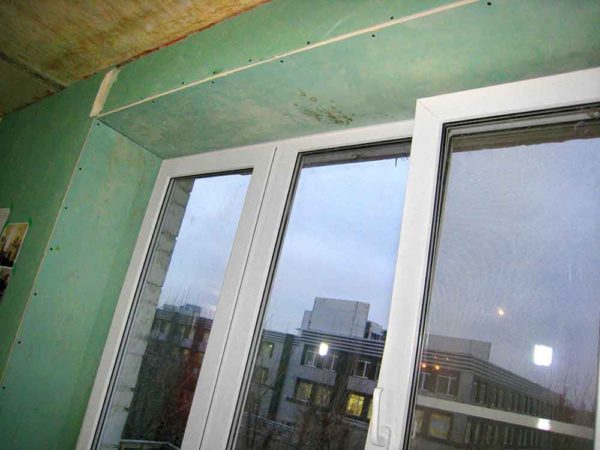
Window opening preparation
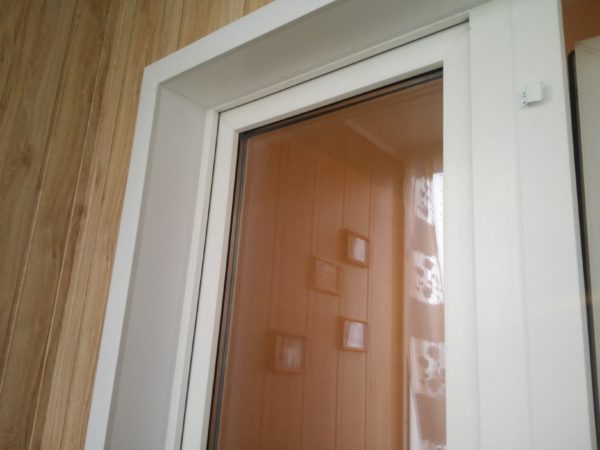
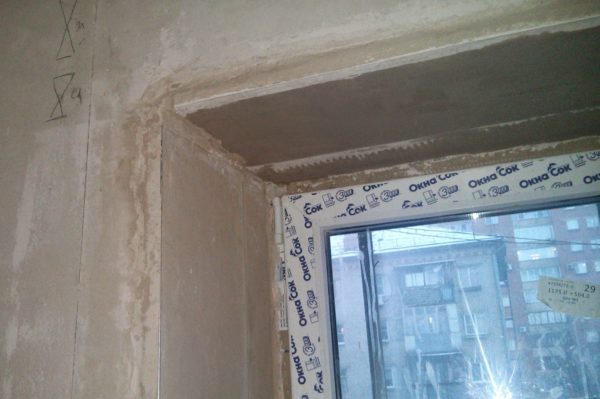
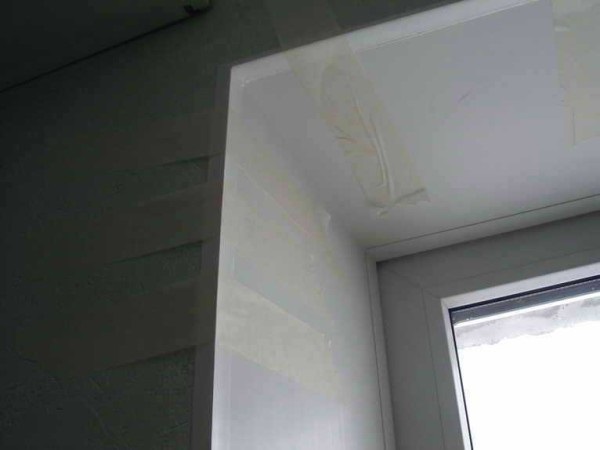
Beautifully designed slopes on plastic windows, this is not only a beautiful appearance, but also protection of fasteners from corrosion, sound and thermal insulation. Qualitatively done work also reduces the likelihood of freezing and fogging of double-glazed windows. Slope handling is necessary on both sides. In this article, we will reveal some secrets of how to make a window from the inside with your own hands.
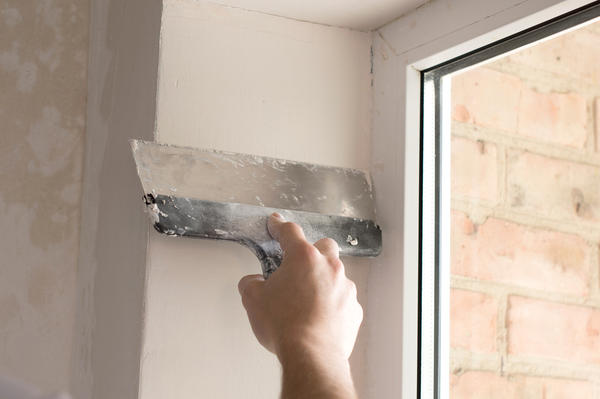
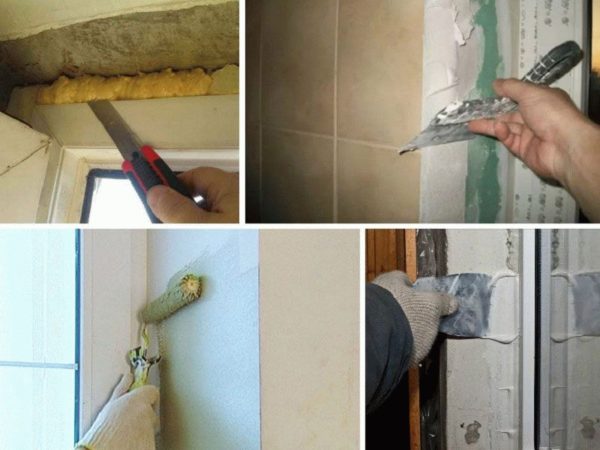
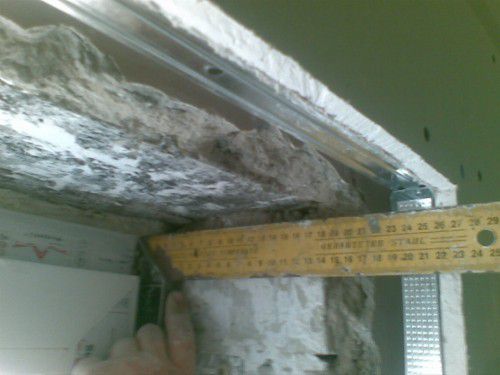
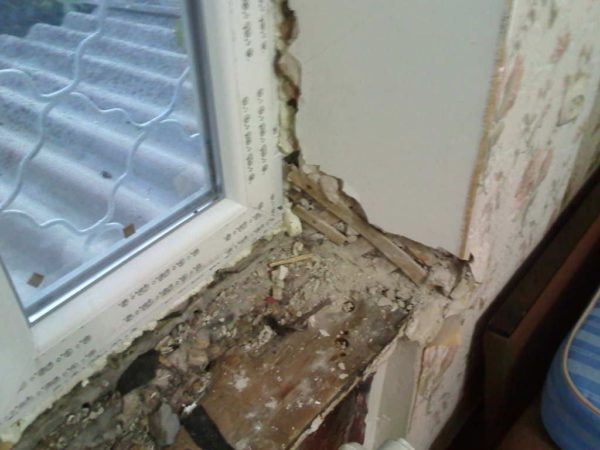
- To begin with, we remove all the protruding sections on the slope with a chisel or a convenient tool. We remove the wall elements destroyed in this place.
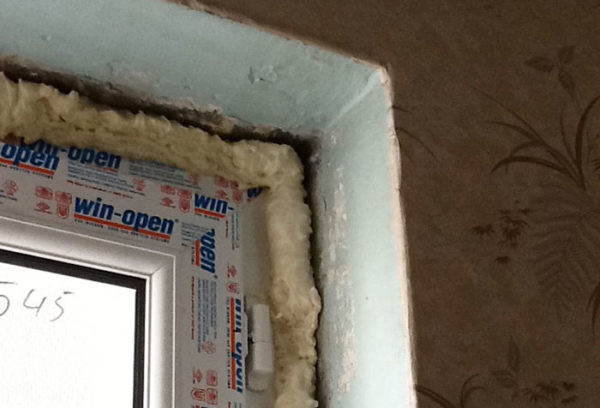
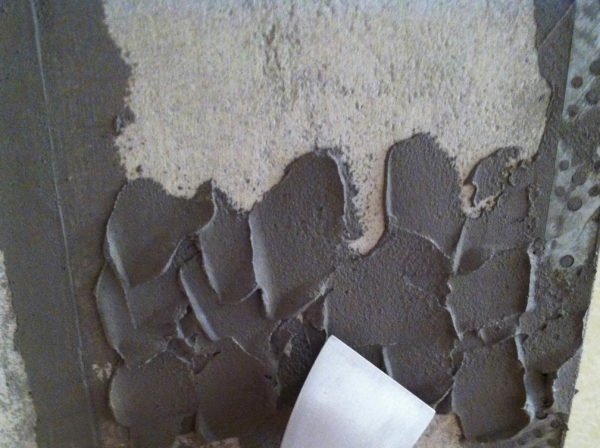
- Using a paint knife, we remove the excess foam, which was used to seal the double-glazed windows. On the one hand, we align it with the frame, on the other, we cut it, relying on a window slope. In order to prevent air from leaking, the cut can be sealed with special mastic.
- The next step is to ground the surface. Before plastering we use a deep penetration agent, this will improve adhesion. In other cases, we treat with an antiseptic.
Plaster slope treatment
If you chose this material for decoration on plastic windows from the inside, we reserve patience, because after each step you need to dry the wall. We will try to tell you as detailed as possible step by step how to make slopes with stucco.
Materials:
- protective film for the window;
- adhesive tape or plain tape;
- primer solution;
- beacon profiles;
- hard putty (cement or acrylic mix).
Instruments:
- building corner;
- a simple pencil;
- roulette;
- hammer drill;
- drill;
- screws and dowels;
- primer roller;
- rolling out for the roller;
- scissors for metal;
- spatula of different sizes;
- building level;
- the rule.
How do:
- We close the window with a protective film, fix it with tape.
- A large gap between the frame and the wall will increase the turn. This means that daylight will more likely enter the room.
- In order to prevent air from leaking, the plaster must be applied not only to the wall, but also to the window frame, mark it with a pencil with a distance of 5 mm.
- We draw a point to the end of the slope, that is, to the wall. We attach the corner to the frame and mark and with the help of this ruler, fix the distance with a pencil. We do this with all angles.
- From this point to the wall we measure 6 mm, note the level for the lighthouse.
- Now from this point we note the size of the left and right turns, in this case it is 2.5 centimeters.
- And in the same way we draw the upper horizontal line.
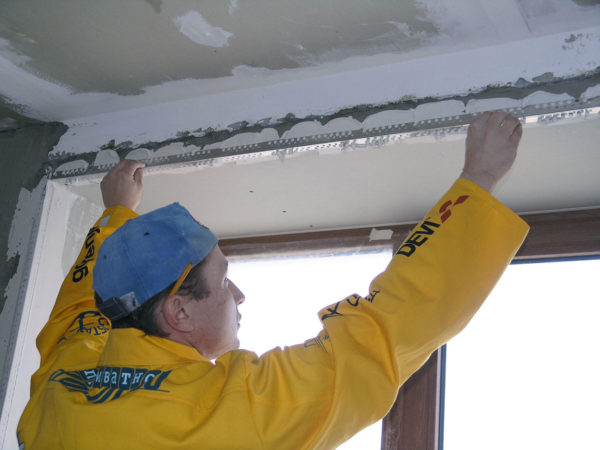
- On all three walls near the window we make several holes with a puncher. We hammer the dowels into them and screw the screws so that the hats are aligned along the line for the lighthouse.
- Pour the solution into the rolling, wet the roller and primer the wall at the window. Leave the treated area to dry completely.
- We measure and cut the desired length of the beacons.
- We make a mortar for plaster, put it with a spatula on the wall in several places near the window itself.
- We attach all three lighthouses to this mass, the hats of the screws will keep them at the right level.
- We apply the solution with a spatula, carefully so as not to go beyond the mount. Each time the level controls the line of the lighthouse.
- We fill the space between the metal and the wall. If this distance turns out to be large, you can attach small strips, thus saving the solution. Let the mass dry.
- We align the horizontal line above the window according to the rule. We fasten it with screws directly on the wall.
- Spread the solution with a spatula 10 cm wide. Then we take a 35 cm tool so that it could immediately capture the width from the window to the end of the opening.
- We put a spatula to the beacon and the rule and level the applied solution. And also handle side turns.
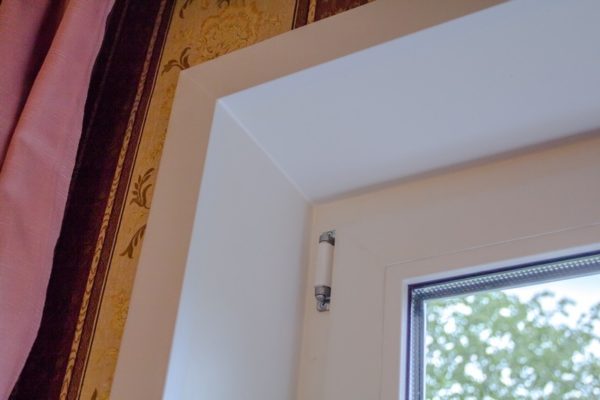
When the slopes made of plaster dry, you need to go through it with starting and finishing putty, then paint. Neatly processed plastic windows will have a very aesthetic appearance from the inside and will not allow the penetration of drafts.
Read more: Ideas for interior design hallway in a private house
It is good to use the laser level for flat lines, this will greatly facilitate the work. If this is not possible, this line can be marked with a corner and a ruler.
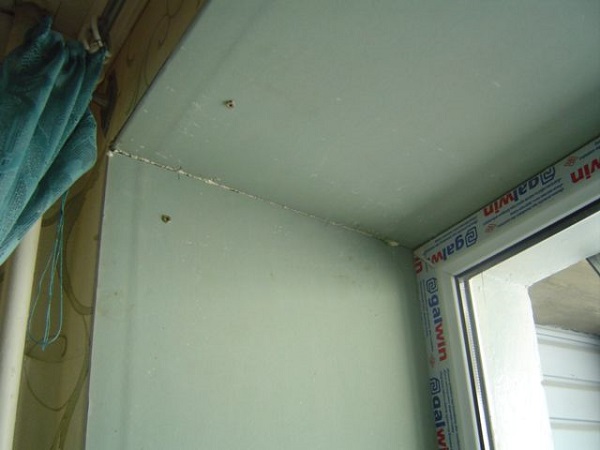
Drywall slope
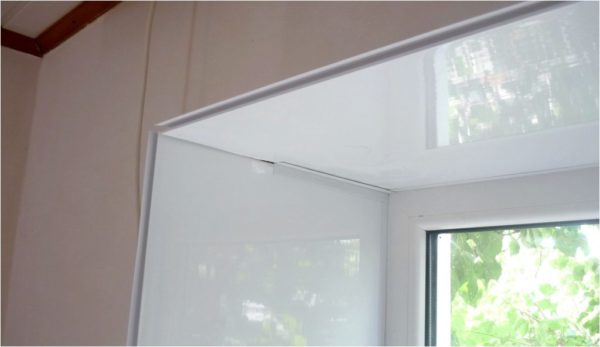
It is better to make slopes on plastic windows using the "with the dawn" technology, this is when the wall from the double-glazed window to the room expands. Thus, more light enters the room. On the inside, the design with drywall has a very neat appearance due to the smooth surface of the sheet. And we will mount it on a metal profile.
Materials:
- moisture resistant drywall with a thickness of 12.5 mm;
- roughing and finishing putty;
- insulation (mineral wool or polystyrene foam);
- adhesive for fixing insulation;
- polyurethane foam;
- fiberglass mesh;
- perforated corner;
- self-tapping screws;
- fiberglass mesh for seams;
- (L-shaped) starting profile.
Instruments:
- scissors for metal;
- spatula;
- drill;
- hammer drill;
- square;
- paint knife;
- roulette;
- sandpaper;
- building level.

Training:
- We make a measurement of the window opening.
- We remove the old excess and crumbling layer of plaster.
- If we do the wireframe method, only significant damage is plastered.
- By measurements, we sketch the scheme of slopes.
How to do it:
- Cut off the excess foam.
- According to the measurements and the scheme, we cut out drywall.
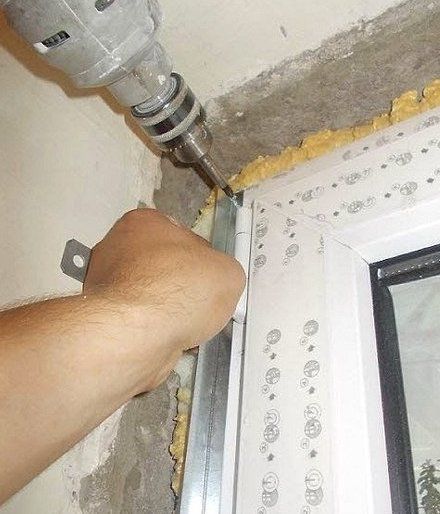
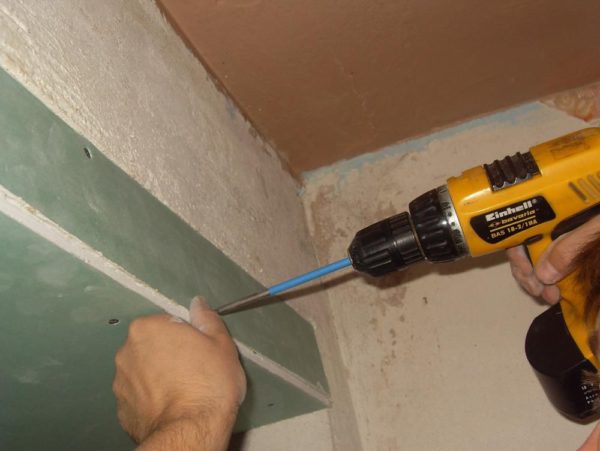
- We cut the metal profile in size, fasten it with self-tapping screws along the perimeter of the window.
- Using special glue, we fasten the insulation to the slopes.
- We insert drywall into the metal profile and fix it with screws.
- For all joints we glue a special mesh.
- We close the outer corner with a perforated corner.
- We apply a thin layer of rough putty, let it dry. Wipe irregularities with sandpaper.
- We cover with finishing putty, we also level it.
We select the paint and cover the ideal surface of the slope.
It is better to buy building materials with a small margin, so that later you do not waste time on an additional trip to the store. The dimensions of the window openings may not be as ideal as it seemed, respectively, the material consumption will not be calculated.
Read more: Chinese-style living room 2019 - interesting ideas, photos
Making slopes with plastic
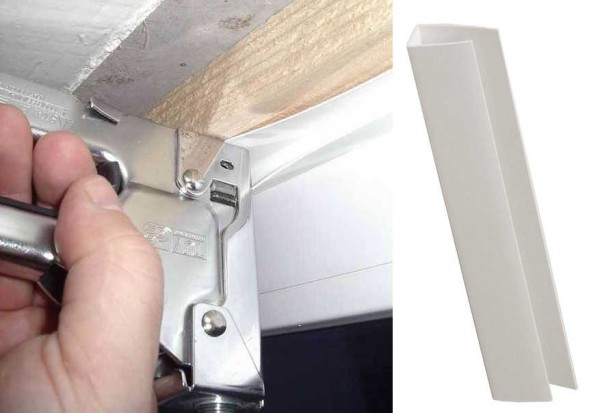
Such decoration of plastic windows from the inside is very practical and completely not afraid of wet cleaning. An additional material will be a metal profile. Step-by-step instructions tell you how to properly make plastic slopes.
Materials:
- plastic;
- "Elka" to the plastic;
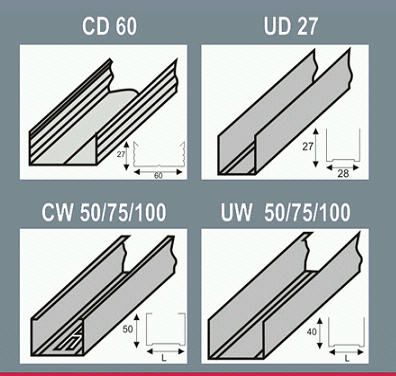
- metal profile 60 × 28;
- guide metal profile 27 × 28;
- construction foam;
- finishing corner for closing the outer joint;
- rough putty;
- silicone;
- 25th screws for metal.
Instruments:
- building corner;
- roulette;
- pencil;
- grinder or scissors for metal;
- level;
- paint knife;
- putty knife;
- screwdriver.
How do:
- We close the window and window sill so as not to spoil it during the work.
- We measure with a corner and mark the turn of the slopes, draw a line for the profile.
- We also do the other side of the window.
- We measure the height of the window opening near the frame and the exit near the wall.
- We cut off the 60 × 28 profile in 2 strips of one and the other length.
- In order to make the slope even, we work under the level. We expose and mark the location of the metal strip strips.
- At the corners we fix the guide frame.
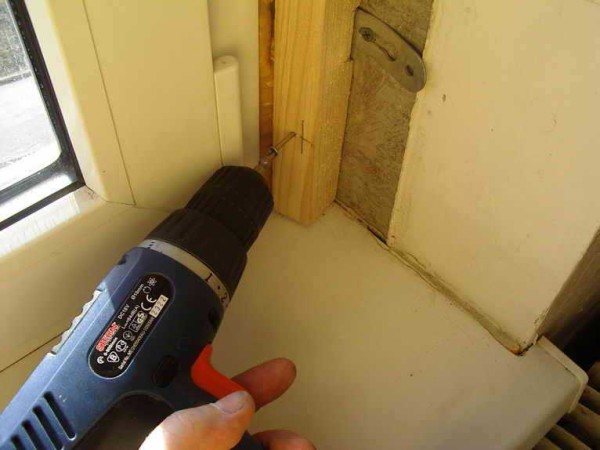
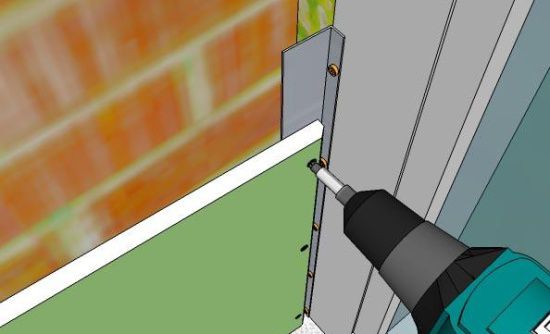
- We expose and fix the end metal profile. We make sure that the mount passes close to the frame.
- We measure and cut strips of plastic, cut the “elka” to it and put it on the inside of the canvas.
- Fill the space at the window between the profile and the wall with foam, it makes additional thermal insulation and fixes the frame.
- We attach plastic to the wall, pry up the "Elka" and use a screwdriver and self-tapping screws to fasten it to the metal profile. Thus, the caps of fasteners are hidden in the finishing tape.
- We take measurements of the upper corners. Using the level, we mark the exact pivot line. We measure and cut 2 strips of the guide profile of the desired length. We attach them to the upper marked lines.
- We measure the length of the upper horizontal wide strips of metal. We measure from the inside of the guide profile.
- Since the slope is with a turn, one strip is longer. We insert a short profile to the window, then a long one. The design is fixed with screws.
- To cut the plastic for the top of the slope, you need to make accurate measurements, then there will be no gaps between the joints.
- On the sheet of plastic, mark the long side, lower straight lines from it along the square. From them on both sides we reduce the strip to the desired length. That is, a trapezoid should turn out, we cut off the canvas with a jigsaw or knife.
- On the side of the plastic adjacent to the window we put on an “Elka”, then pull it on the sides, the finish touches the butt end-to-end. Only now we measure the width of the facing strip and cut off the excess.
- We fix the plastic with screws inside the "Elka". We fasten the finishing cloth along the outer perimeter in the same way only on the front side.
- We look at the profile looking on the wall with rough putty. When it dries, we close the corner and the screws on the edge of the plastic with a decorative corner. Fasten it to silicone.
Read more: Advice on how to increase your apartment by 1 room
If you want to make slopes on plastic windows yourself, this is not so difficult. And it does not matter in the apartment, or in a private house, outside or on the inside of the room. Detailed descriptions and photos will help to implement the plan.
Alas, no comments yet. Be the first!