
A stylish and roomy shoe rack is one of the main pieces of furniture in the hallway. Indeed, thanks to her, your favorite shoes, boots and sandals will always be in order. An open shoe rack is perfect for storing casual shoes. Prices for such shelves are growing every day. However, you can make this piece of furniture yourself.
The following materials are needed to make a roomy open shoe shelf:
- Boards (thickness - 1.5 cm., Length - 100 cm., Width - 15 cm.) - 2 pcs.
- Boards (thickness - 1.5 cm., Length - 140 cm., Width - 7.5 cm.) - 8 pcs.
- Primer - 1 l.
- Paint for wood - 1l.
- Silicone - 100 g.
- Self-tapping screws (length - 3 cm.) - 32 pcs.
- Metal corners (width - 1.5 cm, length - 1.5 cm) - 16 pcs.
- Self-tapping screws (length - 1 cm.) - 32 pcs.
These materials are designed for the manufacture of an open shoe shelf, whose length is 70 cm, width is 30 cm, and height is 50 cm. If you need a shelf with other sizes, the amount of materials must be counted.
To make a shoe shelf yourself, you will also need the following tools:
- Screwdriver;
- Sander;
- Hacksaw;
- Jigsaw;
- Small spatula;
- Brush for paint.
Having prepared all the materials and tools, you can get to work. The main thing is to adhere to the following algorithm of actions:
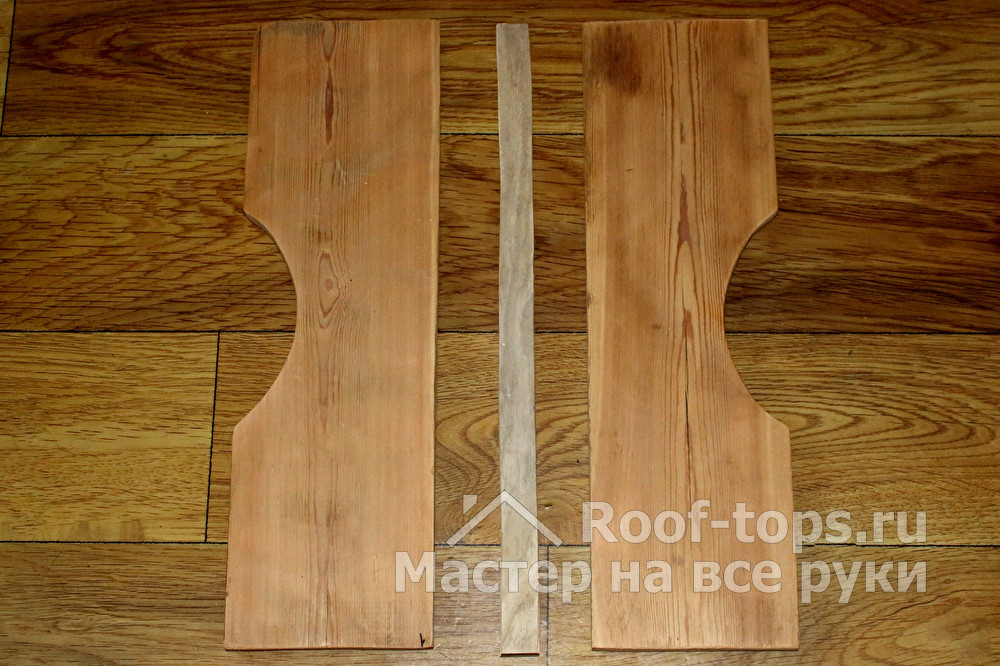
Prepare the side walls of the shelf. Boards 100 cm long. Cut in half using a hacksaw. On one side of each half draw an arc. The length of the arc is 18 cm, the depth is 3 cm. The distance from the beginning of the board to the beginning of the arc should be equal to the distance from the end of the arc to the end of the board. Thanks to the curly arc, the shelf will look more neat. Saw the curly arcs using a jigsaw, and then sand the boards with a grinder. In this case, boards with a width of 14 cm were used for the side walls of the shelf, so small wooden inserts were made between the two boards.
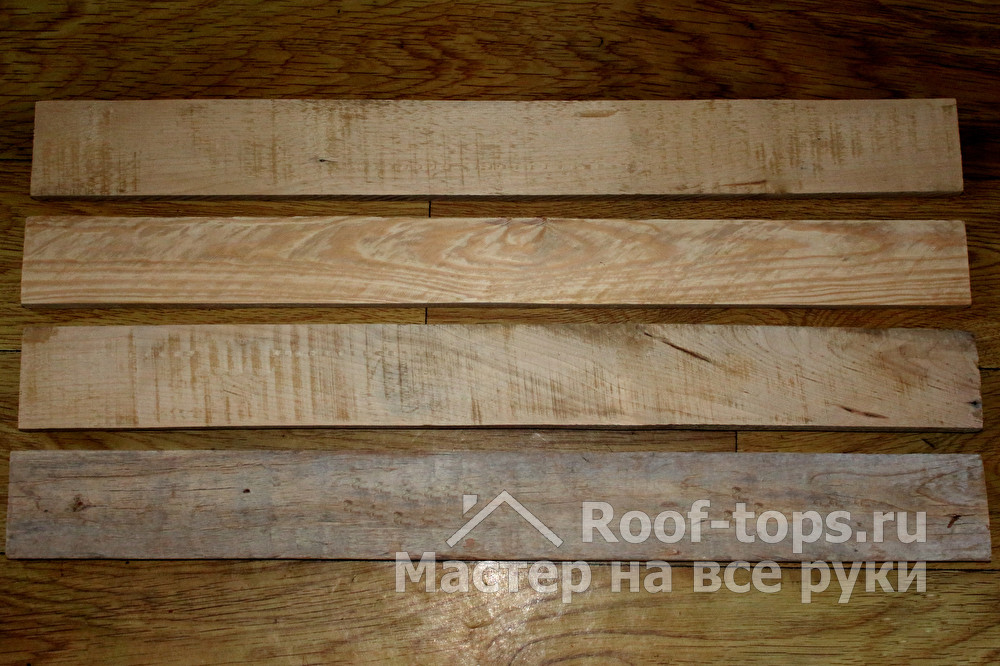
Boards 140 cm long. Also cut in half using a hacksaw. To make them smooth, go over them with a grinder.
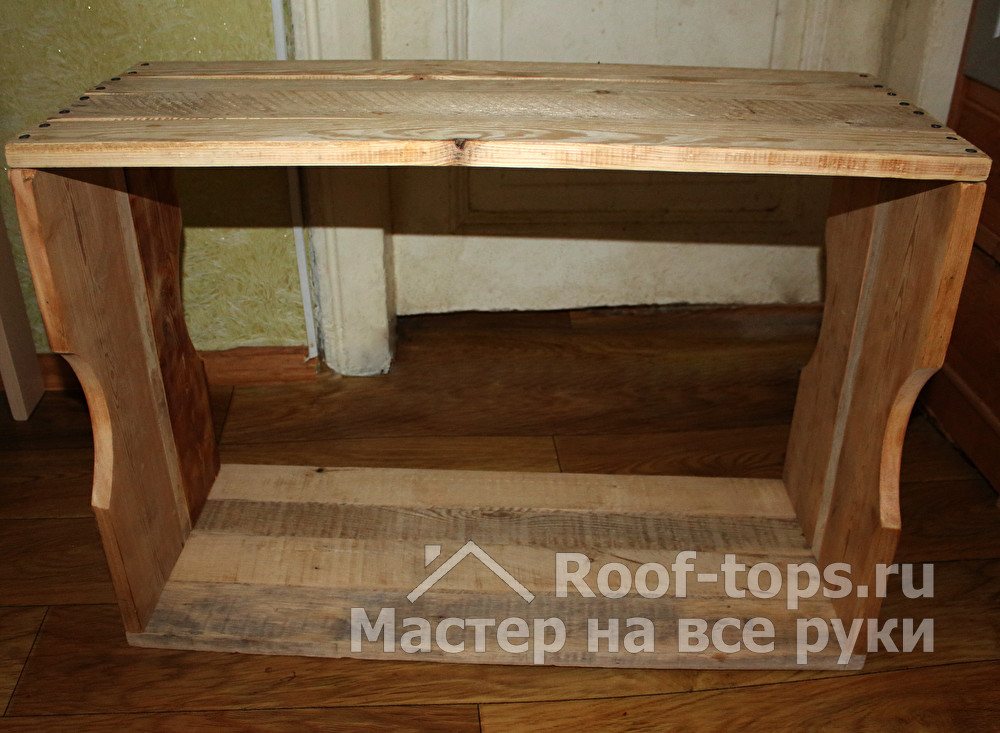
You can start assembling the shelves. This is best done together. Set 1 side flap horizontally, lay a 70 cm long board on top. Fasten the board with two 3 cm long screws. Then, using screws, fasten another 70 cm board. Close to the attached side flap, put the second wing symmetrically, and then fasten another 2 boards, 70 cm long. Attach the remaining side wings to the structure, and then fasten the 4 lower boards.
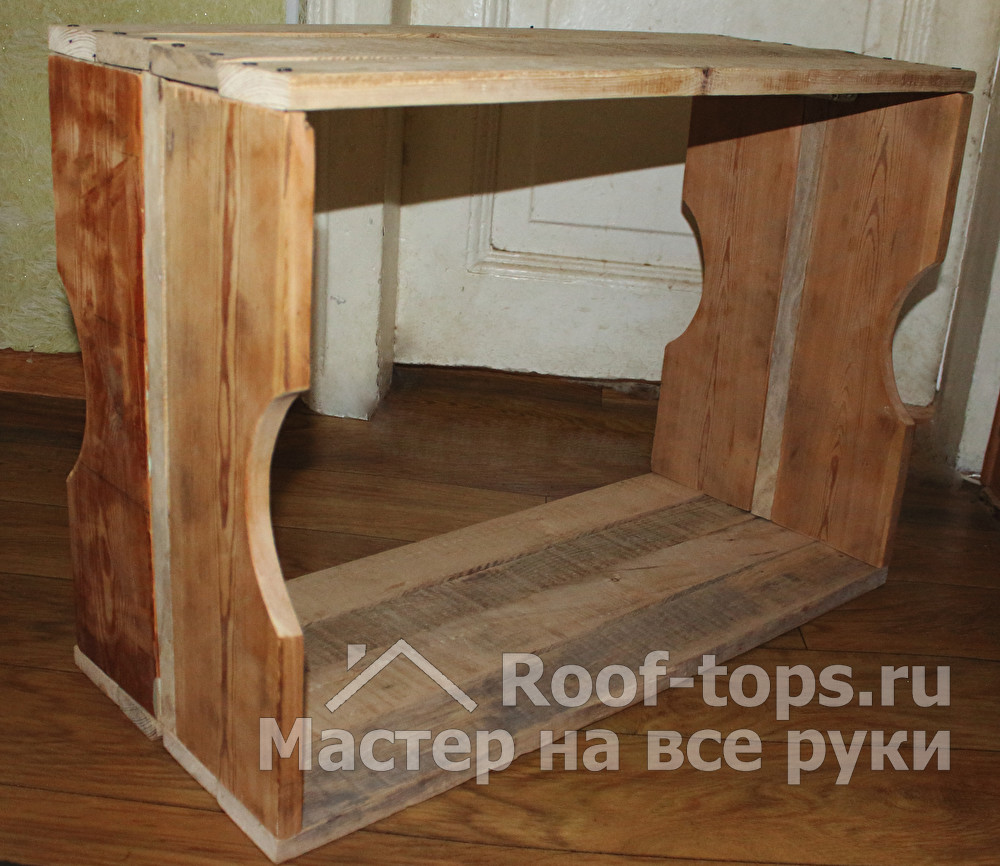
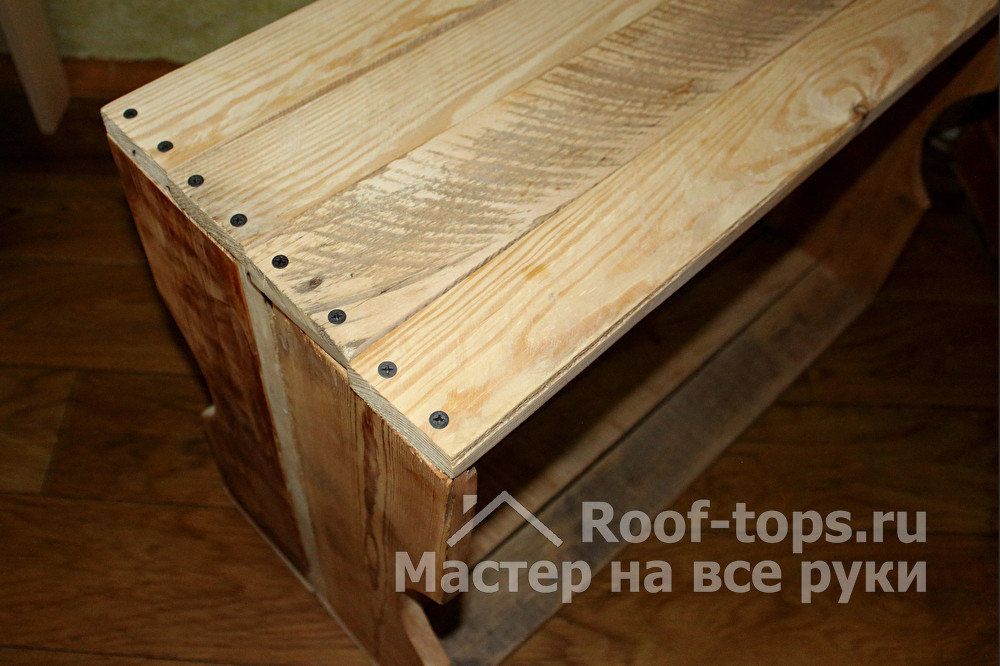
Middle shelves are mounted on metal corners. Screw the metal corners from the bottom on both sides of the board using small screws and a screwdriver. The main thing is that the length of the self-tapping screw does not exceed the thickness of the boards. Coat the gaps between the boards with silicone using a spatula. First open the shoe shelf with a primer, wait until it dries, and then paint with a special paint.
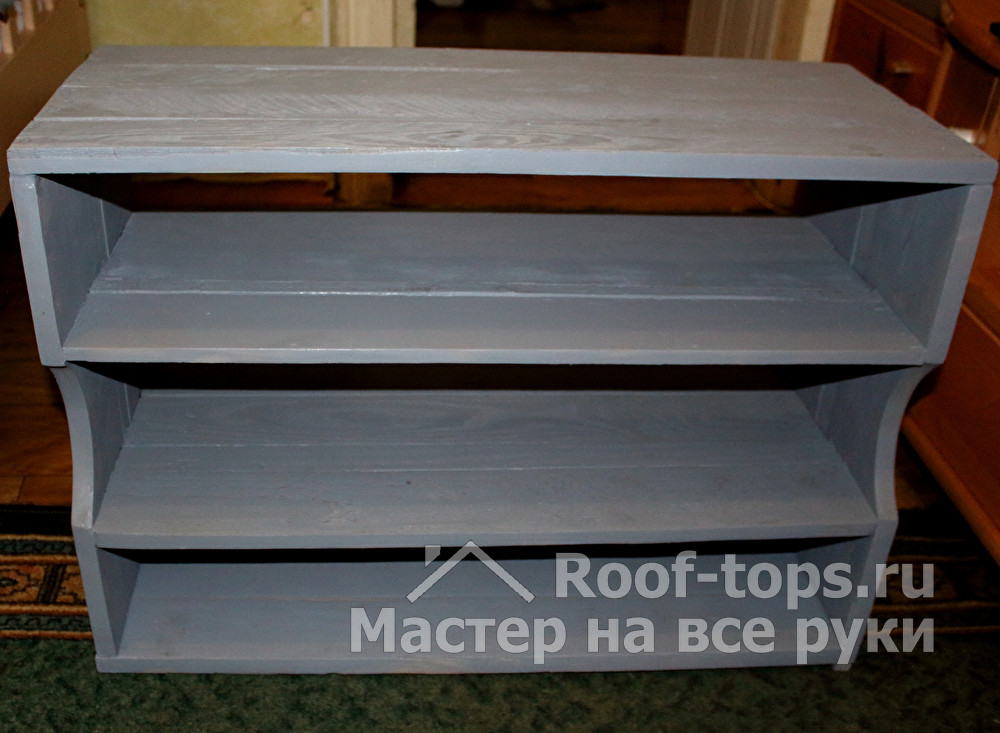
In order for your shoe shelf to serve you for a long time and look more attractive, you can open it with varnish. On the sides of the shelf, if desired, you can attach small hooks for metal shoe spoons.
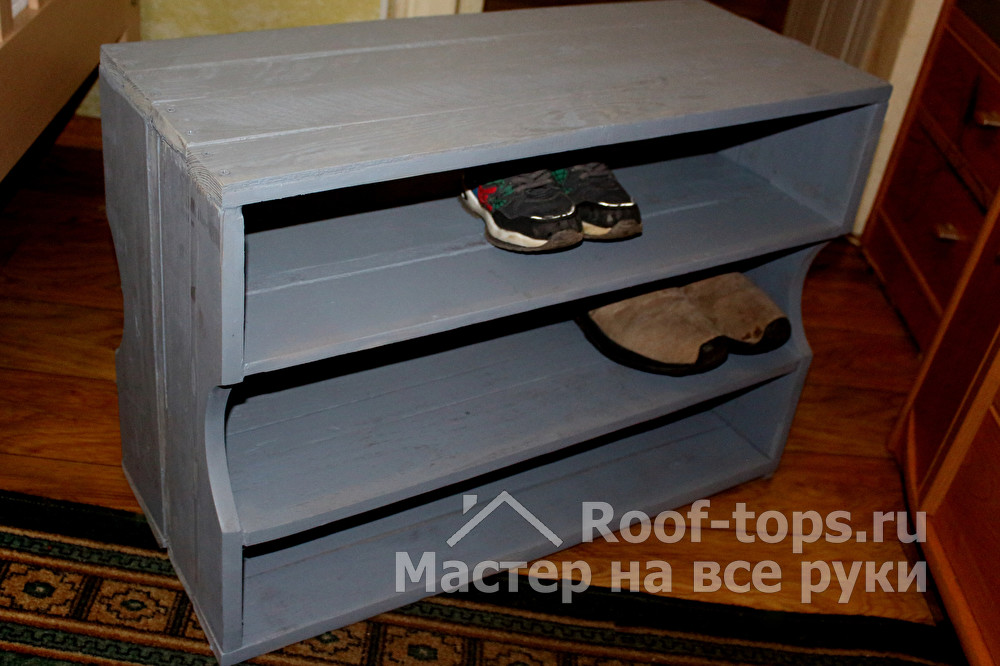
Such a shelf is practical and roomy. Men's shoes can be stored on the bottom stand, women’s on the middle, and children’s on the top. In addition, at the top you can put special tools for the care of shoes.
Alas, no comments yet. Be the first!