

The original cabinet is far from the last place in the field of interior design. This product is always subject to stringent requirements, as it must be not only roomy, but also compact so as not to take up too much free space. The models on the market do not always meet the existing requirements, which is why home craftsmen prefer to make a cabinet with their own hands.

Selection of the main material
The modern consumer market is ready to offer various materials, thanks to which any craftsman can make a wooden cabinet with his own hands. It is necessary to approach the selection of suitable raw materials with maximum responsibility so that the resulting product meets all the requirements placed on it. Experts note that the following types of wood have proven themselves best:
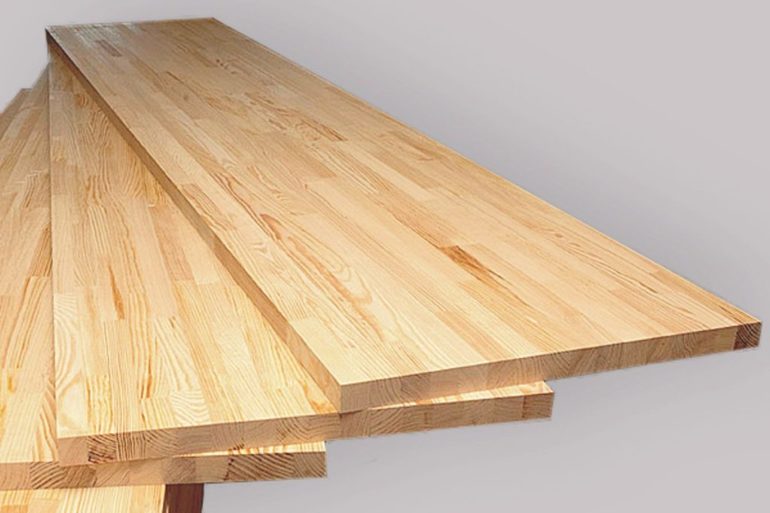
- Solid boards. This material can be made from different types of wood. On sale are a variety of sizes of boards. For the construction of the cabinet, birch, pine and oak are most often used. These types of wood are characterized by high strength, optimal resistance to temperature changes and air humidity.
- Plywood. This is a universal multilayer material, which has good strength and durability. Plywood is absolutely safe for human health and the environment. You can purchase solid plates, which greatly simplifies the process of manufacturing and assembling a makeshift cabinet for clothes.
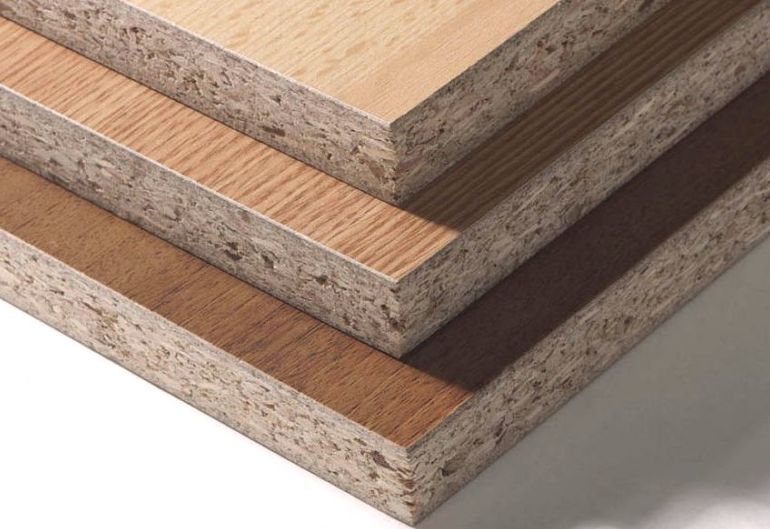
- Particleboard. Such wood chipboards are the most popular, as they are ideal for creating various furniture. The great popularity of the sheets arose against the background of the fact that they are not only high-quality, but also affordable. The finished product will withstand moisture and sudden changes in temperature. The design does not deform in an aggressive environment and boasts excellent strength properties.
Making a sliding wardrobe from pine is a rather time-consuming process, as the breed itself is not hard enough. But choosing this material, the master is guaranteed to receive an unusual design of the finished product.
Tool preparation
When the basic material is already selected, you can begin to prepare all the necessary devices, without which it is simply impossible to produce a high-quality product. To make a wooden cabinet with your own hands, you will need the following tools:
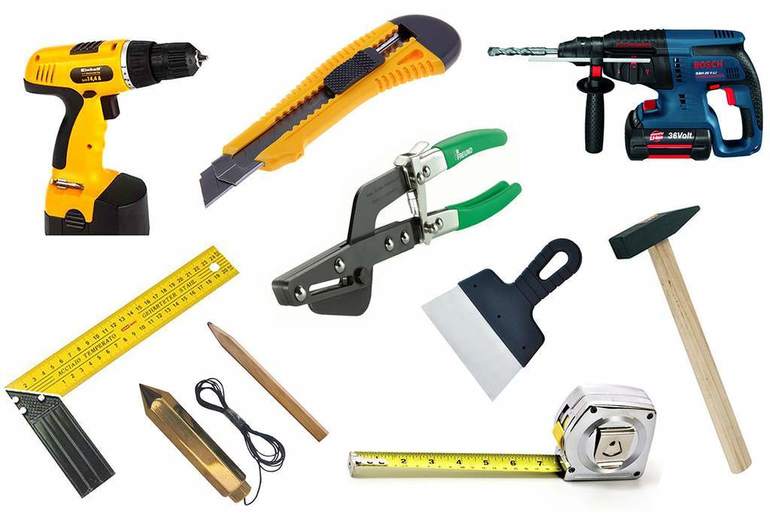
- meter tape or ruler for applying all necessary measurements;
- hand saw for working with wood;
- goniometer;
- standard grinder to polish all surfaces;
- strong metal corners that will be needed to fix the structure;
- mastic for high-quality sealing of joints;
- wooden dowels;
- joiner plate from which you can build stylish shelving.
If the master wants to give his product a more expressive shade, then you can pre-buy water-based acrylic paint, with which you can realize the most unexpected ideas.
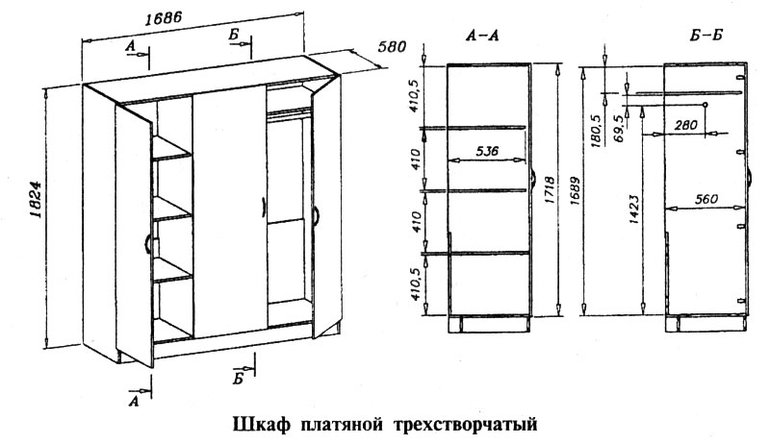
Drawing up a drawing
It may seem to beginners that it is extremely difficult to make a hinged wardrobe for clothes and shoes on their own, but this is not so. After preparing all the necessary tools and materials you can start drawing. The model you like must be transferred to sheet A4. The first step is to draw the frame of the product, you need to specify the exact dimensions of the doors, walls and bases. After that, you can depict the necessary shelves.The design should harmoniously fit into the design of the apartment. The master needs to calculate the number of hooks, shelves and rods.
When the drawing can be built, you can begin to manufacture all the parts. If there are doubts about the correctness of the cut, then the finished sketch can be transferred to professionals. Do not forget about buying quality accessories - rivets, confirmats, corners, guides and holders.
Final stage
When everything is ready, you can start assembling the structure. Perform all necessary actions where the finished cabinet will be installed. Due to this, structural deformation can be avoided. Beginners need to adhere to the following recommendations:
- On the floor you need to put the first side sheet.
- In a vertical position, all the elements that are needed to fix the upper and lower sides of the cabinet are attached. This step should be performed as carefully as possible.
- Upper and lower workpieces are installed and fastened on the sides.
- Since the future cabinet is still lying on the floor, the second side sheet should be located on top.
- The master must check the quality of all the mounting units.
- Now you can turn the product with the facade side on the floor.
- The furniture backdrop is neatly stacked and screwed on.
- At the final stage, the cabinet is lifted and pressed tightly against the wall.
Ensure that the product is level with the help of a level.
Only after this the doors are fixed and all the necessary fillings are installed.
Alas, no comments yet. Be the first!