

To do the filling of the walls under the wallpaper with your own hands, you need a certain number of tools and knowledge of the technique of applying the solution. Very often, if the technology and the rules for applying the soil are not followed, part of the plaster, along with glue, is crumbled during wallpapering. One of the reasons for the appearance of such situations is the uneven application to the surface of the solution.
Wall Putty Technique
One of the last stages before wallpapering is the application of polymer putty on the prepared surface. There are two types of material. These include:

- loose mixture (diluted with water);
- ready-made liquid polymer putty.
When using the finished solution, it must be taken into account that if it has been stored for a long time in the warehouse or at home, then it must be thoroughly mixed before use. On any product there is information about the flow rate of the solution per square meter. Usually this value is 1.6 kg per m2.
However, this is not a constant. In each case, amendments must be made, because it all depends on following factors:
- condition of the walls;
- desired quality to be achieved;
- experience and skills of the master.
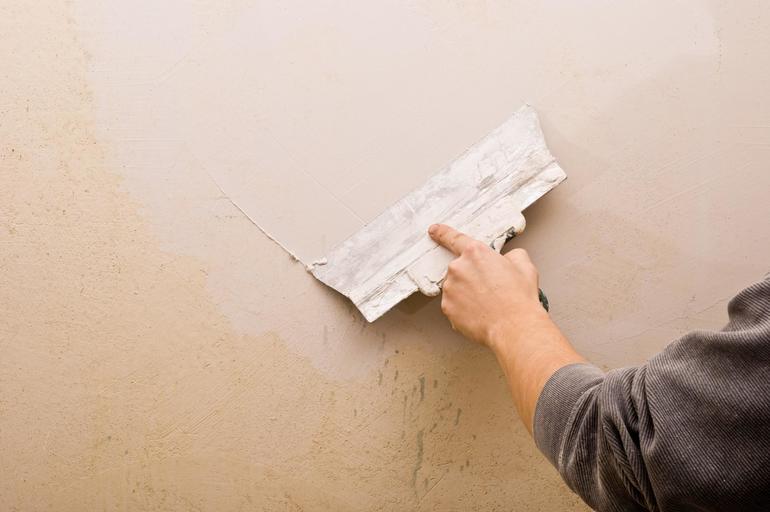
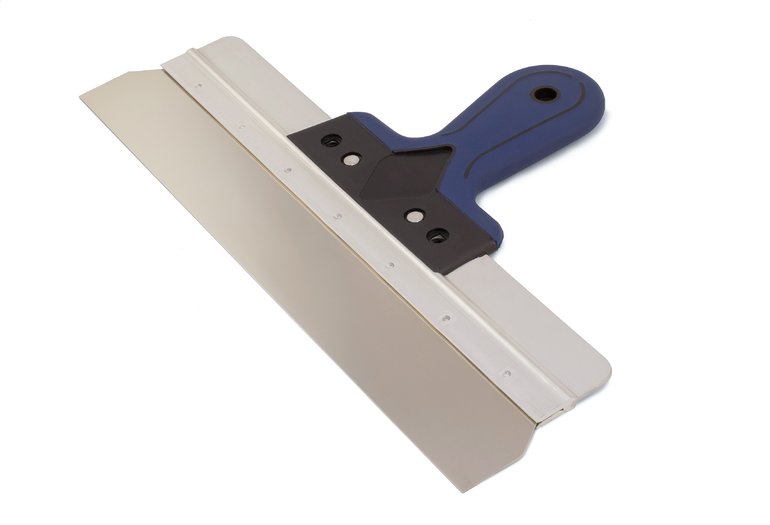
To putty the walls under the wallpaper, you need two spatulas: one smaller and the other larger. A small one is needed in order to apply the solution on a large spatula. The application technique is also quite specific: longitudinal movement from one edge to another. In principle, this is the main movement in putty.
After the solution is applied to the large spatula, you can begin to putty the walls under the wallpaper. A lot depends on the angle: if it is 90 °, then the layer will be smaller. If the angle is sharper, then the layer will be thicker. After application, it is necessary to further smooth the surface and remove the excess part of the solution.
A feature of any spatula is that its working part is slightly curved. It is necessary to putty it with the convex part. If you attach it to the opposite side, then when working along the edges it will leave stripes, resulting in an increase in the amount of work when sanding the walls. The technique of capturing a large spatula will be next. The little finger and ring finger clasp the handle on one side, and the thumb on the other. The index and middle fingers are located on top of the handle.
It is important to understand that the applied layer does not need to be smoothed out intensively. This approach to work involves time consuming and it is inefficient. The most reasonable will be the application of several strokes, followed by alignment. Lubricate the solution better in various directions.
Note: no need to worry if small streaks and bumps remain. After applying the second layer, most of them will smooth out, that is, they can be puttied.
In addition, the final grinding allows you to perfectly level the surface.
Grinding and leveling stage
After drying the first layer, you need to fix the so-called mustache, that is, extra stripes. This is done with a small spatula. The second solution can be diluted with a little more water and made a little liquid.
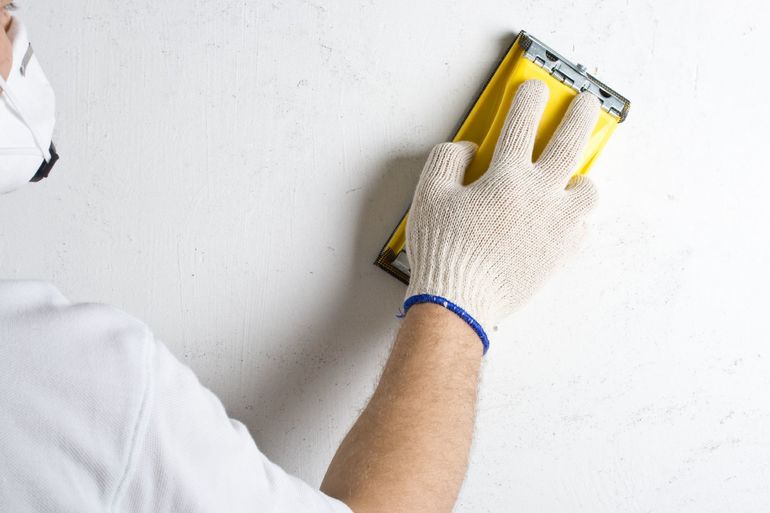
It is necessary to clean the dried second layer with a special painting net. It is sold in almost any hardware store; You can also use a sandpaper-grater. With it, all small bumps, scratches and knolls are cleaned. Here the movements will be strictly circular. Again, it’s not worth pushing much, because scratches can also remain from the mesh.Since a rather large amount of dust will be generated, during this process it is necessary to provide personal protective equipment: wear gloves and a protective mask.
Wall polishing in the corners can be done in two ways: fold sandpaper in half or use a special sponge with an abrasive surface. It is recommended to use the second option, since there will not be holes on the wall.
Primer and mortar selection
Primer - an obligatory stage before wallpapering, and it is carried out after the putty is completed. Dust that remains after grinding is previously removed from the walls. This can be done with a broom. If there is no broom, then you can use a vacuum cleaner.
Soil performs two main tasks. Firstly, it improves the adhesion of the surface to the application of subsequent material. Secondly, it evens absorbency over the entire area of the wall, because often it consists of different materials. One section can be drywall, the second is brickwork with plaster, the third is a reinforced concrete panel.
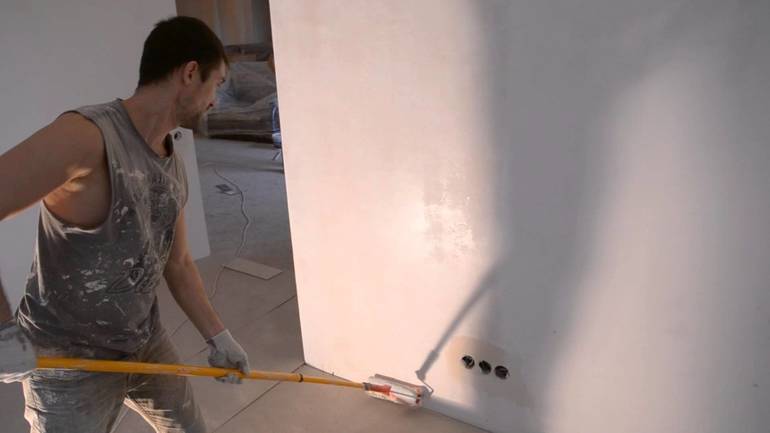
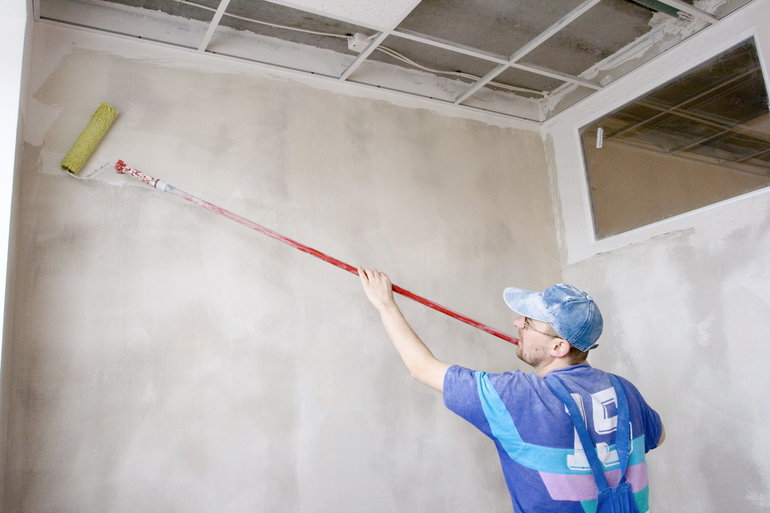
To apply the soil in the corners, near the ceiling and floor, a brush is used. On large and even surfaces, the primer is applied using a roller.
Note: if a smudge has formed in the process of priming the surface, which ends with a drop, then it must be removed immediately. If this is not done in a timely manner, then after solidification it can only be removed mechanically, which promises additional work.
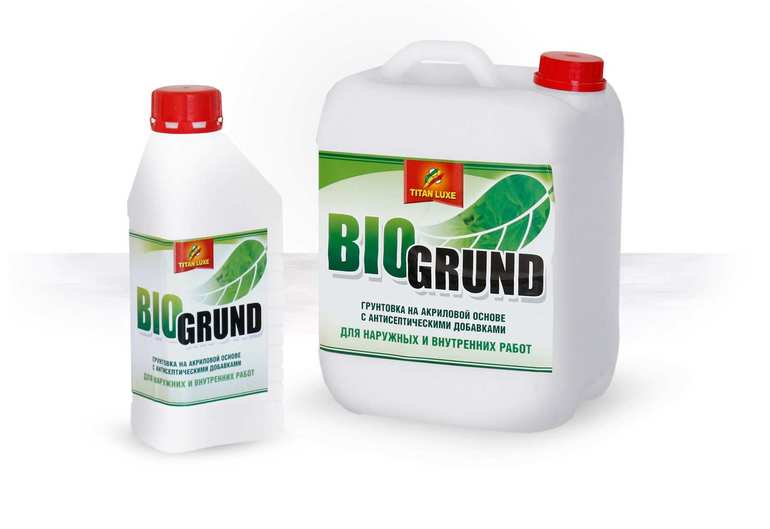
Most people approach the choice of material based only on the price category, without attaching importance to quality. The most important parameter here is the dry residue. This is the amount of useful binder from the liquid solution remaining on the surface after the evaporation of water.
Good results can be achieved if the solids parameter is between 12 and 15%.
Alas, no comments yet. Be the first!