
The impact of various factors leads to the creak of the wooden floor in the apartment. An unpleasant sound is evidence of a building defect. In new buildings, this is not observed if the installation is carried out in compliance with the technology. In old houses, creaking is a sign of deterioration of fasteners, evidence of the destruction of the lining under the logs, excessive accumulation of moisture in the wood. There are many reasons, therefore, before the start of restoration work, an analysis of the situation is carried out.
Content
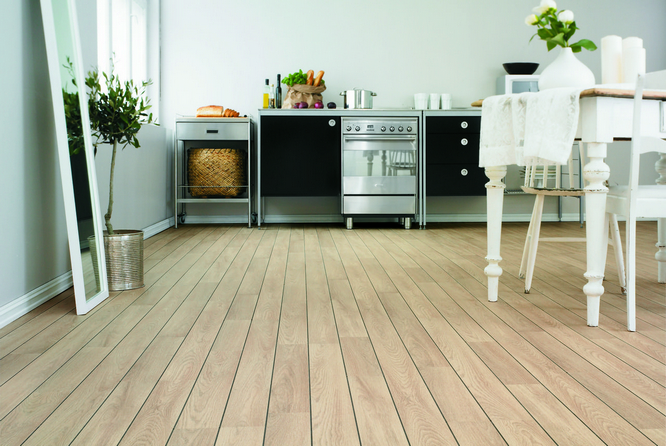
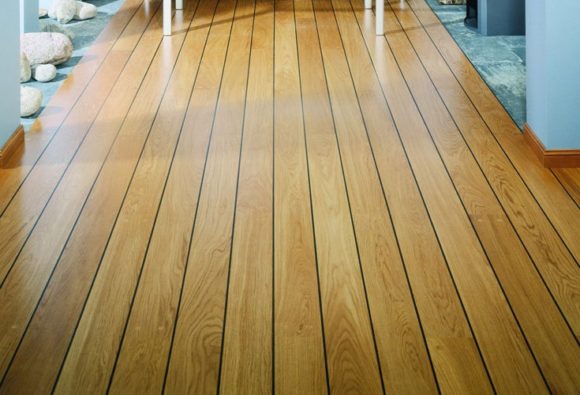
What is a wooden floor
There are two technologies - “Soviet” and modern. The first one looks like this. Bars are used, the length of which is about 150 cm. On top of them logs are beaten, the thickness of which is 50 cm. The performer arrives with nails on wooden floorboards.
The second technology, which is considered more effective, involves fixing the rough coating using self-tapping screws on top of the installed lags. Planks are used as a rough floor. Less often they are replaced with plywood. Optionally, linings are placed under the lags. After that, the rough coating is leveled, a finishing floor is laid on top of it:
- array of boards;
- laminate;
- parquet.
The choice of material for the wooden floor depends on the style chosen for the house, office or apartment.
None of the listed technologies is immune from the appearance of a creak. The decisive factor is the age of the structure and its operating conditions. Builders identified several causes of the defect:
- lining wear under the lags;
- depreciation of some areas;
- lagging is made in violation of technology;
- excess moisture inside the wood;
- low quality used nails;
- weakening of fastenings to logs.
Completes the list of reasons - mistakes made during the installation of flooring. Some planks are too close together. Over time, they "scratch" about standing nearby.
The desire to unjustifiably save will cause problems. The person who decides to replace the old wooden floor with a new one takes it apart completely. You can not put a new layer on top of the old one, otherwise the appearance of a squeak will not keep you waiting.
We solve the problem without analyzing the floor
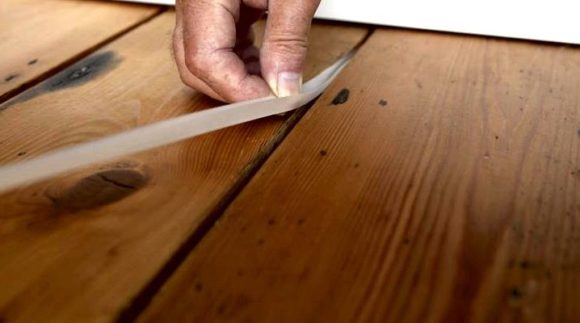
The first step is to determine which floorboards generate an unpleasant sound. If there are few of them, then do without major repairs. To "calm" a new creaky floor the candle will help. It is enough to cover the gaps between the floorboards with wax. The second method is the use of pins:
- holes are drilled along the seam of creaking boards;
- they are located at a distance of 50 cm from each other;
- holes are made at an angle of 45 degrees;
- the diameter of each hole is about 8 mm;
- a dowel is inserted into each hole;
- fix them with adhesive composition.
The above method will solve the problem if the old wooden floor creaks in the apartment. The list of existing techniques is not complete. Most of them do not require significant experience.
| Title | What to do | Note |
| Cementing loose wood | The flooring is inspected for squeaking. Once the plank is found, a small hole is drilled in it. A syringe is inserted into it, with the help of which the void under a piece of wood is filled with liquid cement. Pump it in small portions, otherwise the solution will solidify for a long time. The hole is treated with mastic | The method is effective for restoring the bearing capacity of the old floor. |
| Polyurethane foam | The process is largely the same as described above. The only difference is that instead of liquid cement, foam is injected into the syringe. She swells under a creaky piece of wood after a few minutes | The method is justified under two conditions. The first - mounting foam will eliminate creaking wood in rooms with little load. If the floor is constantly exposed, the foam will quickly collapse. The second condition - polyurethane foam is useless in rooms with a high level of humidity |
| Metal anchors (hexagon bolt) | Squeaky parts are found first. The next step is to drill holes in them. Their diameter is 5-7 mm. An anchor is inserted into the hole. Gradually turn the dowel head. As the "petals" of the anchor open, it will become stuck in the piece of wood. Result - the lags stop staggering | The technology is applicable in country houses and cottages. The only drawback of the method is the cost of consumables |
| Sealant with the addition of paint, varnish, sawdust, paint. | The finished mixture is bought at a hardware store. The second option is to cook it yourself. For 4 parts of sawdust take one part of varnish and paint | A beginner who does not know what to do next does the following. The first step is to drill the problem area. The second step - the composition is poured under the "noisy" element to the bottom of the floor. After the repair is completed, the hole is closed |
| Coated PVA Cord | It is laid between cracks in the floorboards. A layer of sawdust mixed with glue is applied on top. The calculation is carried out so that the layer of sawdust slightly rises above the floor | Once the glue has dried, cut off the towering parts |
| A mixture of graphite powder and talc | Both components are mixed in a ratio of 1: 1. So much composition is taken on 1 creaky board that it is enough to cover them with a seam around the entire perimeter of the problem floorboard | Quickly eliminate the creak of the floor in the apartment. The only caveat - the method is useless if the boards rotted |
| Wooden wedges | They are driven into cracks formed between the floorboards. Before starting a local repair, the wedges are lubricated with glue. Wedges are driven in at a distance of 50 cm from each other | Wedges are driven into each slot to a depth of 5 mm |
The listed methods are effective at the initial stage of the problem. If more than 8-10 floorboards creak, you need to think about more extensive repair work.
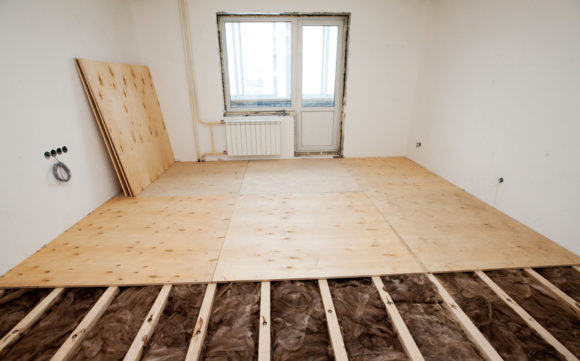
Stages of restoration of the old floor in the apartment
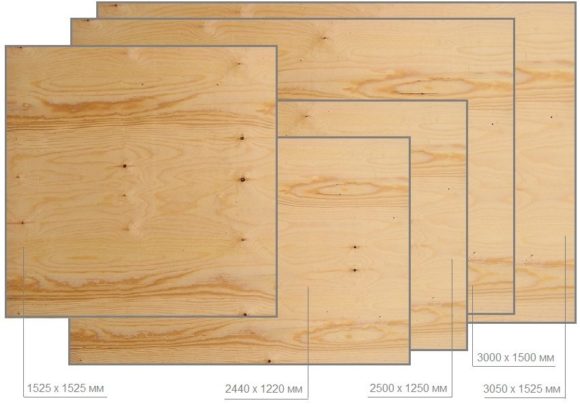
The technology is suitable for a flat floor, the surface of which is not covered with fungus or traces of rot. In a hardware store, they buy a sheet of plywood whose thickness is more than 12 mm. Sheets are fixed at a distance of 14-15 cm from each other. Fixation points are chosen so that they "lay" on the logs. Self-tapping screws are used as clamps for plywood sheets.
"Grandfather's" way to remove the creak of the old wooden floor in the apartment without dismantling the floor, prompt correctly performed measurements. It’s worth starting with finding out how far the creaky floorboards are from the wooden floor. It is enough to drill a tree until the drill hits the floor. A piece of wire is inserted into the resulting hole and the depth is fixed.
The scheme of further actions looks like this. A screw is screwed into the hole, the length of which is equal to the distance from the creaking floorboard to the floor. Before screwing a self-tapping screw, its end must be blunted, otherwise it will constantly scratch the floor. Another method of scrolling the floor is the use of self-tapping screws to fix the boards and lags between each other. For beginners, this option is not affordable, because it will not immediately turn out to find lags:
- by dismantling the baseboard;
- on nails (they are near the lag);
- using a magnet.
Each of these methods will take a lot of time and effort. Once the lags are found, go to the practical side of the issue:
- a hole is made in each lag;
- its diameter is 2 mm less than the diameter of the self-tapping screw;
- screw the screw through the creaky board into the lag;
- tight fix provide a screwdriver;
- high-quality repair of the creaky floor will allow attention to detail - the head of the self-tapping screw is “sunk” into the surface, and the recess itself is covered with putty.
The quality of repair depends on the correct choice of screws. It is worth refusing to work with rusty building materials.
The thread on high-quality self-tapping screws rests on the hat. Saving is not worth it. If the thread is short, then the creak will not go anywhere. The second nuance is the material. Metal screws will eliminate a slight creak. If the house has an old floor, choose plastic dowels.
The solid board began to creak
The result of improper floor use. For work, take wood chips or wedges. The width of the latter is 35, and the thickness is 3 mm. Repair is carried out as follows:
- find the widest section of the creaking junction;
- drive in the first wedge;
- the next one is driven in at a distance of 80 cm;
- if the wedge "tightly enters", then the joint is slightly expanded with a chisel;
- The chisel is driven into the joint to a depth of 5 mm.
Rasklintsovka complete sealing cracks. For work, you need a mixture of small sawdust and PVA.
Floor reinforcement technology
The third category of methods is associated with solving problems caused by poor-quality installation. Unfortunately, you can not do without a complete analysis of the coverage. The root cause of the problem is the destruction of the nails that secure the floor. The solution is to replace the nails with self-tapping screws that do not lose strength over time. Work begins by creating holes in each board.
Its diameter is 2 mm smaller than the diameter of the self-tapping screw. As in the previous case, the screws are screwed into the logs, which still need to be found. If there are no traces of nails on the floor, you will have to do test drilling. Choose some of the most likely places where the logs can be located. The described technology for strengthening the floor is not applicable locally. All coverage is subject to processing.
Ways to Prevent Squeaking
Prevention is the best way to solve a problem. Builders have identified two ways.
| Soundproofing on logs | Adjustable floor technology |
| No need to dismantle the flooring from the boards | Significant experience in the field of construction work is required. One cannot do without outside help. The cost of work is from 200 to 420 rubles per 1 m2. The price tag depends on the area of coverage, its age and degree of wear. First, the master inspect him, and then make an estimate |
| It is enough to cut off the logs from the board (edged or grooved) | Installation of the lag is carried out on stilettos. Last passed through the bar |
| Soundproofing material is glued to the top of the beam | The master verifies that they are set at the same horizontal level by carving. |
| Stripes of rubber or non-woven material are placed on top of the bar. | After completion of work, the protruding part of the thread is cut |
The advantage of lagging sound insulation technology is to minimize the likelihood of wetting of the coating.
It is useful for beginners to know that the appearance of a squeak is the result of mistakes made. One of them - removing noise by simply nailing boards, the problem is only exacerbated. After 1-2 months, the noise will increase many times. The second caveat - local repair will not work. The apartment will have to cross the floor. Common sense will help minimize time and effort. If there is no experience in carrying out repairs, trusted builders with experience.
Depreciation or swelling of wood, violation of laying technology, excessive load level - there are many reasons why the floor in the apartment begins to creak. Before you get to work, carry out its inspection. If a small area is “noisy”, then the point impacts are enough. The technique is selected taking into account the type of wood and the age of the coating. The worn-out wooden old floor, which is confirmed by the results of the inspection, requires significant repair. Saving is not worth it, otherwise after 6-8 months the work will need to be repeated.
Alas, no comments yet. Be the first!