

Each owner of a private property wants to make his house individual, different from the rest and attracting the attention of others. A weather vane will help make the roof unlike the others, which will be an excellent completion of the exterior.
Now weathercocks can be bought at the same organizations that sell roofing. There are also many craftsmen dedicated to working with these products. But if desired, the weather vane can be made independently.
Content
Historical reference
Weather vane - a historically entrenched meteorological instrument that helps in determining the direction and speed of the wind. It works with a counterweight. On the roofs of buildings, these devices have been installed for about 1000 years. Today, a weather vane is often used as a decorative finish when decorating a roof. It can have various dimensions and appearance.
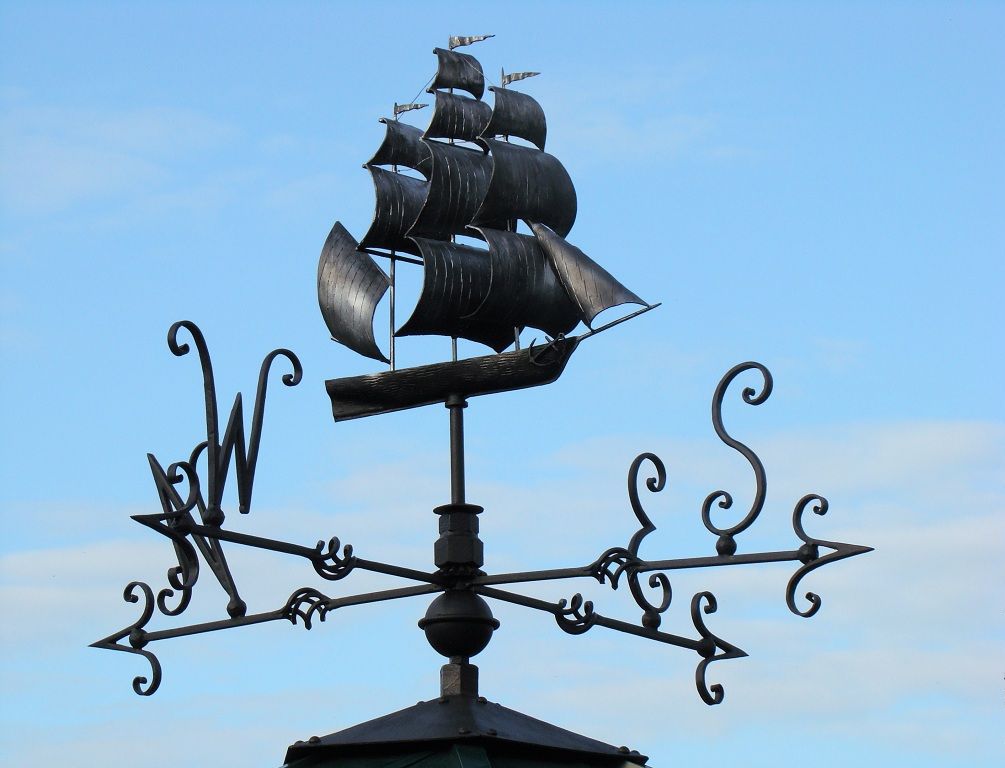
Initially, weathercocks were used as decoration for ship masts. Later, sailors began to decorate their homes in this way. It was perceived as a talisman. A modern weather vane can have a propeller that will scare away birds, and can also be used as a fan or hood.
In Scandinavia, an image of a stork was usually used as a shape for a weather vane. He displayed the hearth, was a symbol of travelers and personified a new life.
In Russia, the fashion for weathercocks resumed with the advent of the throne of Peter I. European customs again began to be actively used in the design of buildings. By order of Catherine II, the Tsar-vane was cast. Of course, he could not fulfill his original mission. It went down in history, along with the Tsar Bell and the Tsar Cannon, although it was melted due to its uselessness in 1964. During the Soviet Union, weathercocks reminded of tsarist Russia and were used extremely rarely. In everyday life, they entered again only after the collapse of the USSR.
Types of Weathervanes
Several types of weathercocks can be distinguished. The most familiar of them is meteorological, which determines the movement of the wind. The second type is Wild's weather vane. It also determines the intensity of the wind, in addition to the direction. The principle of operation is simple - the deflection of the windshield indicates the strength of the wind, a propeller can be used here. The next type is chimney. They protect the pipe from blowing out. Decorative their main goal is home decoration. But do not forget the Tsar-weather vane, which has no analogues.
Now the weather vane is used exclusively for decorative purposes, ignoring its original purpose. The material used in the manufacture has also changed. Its surface is covered with a layer of special paint to protect against ultraviolet radiation and moisture. Thus increase the service life of the product. In addition, they have an increased sensitivity to wind changes due to the installation of small propellers.
The material for the weather vane now is copper and steel. The standard dimensions for the house are 40 centimeters high and 70-80 centimeters long; for small architectural forms, weathervanes of a reduced size are used.
Preparatory process
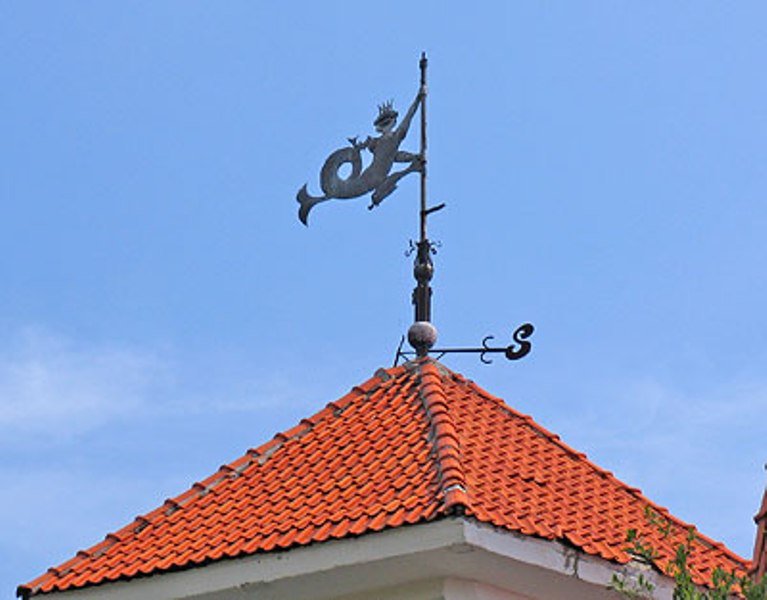
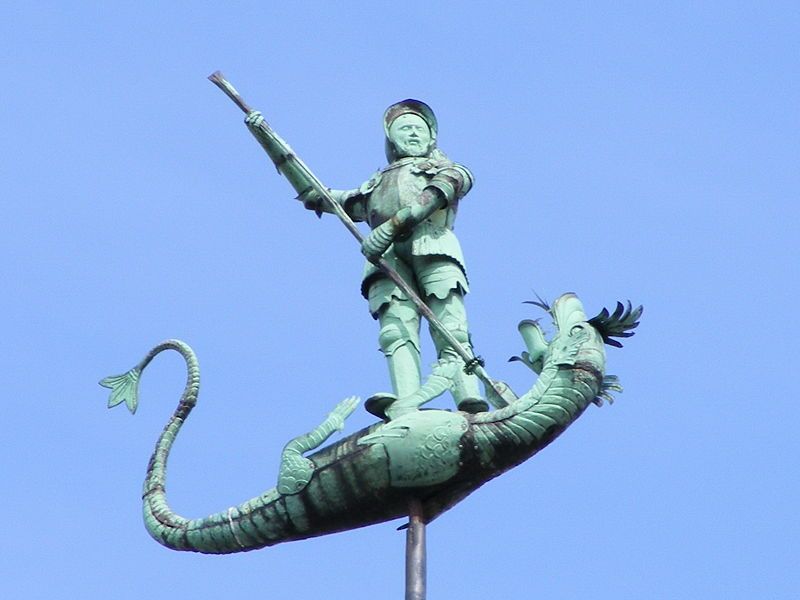
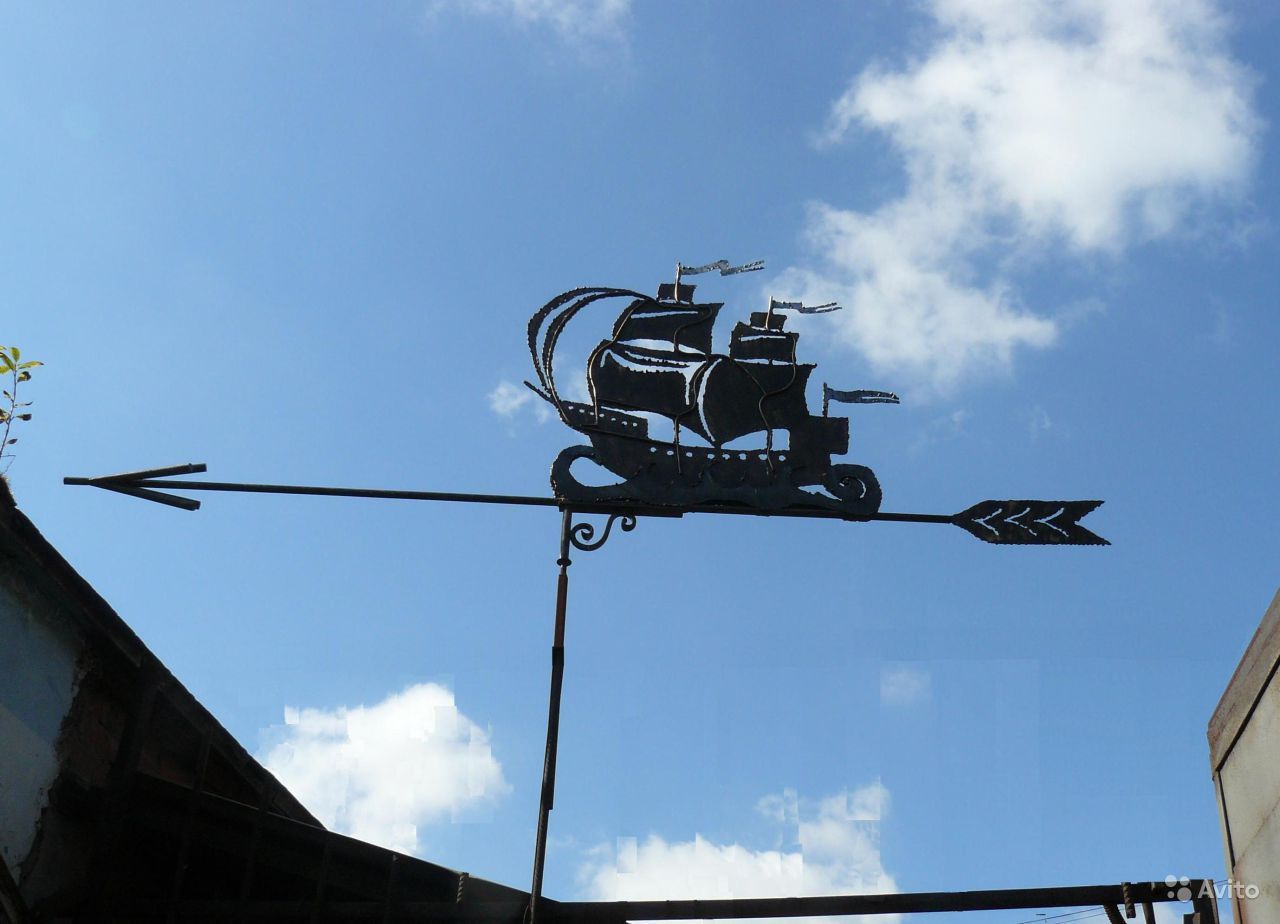
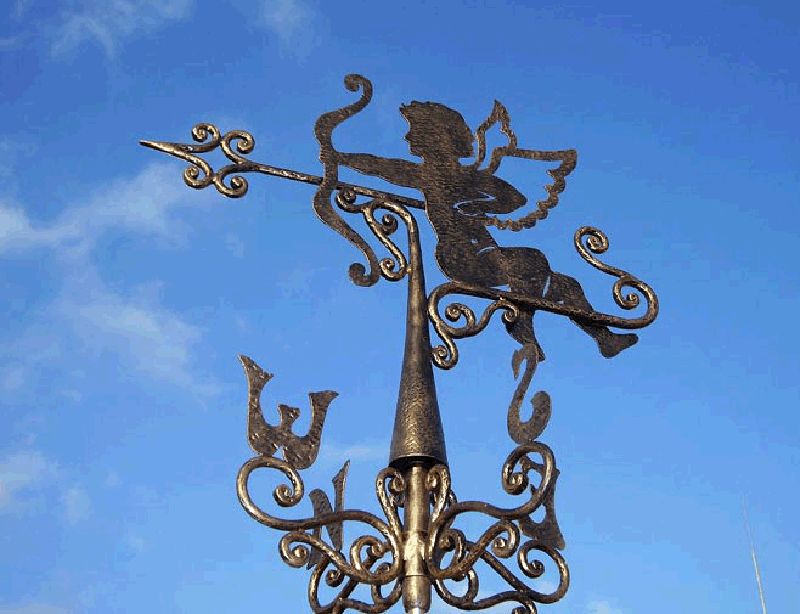
When you have decided to create a product without assistance, you should first come up with the shape of the future weather vane. The most popular form is in the shape of a rooster. But you can be inspired by the image of personal initials, heroes of fairy tales or animals, characters of myths or historical figures.
The design of the weather vane is simple.Most often, it is a metal plate, which is called a flyar. On it are placed special signs of the parties, a stand and a wind rose. The plate is pivotally mounted on a rod made of metal, which allows it to spin under the influence of air masses, helping to establish the direction of the wind. The level of deviation from the initial position indicates the strength of the wind. The weather vane stand can be installed in two ways: horizontally or vertically. The material of the roofing does not matter. The weather vane is installed both on the metal tile and on soft roofing materials such as bituminous tiles.
As mentioned earlier, a weather vane can be divided into three main parts:
- Mounting stand
- Rose of Wind
- Flyugar
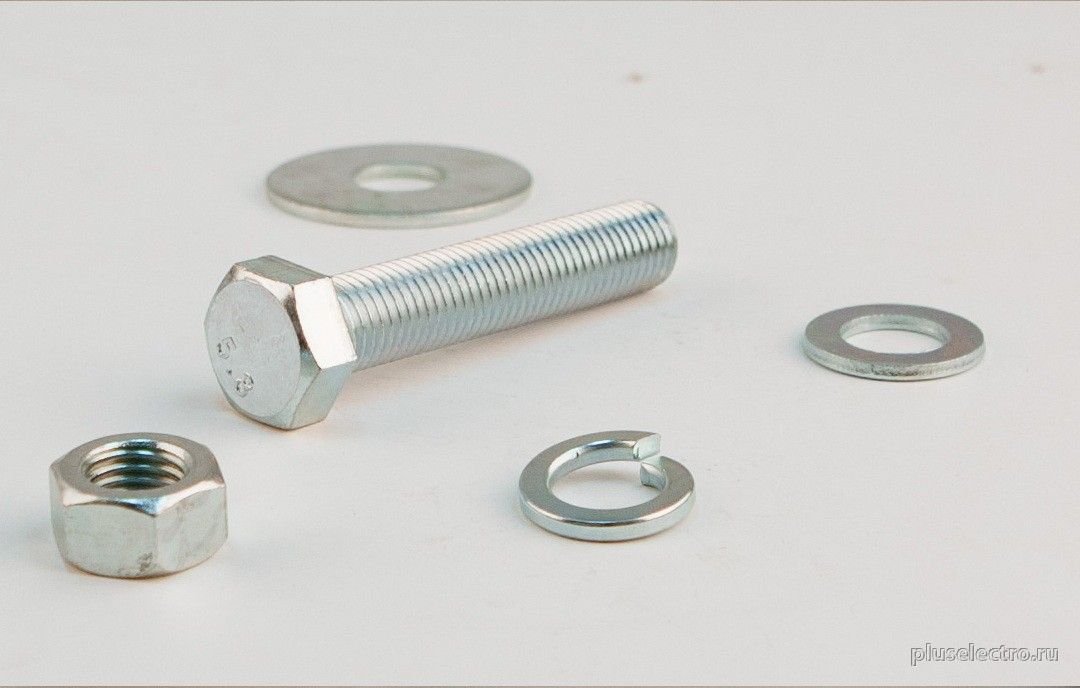
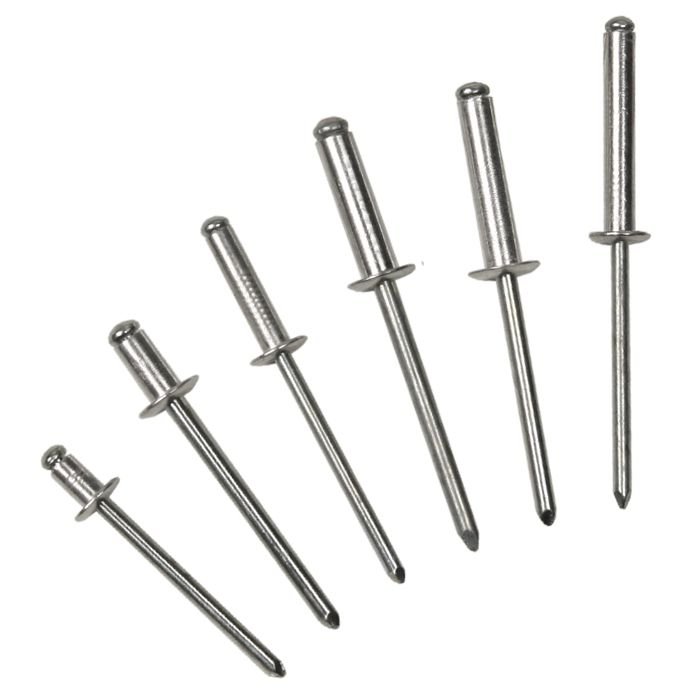
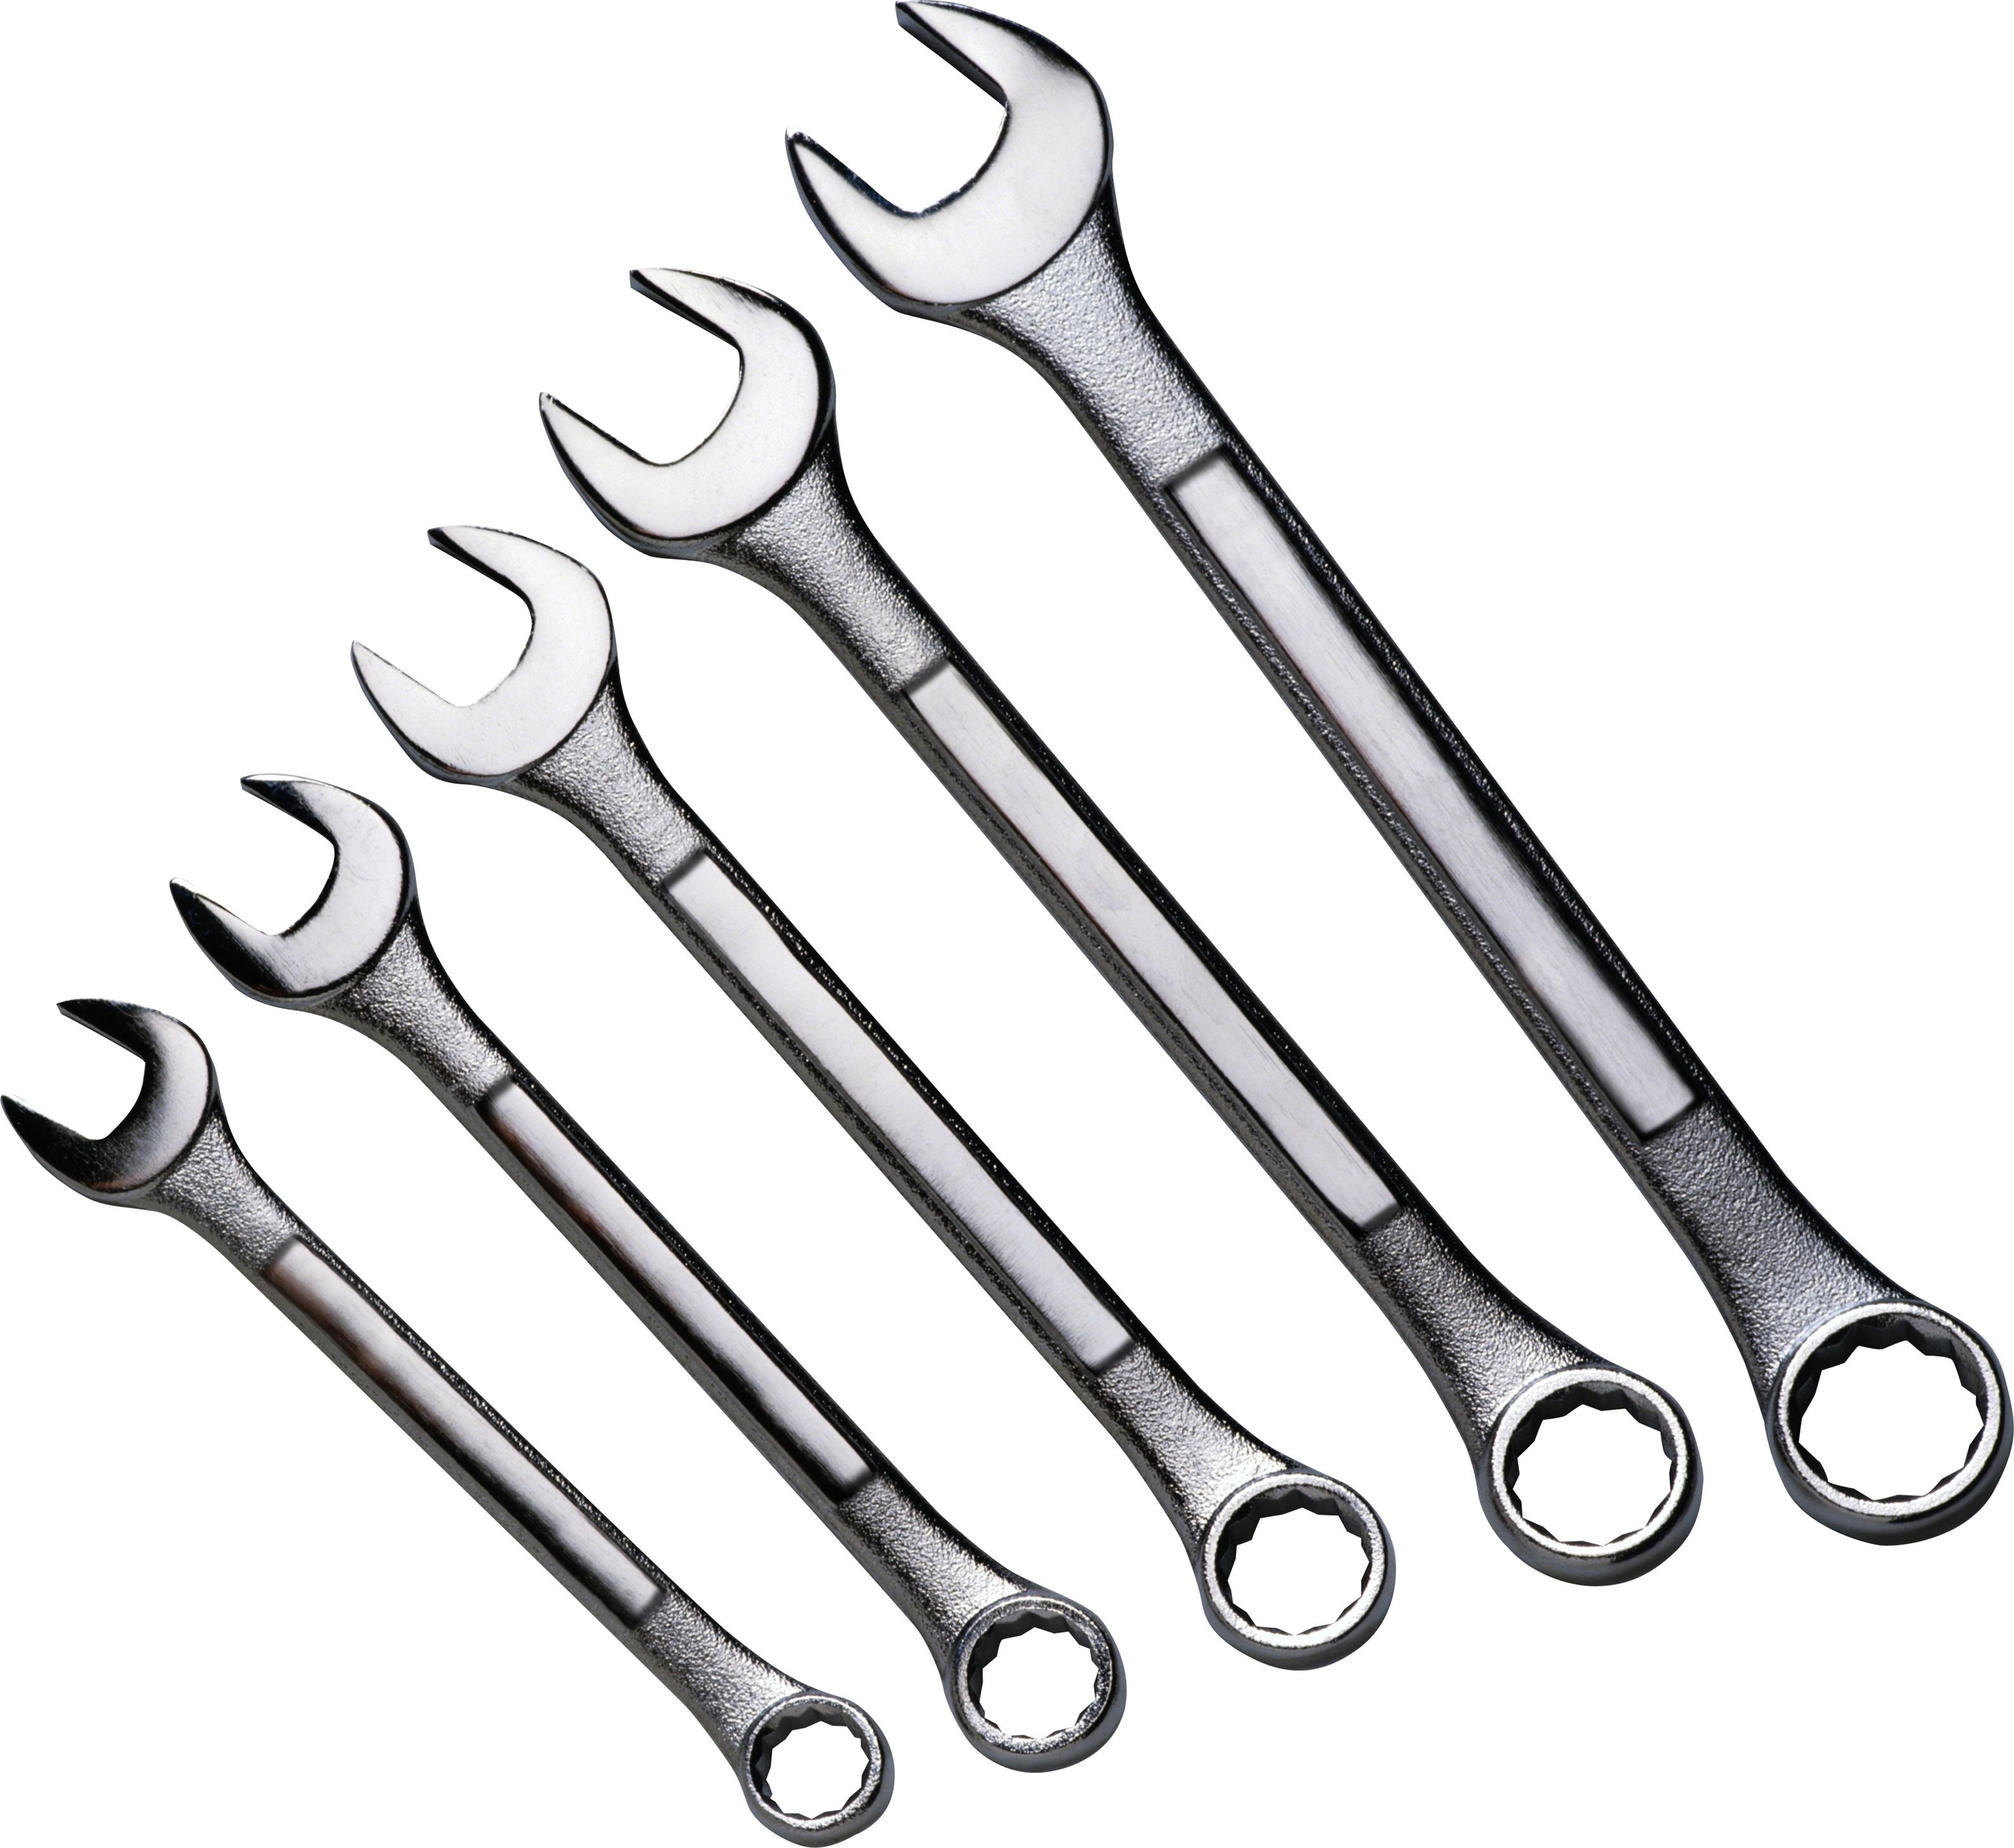
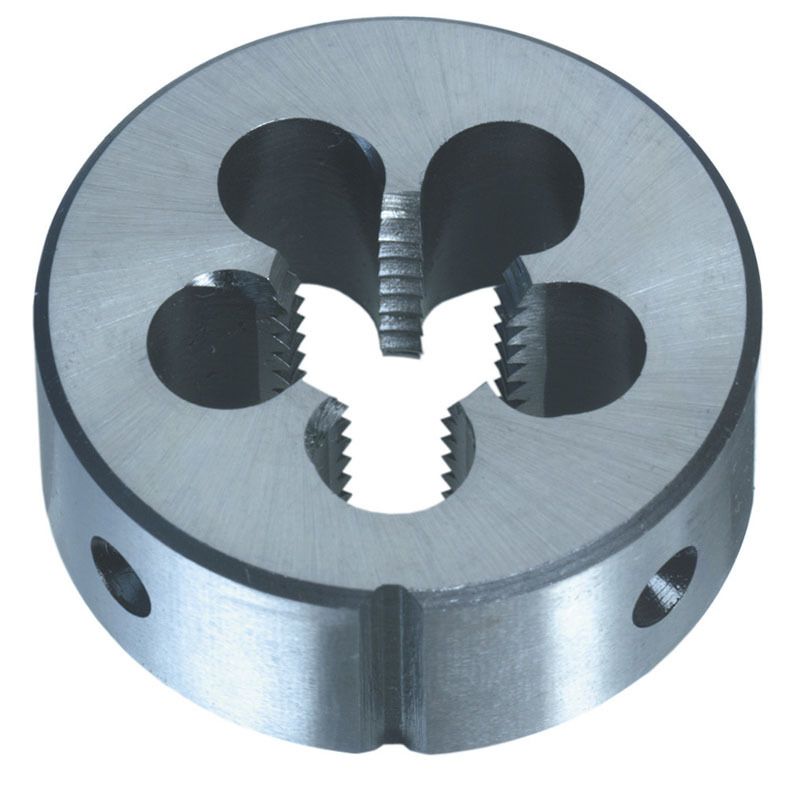
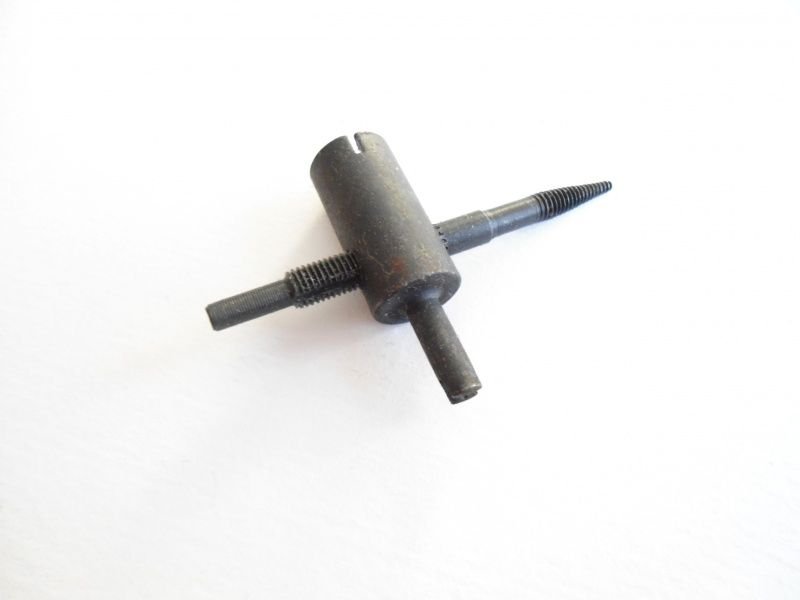
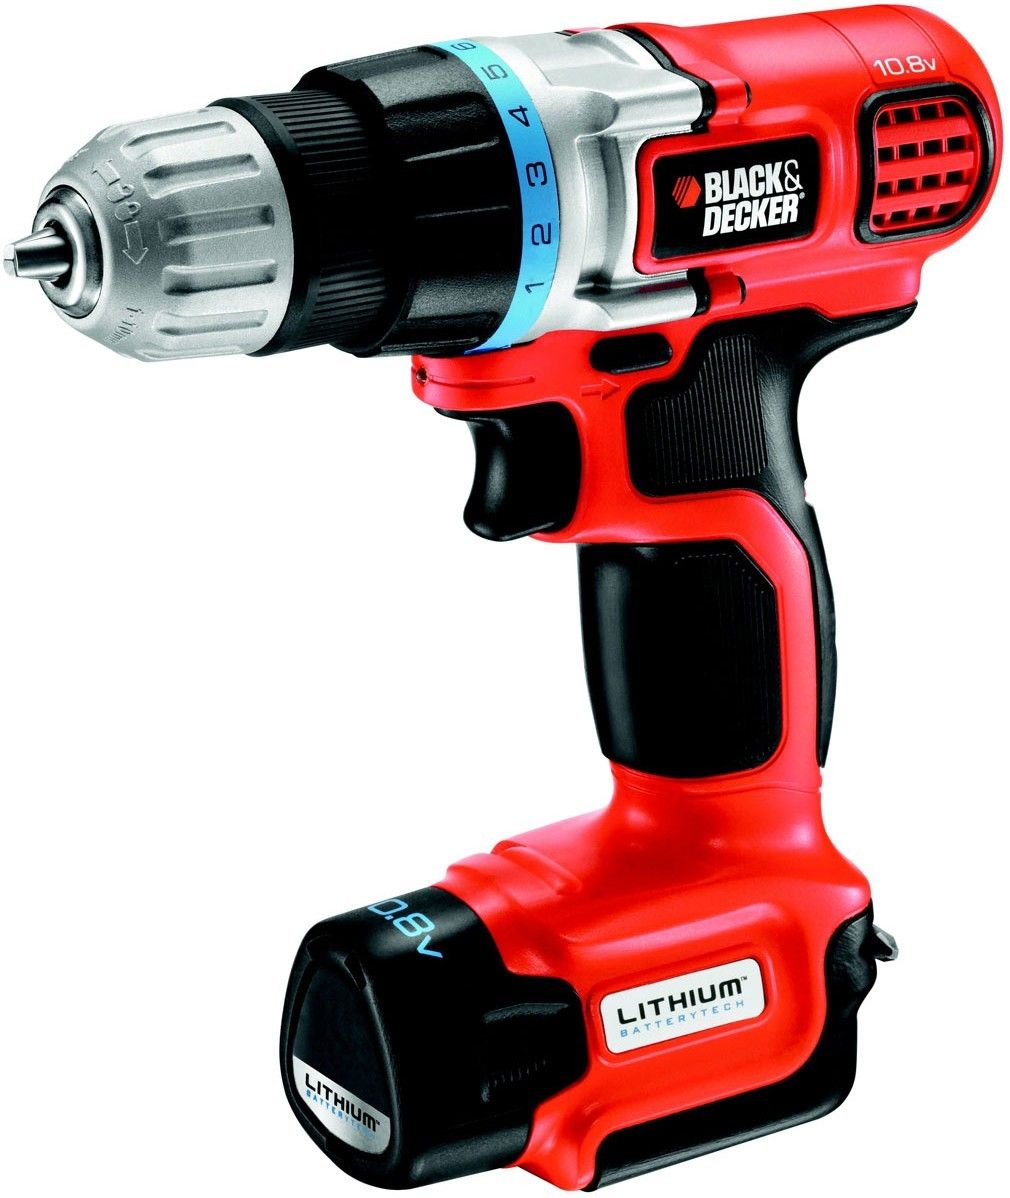
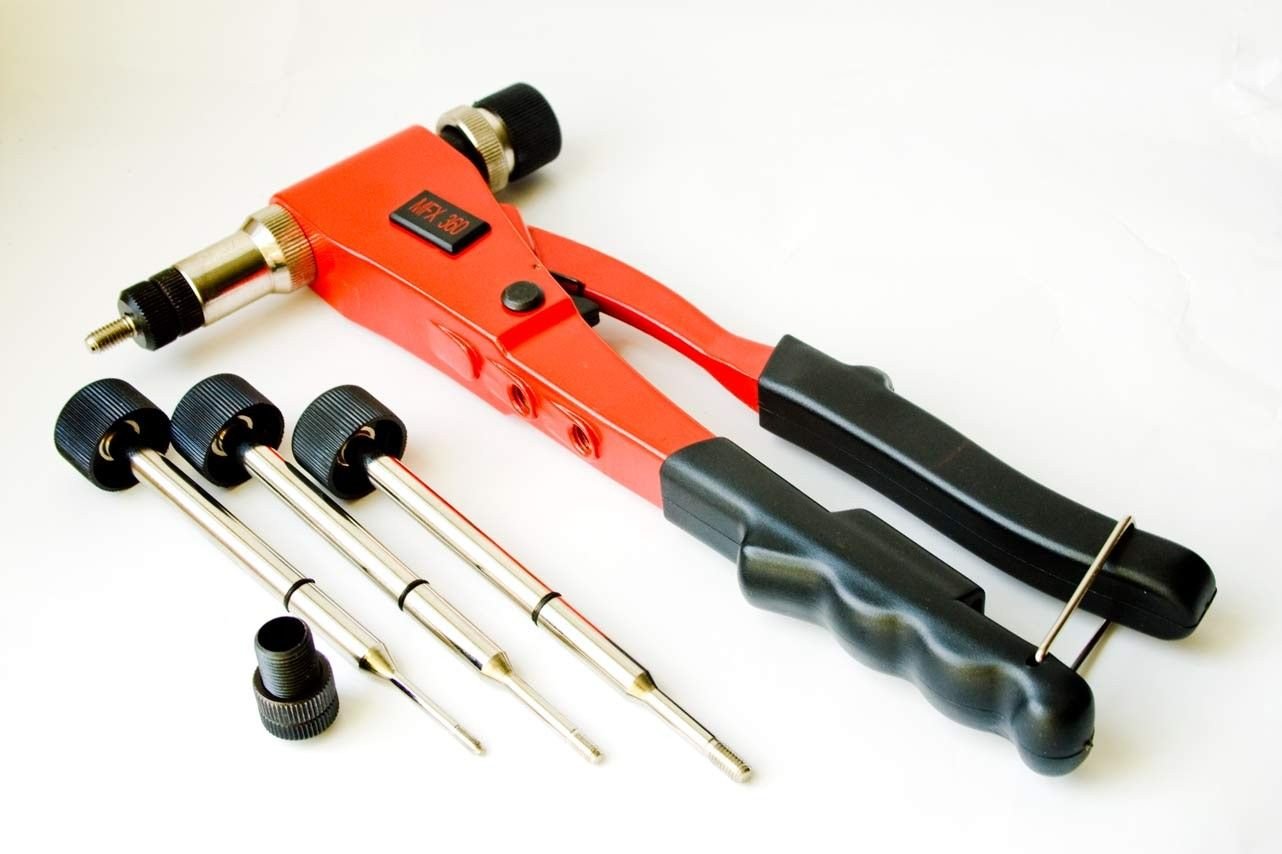
Tools for work:
- Compass
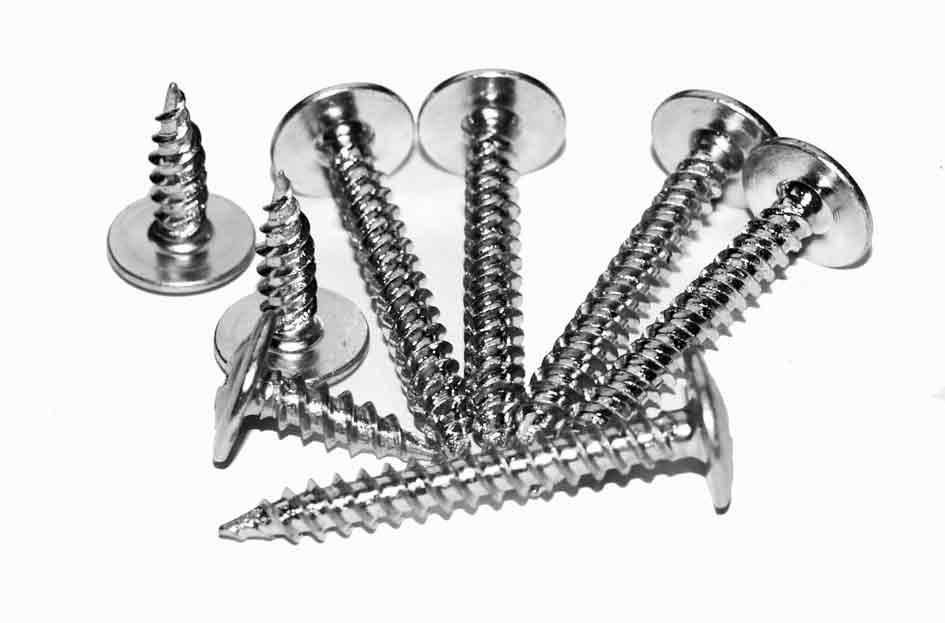
- Drill, screws
- Metal bracket (for mounting)
- Riveter
- Run
- Lerka
- Combined rivets
- Nut, Washers, Wrench
Significantly simplify the work will help installation on chimney cap. But it is necessary to ensure the thickness of the material is not less than 1.5 millimeters.
A weather vane is mounted without much difficulty, but we will talk more about this in one of the next articles.
Making a weather vane
We will separately consider the installation and preparation of each part.
- Prop or base. It is made from a small pipe. Diameter: 1.5 centimeters, length: 12-13 centimeters. Thread is cut on the pipe from the outside at the base. The thread size should fit the thread on the cover. A bearing is installed on the inside of the base from the inside, ensuring the mobility of the structure. For better fastening to the roof, steel strips are used, mounted sideways at the base of the weather vane. The main criterion for their installation is the smooth rotation of the weather vane. They should not interfere.
- Case cover. First, we make a billet of steel or sheet of copper, the technical properties of which are higher. It is necessary to make a thread on the inside. The thread of the housing should fit the thread on the inner surface. Decorating the top of the lid with a wind rose will be a beautiful decorative addition. She will not only decorate the product, but also indicate the direction of the cardinal points.
- Rose of Wind It is a long metal tube of small diameter, which are interconnected, and a cap is attached on top to provide waterproofing. Such tubes end with an indication of the cardinal points.
- Vane. Appearance is limited only by your imagination and capabilities. The material may be stainless steel, wood or sheet stranded. If you use plastic, it will simplify the process of giving the necessary shape. It will be perfectly exploited in street conditions. It is easy to process. The finished weather vane is fastened with bolts, it can be welded to the top of the pipe.
- Fastening. After preparing the above parts, everything should be fixed on the ridge of the roof. It is important to observe the correct orientation of the wind rose. It is necessary to mount it with a compass in order to prevent mistakes.
The device can be fixed by welding a round flange. During installation, flat plates, clamps can be used. Or install on the chimney cap using metal spacers.
- Lightning conductor made additionally. To do this, attach one end to the installed weather vane, and the other ground approximately one and a half meters. The lightning rod, in addition to its main function, will be an additional decorative element. You can learn more about the manufacture of a lightning rod with your own hands in one of our next articles.
Photo selection of homemade metal weathercocks
Video tutorial how to make the simplest weather vane with your own hands
//www.youtube.com/watch?v=0Avwf38XWGw
Alas, no comments yet. Be the first!