
Finally, your house is almost completed, it remains only to finish the pediment of the roof with siding or some other decorative material. This article will mainly focus on siding, as this is the most popular material. Sheathing is a simple matter, you can cope with it yourself, just one assistant will be enough.
Content
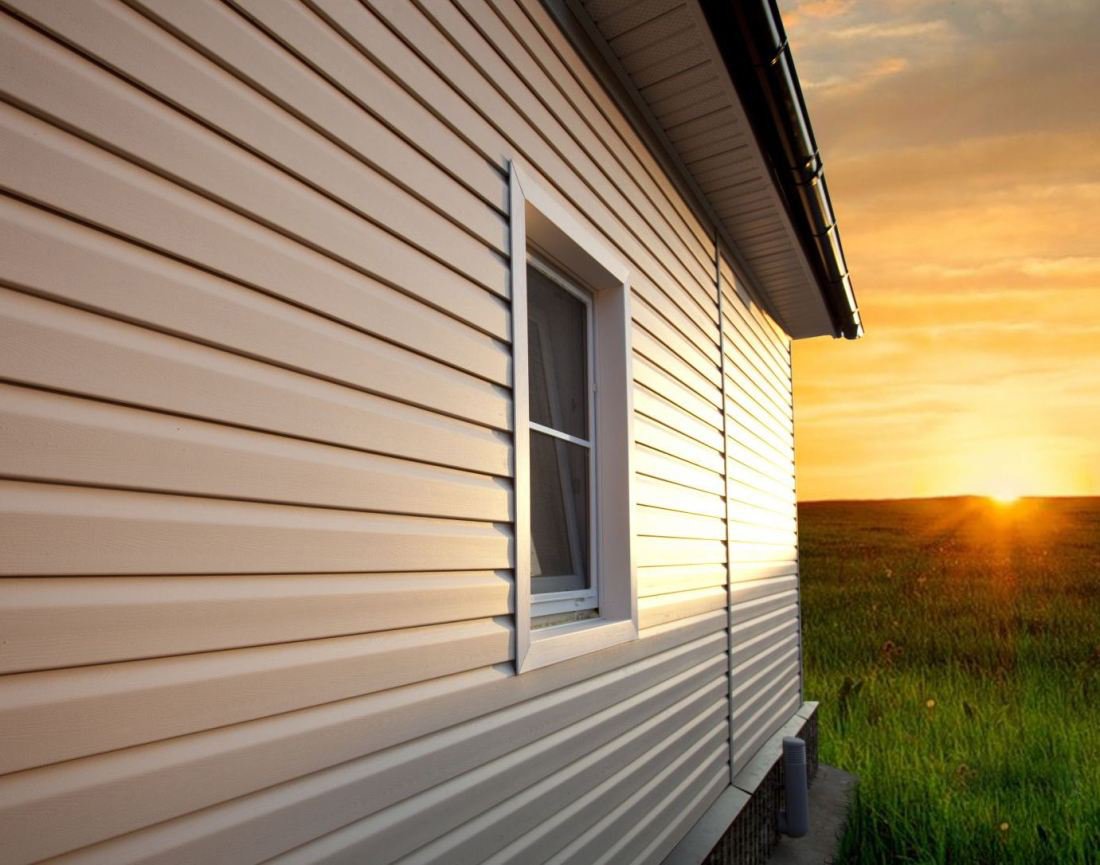
Why exactly siding?

Each builder is faced with the question of how to make such an important action as sewing gables as quickly and simply as possible, and even so that the structure is operated as long as possible. Not so long ago, wooden cladding materials were usually used for this purpose, but now they are rapidly losing popularity, giving way to the siding. Surely you wondered why this happened? There are several reasons for this. Firstly, siding does not require special care in the form of painting, treatment with antiseptics and flame retardants, etc. It is enough to occasionally wash off the dust from it. Secondly, it lasts longer and is less susceptible to atmospheric influences (precipitation, wind). Thirdly, for the installation of siding it is not necessary to first remove the old skin. Fourth, the affordable price of this material, compared to competitors. And finally, the color scheme of the produced siding is very extensive. You will be able to choose a color that is suitable for your home design.
Calculation of the required amount of material
Sheathing the pediment with siding at the first stage involves the calculation of the required amount of material, so as not to be mistaken with the length of the panels purchased, their number, as well as with the necessary amount of finishing elements for them. To do this, carefully measure the pediment and it is desirable to make a detailed drawing of it. 
According to the drawing, you can more accurately determine where what remnants of the panels can be installed.
To calculate the area of the pediment, remember the school geometry course. Most often, the area of a triangle is determined by the Heron formula (you can easily find it on the Internet). In addition to the panels, you will need to purchase starting strips, external corners, j-strips, self-tapping screws. All these components should be bought based on the total area of the pediment and the amount of siding used.
Trim pediment siding: preparatory stage
Before starting the sheathing of the pediment, install strong forests, because working at high altitude, standing on a simple staircase, is very difficult and dangerous. For this purpose, find two long beams and shorter beams with sufficient sections (50 * 50 mm). For flooring, buy good boards. If the pediment has low tides, firmly connect the lower part and the wall. If the pediment is too high, build the second floor of the scaffolding.
Tools that are sure to come in handy: roulette, metal ruler and joiner's square, hacksaw and scissors for metal, hammer, screwdriver (screwdriver), knife-cutter, level, awl, pliers. Now you can start preparing the surface of the walls for siding. This is not the most difficult, but at the same time, a very crucial stage. Remember, the key to high-quality sewing of gables is a thorough and accurate preparation of the foundation. To get started, remove all plants, branches that are in contact with the walls. You should also remove the pipes, various fasteners and other parts from those places where they can interfere with the installation of siding. When the indicated elements are removed, use a level to check whether the walls of your house are even.Siding must not be placed on an uneven surface! If the decoration of the pediment with siding will be carried out according to the existing sheathing of wooden materials, you must first very carefully evaluate the condition of the old panels and other structural elements. All lagging boards should be nailed to the base.
All rotten boards should be changed, as the decomposition process will continue under the siding. Additionally treat the old coating with antiseptic substances.
Crate Creation
If you have a new wooden building, then you most likely will not need to do the crate. Siding can be installed on any wall made of wood or on walls sheathed with chipboard, fiberboard, plywood and other similar materials.

However, if the walls of your building have irregularities, you have not yet figured out how to sheathe the pediment of a house with siding without a crate. The crate can be made with your own hands from wooden slats having a cross section of 50 × 80 mm. Reiki to the walls are attached with nails. When laying siding panels horizontally, the battens should be nailed vertically at a distance of 0.3-0.4 m from each other, as well as around windows and other openings, at all angles, along the boundaries of the panel placement zone.
Together with the installation of the battens, the wall should be covered with insulation. For this you can choose any material, for example, polystyrene foam.
It is possible to mount the siding with the help of galvanized nails or self-tapping screws. When siding the pediment with siding, in addition to the wooden crate, you can use a special aluminum profile. True, it will be much more expensive.
Direct installation of siding
First, set the starting line. To do this, follow these steps:
- find the lowest point of the old skin;
- using chalk and level (if there is no level, you can use twine and chalk), draw a marking line 4 cm above the level of the old skin;
- set the starting bar in such a way that its upper line is located on the line of the marking made, attach it to the wall.
Starting strips must be installed along the entire perimeter of the house. Recommendations on how to sheathe the gable siding, namely, on the fastening of accessories and the panels themselves:
- Vinyl siding must be beaten so as not to interfere with its probable thermal expansion or contraction. For this purpose, it is worth leaving a small gap (about 5 mm) between the edges of the panels and j-strips, corners or other fittings. If installation is carried out in cold weather (up to -10 ° С), the gap size should be increased to 10 mm.
- Do not attach the siding too tightly to the crate or the wall. Always leave a gap of about 1 mm between the nail head (self-tapping screw) and the siding panel. This will prevent deformation of the skin.
- Nails (screws) should be placed in the middle of a special mounting hole, but not at the edge. Otherwise, the panel may break. Arrange nails through 30-40 cm.
After mounting, all panels should move freely horizontally within the width of the mounting holes. To do this, hammer nails only at right angles!
- When sewing gables, each panel must first be attached to the bottom (or to the starting strip) and slightly pushed up until it clicks into place. Only then can the panel be screwed / nailed. At the same time, it does not need to be strongly pressed or pulled, it should stay on the mount, maintaining its natural appearance. Avoid over-tight mounting as well as loose-hanging panels.
- When installing various parts, the holes in the panels should be 5 mm larger than the diameter of the fasteners used.
When installing the outer corner, make sure that from above it does not reach the level of the cornice or j-bar by 5-6 mm, and the lower end extends beyond the lower ledge of the starting bar by 8 mm. Sometimes it is necessary to cover the upper (lower) end face of the installed external corner.The covers necessary for this purpose can be cut from the remnants of j-strips. After these blanks need to be bent and nailed to the wall, and later insert the outer corners into them. To carefully dock the siding with the window opening, it is necessary to install j-strips. The siding pediment is sheathed in rows of panels from bottom to top. For this, the lower edge of the first panel is wound behind the protrusion of the starting bar, after which the upper edge is nailed to the wall of the house. The fasteners of the next row should only be started when the installation of the previous one has been completed. If the dimensions of the selected horizontal panels are less than the width of your home, it is possible to build them in length using a special docking H-molding. People often ask how to sheathe the gable with overlapping siding. To do this, each subsequent panel is positioned so as to overlap the previous one by about 2-3 cm in length. During the installation of short panels in small openings, the vertical j-strips can not be nailed on top, so that when installing the panel, they can be bend a little. These slats are fully fixed when the short panels are in place.

On the one hand, each siding panel has a number of holes for attaching to the walls with nails (screws), as well as a protrusion of the “lock”, which is designed to ensure reliable connection of all panels to each other. On the other hand, there is a special longitudinal edge curved inward (this particular bend is the counterpart of the lock). When installing the overlap panels, the upper panel lock is first engaged with the protrusion on the lower one, and then the upper panel is attached to the wall base (lathing) with nails (self-tapping screws).
To create roof gables with your own hands, as was said from the very beginning, is not so difficult. And if you use the instructions in this article, it will be even easier for you. The main thing is to find yourself an assistant who can support the panels during installation, because they have a fairly significant weight.
Alas, no comments yet. Be the first!