
It should be noted that the correct operation of the weather vane directly depends on its proper installation. Most often, these household meteorological instruments that display the direction and speed of the wind are fixed on the ridge of the roof, or on the chimney.
Content
Basic installation principles
- The choice of mounting location is the highest point of the roof.
- It is important to correctly determine the location of the cardinal points for your home, so as not to make a mistake with installing a wind rose.
- The figurine chosen by you as the future decoration can be made of various materials. Along with the usual metal, you can use plastic or wood. But the main thing is the correct fastening. A steel tube is mounted on a vertical rod. The figure is located on the pipe.
- An important criterion for the correct installation of a weather vane is its free movement under the influence of wind masses. To do this, it is necessary to provide for the installation of a bearing at its base. To increase the sensitivity of the weather vane, two bearings can be installed. In addition to the basic functions, this will help increase reliability. Although now there are new technologies for the construction of the rotation unit.
Plate and counterweight are two important parts of a weather vane when determining wind masses. You need to think about balancing them in advance.
Recommendation: It is important to protect the rotation unit from moisture, otherwise it may damage the structure, which will stop the rotation of the wind vane.
Skate installation
- To begin with, the weather vane is mounted on a sleeve made of metal, providing free rotation.
- A bearing is placed between the end of the axle post and the sleeve (one or two depends on your choice) in order to reduce the friction force.
- If you install a special umbrella on the sleeve, this will be an excellent protection for the rotation unit. The sleeve is fixed to the central axis using the hole for the fixing screw. It will be in the axis of the ring output.
- To ensure free movement of the weather vane, the screw is mounted on a rubber gasket, which is placed between it and the sleeve.
- The following is the installation process for the coupling with pins. Their direction should coincide with the directions of the main compass division, which determine the direction of the wind.
- The flange is welded to the end of the axis. This will keep the structure on the roof.
Video instruction for installing a weather vane on the ridge of the roof
//www.youtube.com/watch?v=Rv2LN6J78GQ
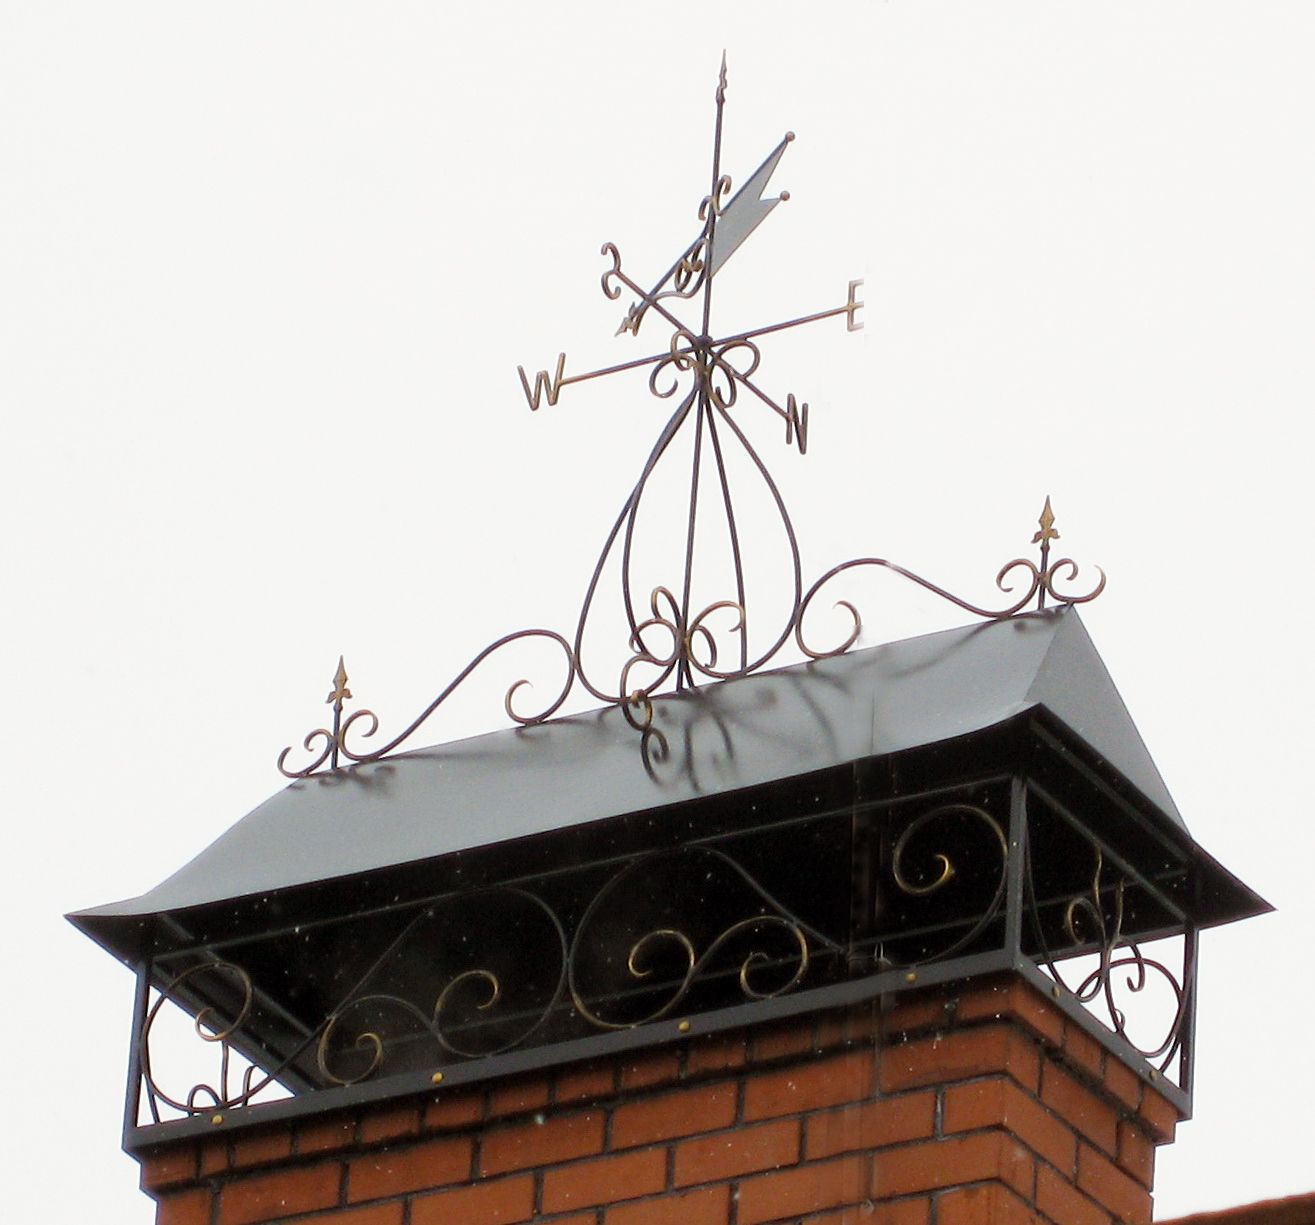
Chimney installation
Chimney design options:
- The node of the passage of the roof, as additional elements - a cone and an umbrella.
- Flyugar as a casing, which is a decorative cap.
- Vane on a brick pipe
- Vane
The second way to design the pipe head is to strengthen the protection of the pipe walls from destruction. When designing it, the roof slope, the diameter of the pipe and its height are taken into account.
Chimney head can be closed with a decorative weather vane. Some of its types can serve to protect against wind blowing and prevent the occurrence of traction in the pipe. Such a weather vane is coated with special powder paint to meet the requirements of resistance to ultraviolet rays and mechanical stress.
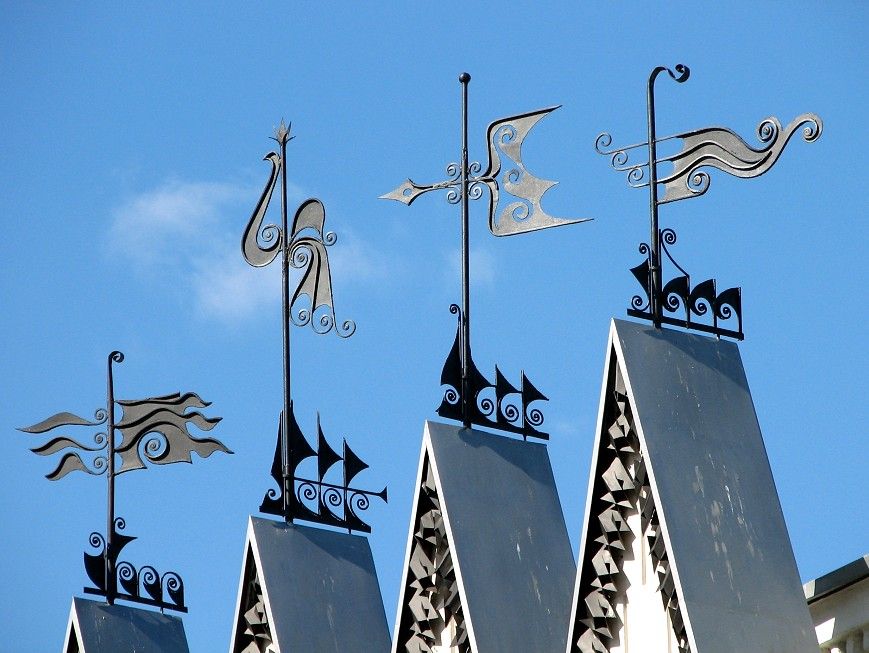
For the design of the chimney, wind-driven stoves are now being made, which serve to protect the brick pipe from the effects of precipitation, increasing its service life. There are several options for the implementation of such protection. They can have a flat, semicircular, two- or four-slope cover.
The material for weathercocks and weathercocks may be different, but necessarily resistant to high temperatures. Suitable steel is stainless or galvanized or copper coated with polymers. The color is chosen exclusively according to your desire.
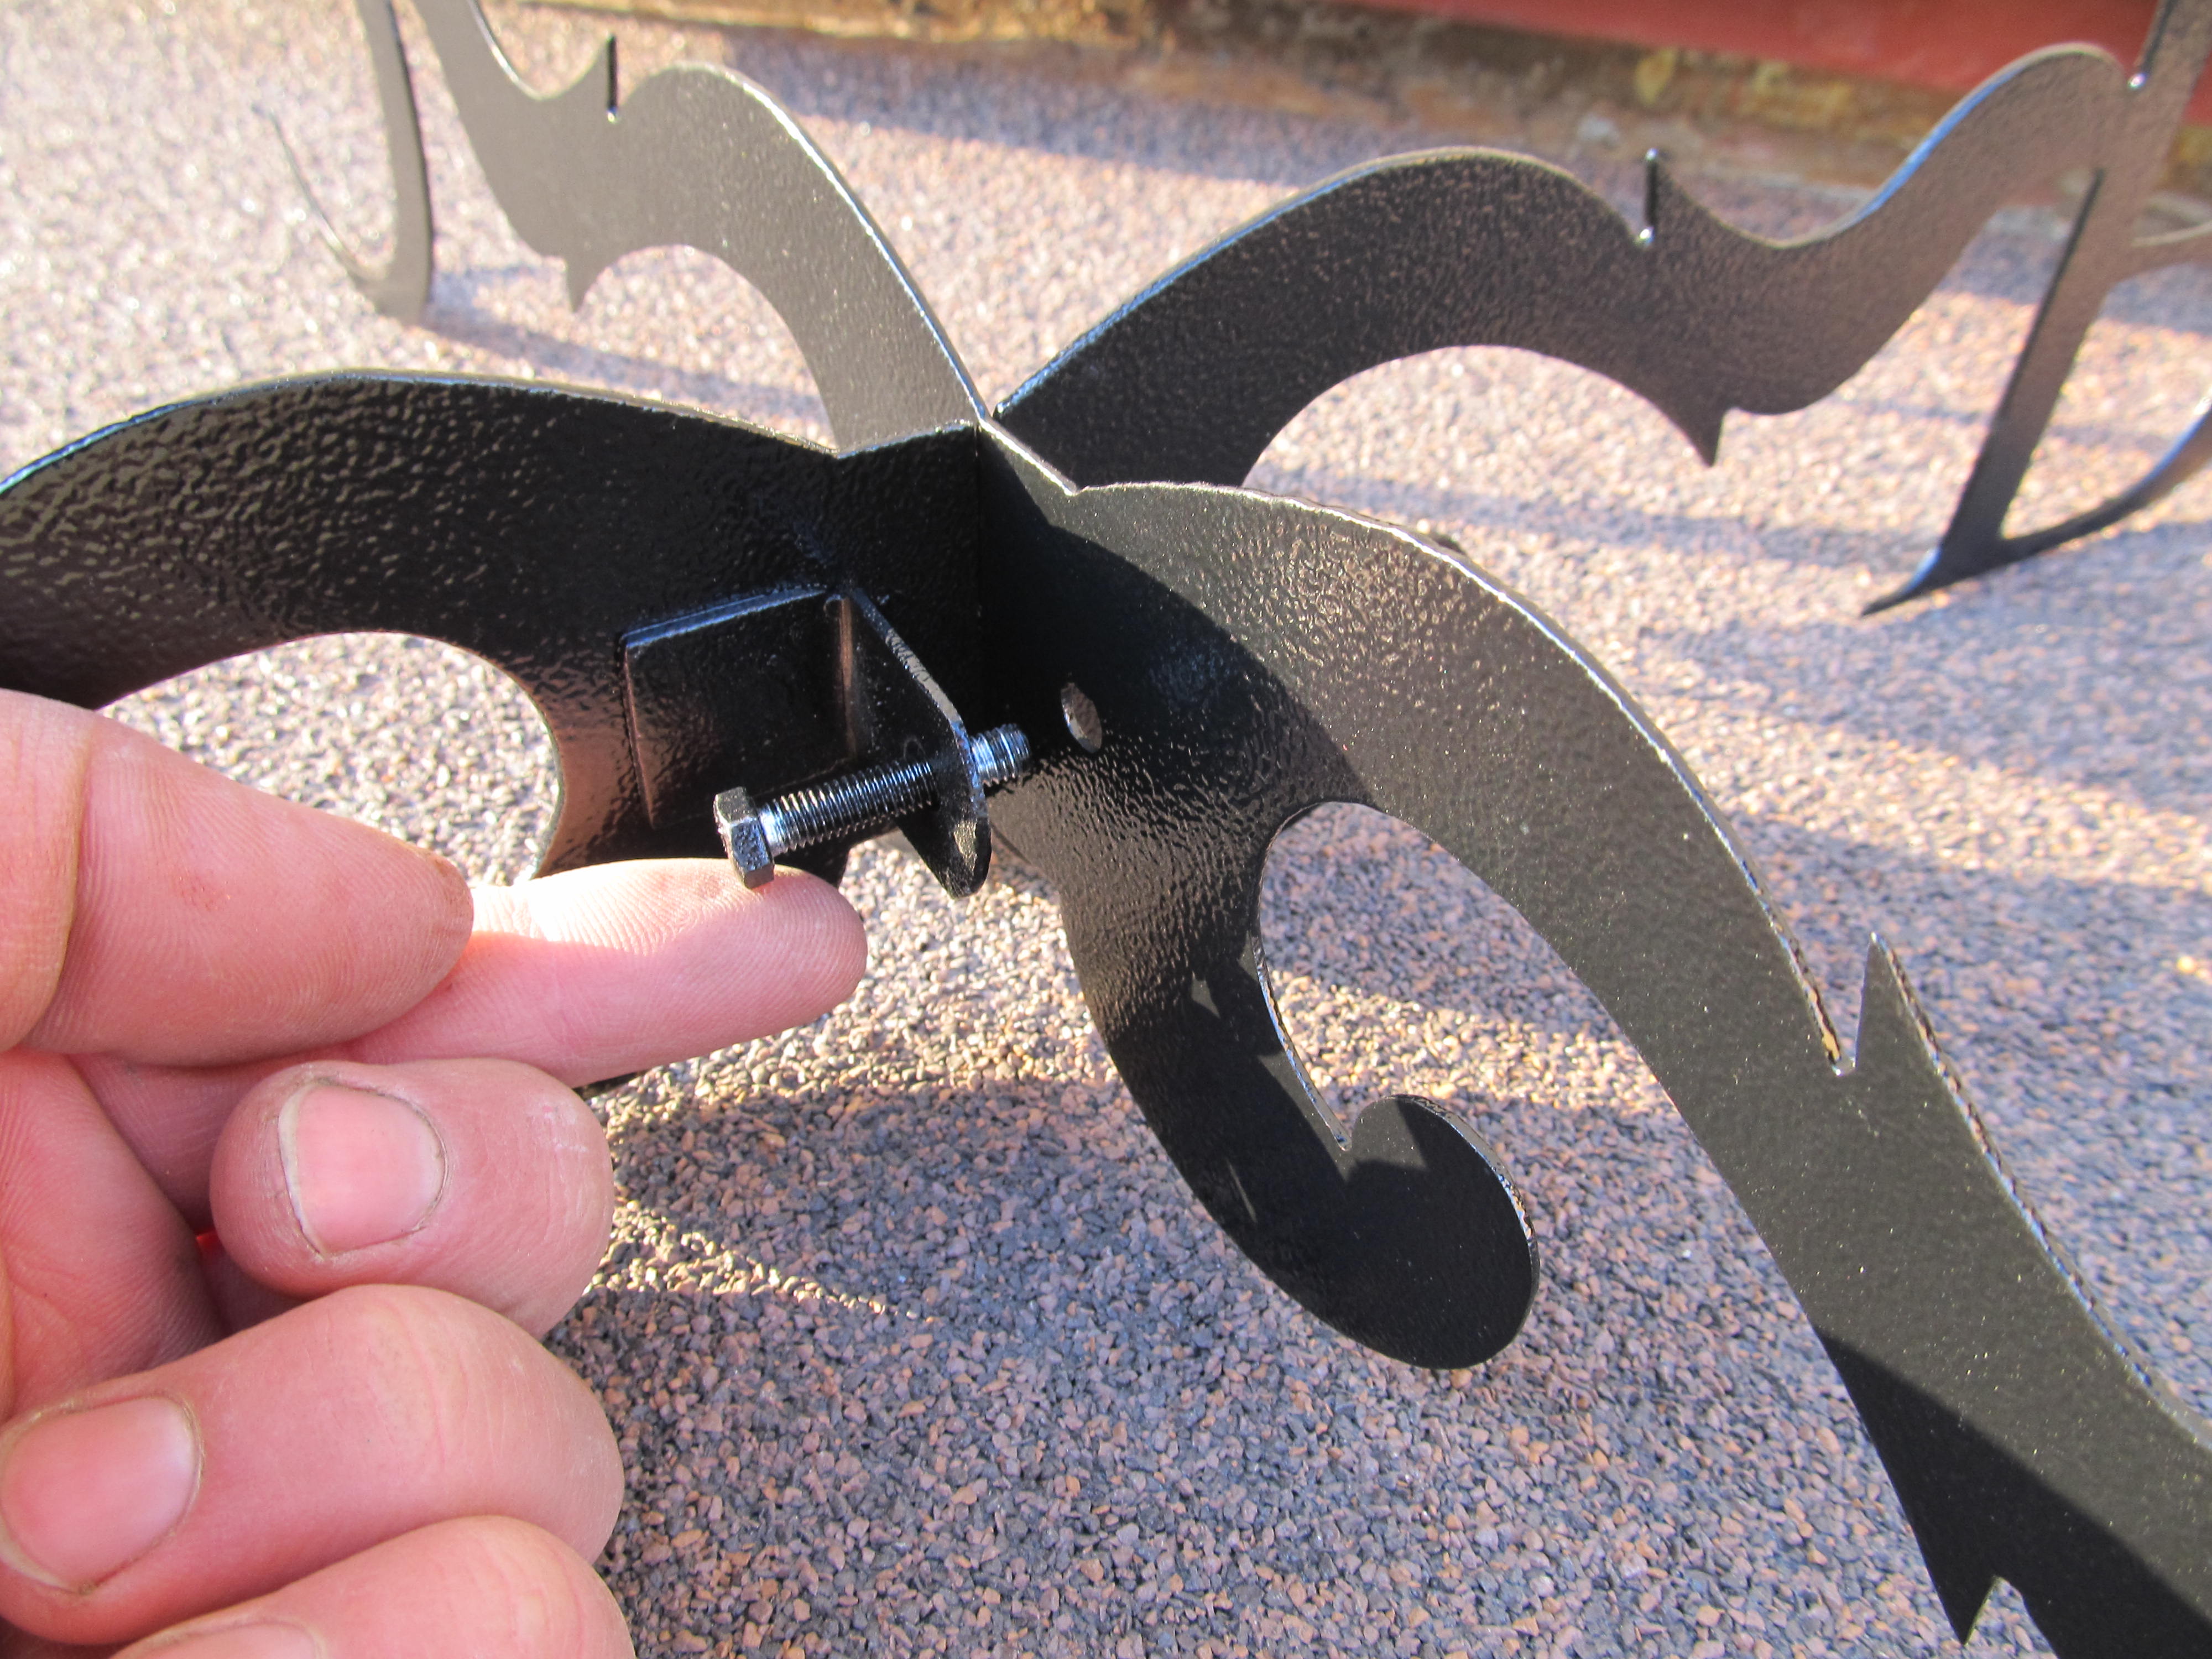
The installation process is as follows:
- The brace is mounted. It is a 2 cm metal strip.
- Next, install the bracket.
- Then the axis. For this, a hole is drilled in the cap with a diameter corresponding to the diameter of the axis.
- Then screw the nut and washer. The axis is twisted into a brace.
- Orientation of the rose to the cardinal points using a compass.
- At the opposite end of the axis, another washer and nut are placed. This will ensure a secure fit.
Alas, no comments yet. Be the first!