

Today, a well on a site is not only a source of water supply, but also a design element. Therefore, the appearance of the structure should be not only practical and functional, but also aesthetically attractive. And the roof provides, of course, attractiveness to the well. It is not necessary to hire specialists to erect this architectural element. A well shaft, a body and a roof for a well with your own hands are not at all difficult. In particular, if you get acquainted with the theoretical basis before starting work. In this article, we tried to collect all the basic tips that will definitely help you give your well a new roof. Give your well a new roof.
First you need to choose a style for the well roof. It should not stand out from the entire design concept of the site.
In the wells, the head and the roof can be made in different ways. The roof can be flat (flat) or pitched (peaked). Pitched roofs, in turn, are divided into single-pitched, double-pitched and tented. In addition, it can serve as a canopy, and can serve immediately as the walls of the house.

There is some design rule. According to him, the roof of the well and the roof of the house should be covered with one material and repeat each other with their shapes.
Content
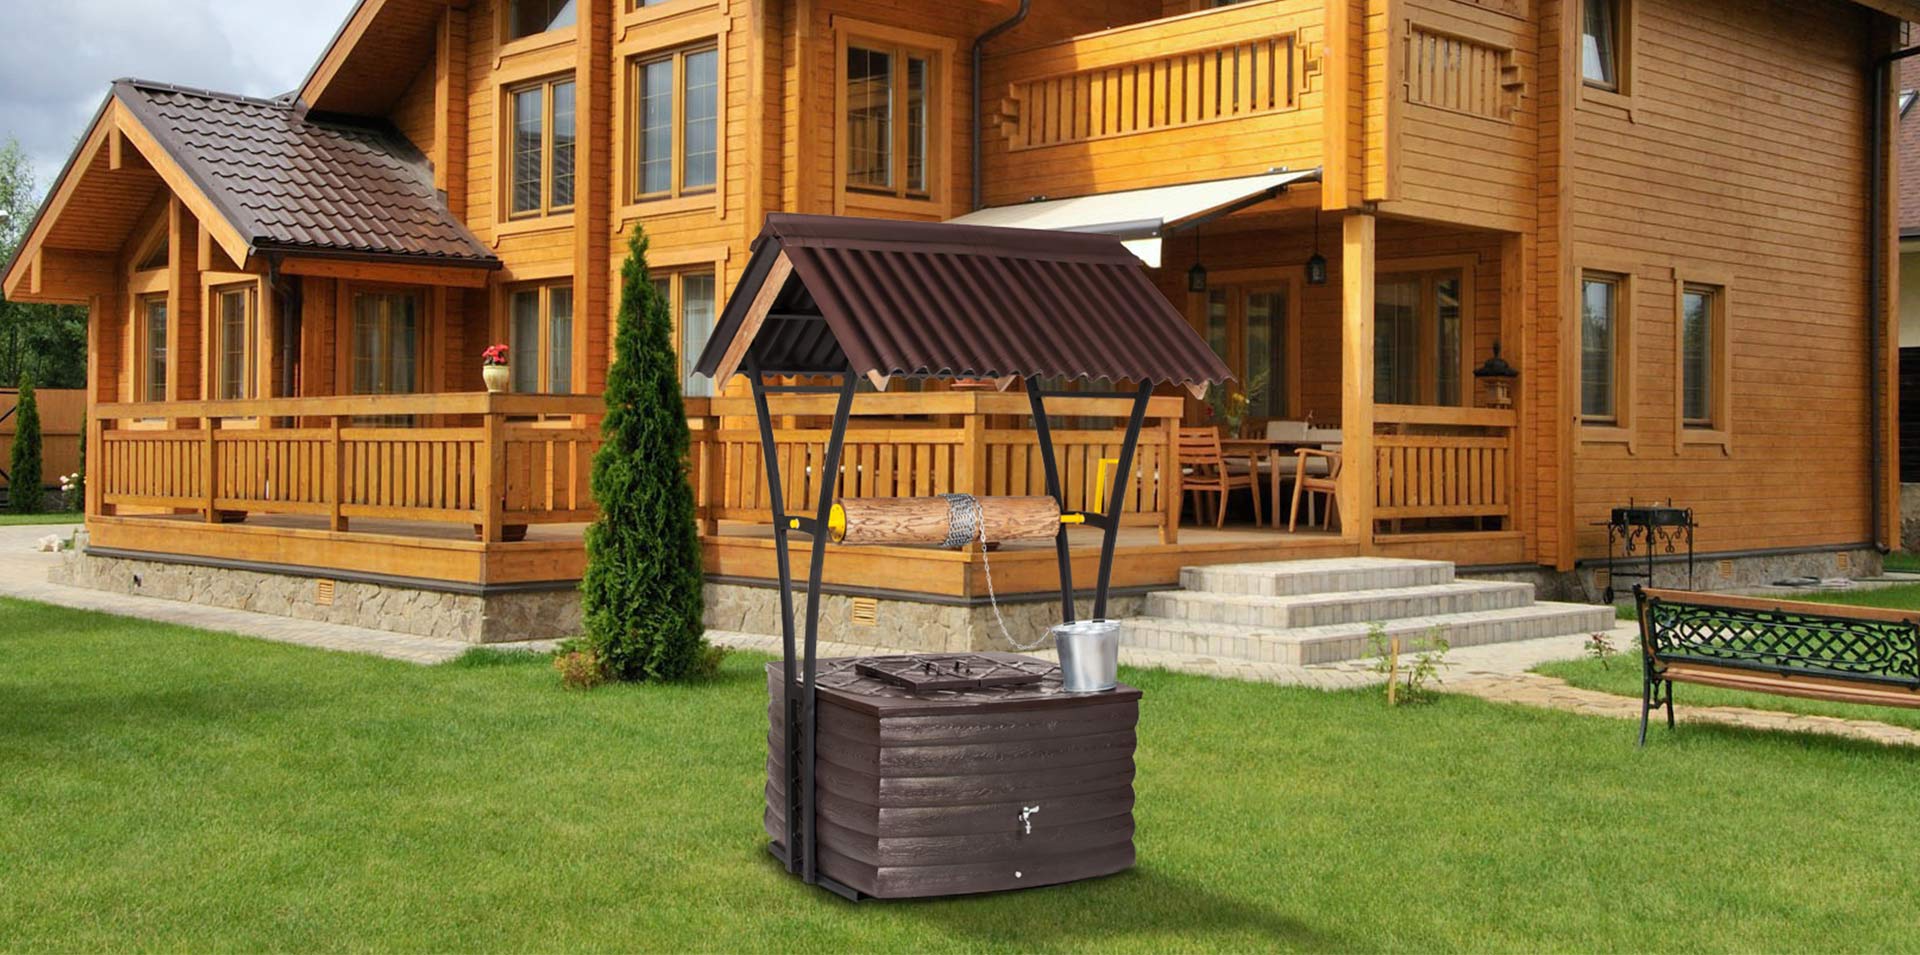
The roof must be combined with the well base
It is not difficult to choose material with which such a canopy necessary for a well can be covered in the modern market of building materials. This can be a tile of various types, metal or ordinary tes.
If your estate has a pronounced Russian style, then the well can be made in a similar design. Fill the well and the roof with a round log, which will be sufficiently varnished.
If you have wood carving skills, then the roof of the well will become a unique feature: do not limit the flight of your imagination! After all, then, you can decorate your well with various wooden motifs that make it fabulous.
If the well’s ring protrudes above the ground, then its wall can be decorated with a log house.
Materials used in the construction of roofs
For the roof, materials such as tiles, metal profiles, stone or slate can be used.
Roof tiles
There are four types of tiles. The choice of a particular type depends on the climate, personal wishes and the type of roof.
- Ruberoid tile for a roof. It is made of tar, felt and stones. Roof tiles are fireproof, economical, and a wide selection of styles and colors of this material is presented on the construction market. The tile is easy to lay and repair.
- Ceramic tile. It tolerates high temperature. It has a very attractive appearance, but in order to lay this material on the roof, some special skills are needed. She is very durable. But if it is still damaged, it is also very difficult to repair it. In addition, this type of tile is quite heavy.
- Roof tiles made of cedar. This is the very first type of this material. It looks very beautiful, has a small weight. But it has a high degree of fire hazard. And in order for the tile to always have an aesthetically attractive appearance, you need to regularly look after it. And this is very troublesome.
- Metal tile.The tile has such a structure that snow does not linger on it. And also it is processed with special solutions that prevent the development of rust. The price of such material is not at all low, but its properties are worth it.
Metal profile
Metal profiles today are very popular for sheltering roofs. And all because he has some valuable characteristics. Such as
- Simple styling:
- Durability and strength;
- Does not require regular care;
- Light weight;
- Resists atmospheric stress.
In the construction market of roofing materials you can find metal profiles made of aluminum, galvanized steel, titanium-zinc alloy or copper. The most common is a metal profile made of galvanized steel. The material from this alloy is economical in terms of material costs, convenient for installation. Sheets of steel on both sides are treated with zinc, which protects them from rust.
For a regular gable roof on a well, it is enough to use sheets half a millimeter thick.
The wave of the leaf can be in the form of a trapezoid, sinusoid or rounded shape.
There are some nuances, observing which, when installing a metal profile on the roof, you can significantly improve the quality of the structure being constructed:
- The metal profile sheet is attached with the crate in the places of the wave bend.
- Near the cornice and ridge, fastenings must be repeated in each wave;
- At the vertical joints of the sheets, the screws are attached in increments of no more than half a meter;
- It is better to additionally treat the joints of the sheets with silicone sealant.
- After three months after laying the sheets of the metal profile, again go through the fasteners and tighten the weakened ones.
Do not use scissors, gas cutting and a grinder to cut sheets.
Slate
This is the cheapest roofing material for today. And in terms of durability, it is not inferior to any modern material. The roof of this material is mounted on the crate. Bars or boards are simply nailed to the rafters perpendicularly. Each sheet should have a support of three boards or bars.
Sheets are stacked from bottom to top and from right to left. The sheets are superimposed on each other no less than 12-14 cm.
If the roof slope is more than 30 degrees, the sheets are laid dry. If the roof slope is more pointed, the joints of the sheets are lubricated with bitumen mastic.
The slate can be painted in any color you need. Use moisture- and heat-resistant oil paints and enamels. Before painting, slate the sheets of slate and only then apply the paint in two layers. Each layer should dry well.
As a primer, you can use ordinary drying oil. And paint before painting warm up to 40 degrees in a container with hot water.

Today, on construction wounds, you can find slate of various colors. Paint on slate protects the material from moisture and damage, and also increases the degree of frost resistance of the material.
In some countries, asbestos is prohibited, so many manufacturers already produce slate without this component. They add mineral and synthetic fibers to the slate. This material has the most aesthetic appearance. And according to some characteristics it is much better than asbestos.
A rock
This material is considered to be elite, especially if used in roofing works. As a rule, of natural stones, the most common material is slate.
This material is very durable and does not change its color or shape when exposed to the most powerful natural destroyers. It is not fire hazard, has a high degree of thermal insulation and sound insulation. The service life of this material can be calculated over centuries.
For roofing, the stone is processed manually. Each tile is polished, customized to the desired shape. The tiles are made in a rectangular shape with sharp or rounded edges. Similar tiles can be combined with forged copper products.
But with color in this type of material you won’t especially run away.As a rule, slate tiles have a grayish tint. But there are tiles with a greenish or reddish tint. But even with these sets of colors you can lay out a unique ornament on the roof.
Tiles are laid on the crate from the bottom up. Fastening to the crate is carried out with special hooks or nails.
If suddenly any tile got damaged or collapsed, then it is easy to replace it with a similar one, without violating the entire roof structure.
Today, manufacturers offer slate sheets of artificial slate. The color scheme contains a large number of color variations. It also increases the breadth of choice and various cut options. Artificial material is much lighter than natural and less fragile.
Roof options
Consider some examples of the arrangement of the land part of the wells.
Flowerbed roof
This type of roof for a well has another additional aesthetic function - it is also a flower bed. Do-it-yourself roofing a well like this is a process consisting of the following steps:
- Prepare the wooden posts. They must be treated with a special moisture-resistant composition, and the places that will be fixed with concrete must be treated with special bitumen mastic (approximately 75 cm). The length of the posts should be about 3 meters. Wrap the treated parts of the pillars with roofing material and secure it with nails or staples.
- Dig holes under the pillars. The depth of the pits should be approximately 1 meter 20 cm. The diameter of the pits should be 2 times the diameter of the posts. Pour sand at the bottom of the pits about 20 cm. Moisten sand slightly with water.
- Fill the concrete base with a width of approximately 30 cm. Let the base dry and (usually the next day) install poles. Pillars can be fixed with spacers.
In order to install the pillars exactly, you need to use plumb lines.
- Tables are poured with mortar to ground level. Allow concrete to harden.
- You can trim the pillars with a stone base. To do this, wrap the poles to the desired height with a roofing material and a special grid for plaster and, with the use of the solution, cover with a stone.
- Attach the upper crossbars to the post on the bolts; In a similar way, the lower ones are fixed. From the beam, make the transverse roof rails.
- Lay the OSB sheets on the rafters.
- Sheets must be coated with bitumen mastic. Fasten the layer of roofing material across the sheets, and another will need to be fixed across the bottom layer. Roofing material should be lapped.
- Make a ridge of the roof.
- Distribute a special drainage fabric over the roof surface and fix it on top with a plaster grid.
- Fill the roof with soil and plant the necessary plants.
Well house
It is more expedient to build a house for a well in regions with low winter temperatures and strong winds. Then the well will need to be insulated so that the water does not freeze. Make the walls of the well double and lay a layer of expanded clay or insulation between them.
- Prepare four columns with a square of size 15 * 15 cm in cross section. Pillars concreted into dug holes. The base of the pillars that will go into the ground, pre-treated with a moisture-resistant compound (you can use bituminous mastic) and wrap with roofing felt.
- Using couplers and brackets, fix on the rafter posts in two parts (top and middle).
- Perform the roof in the form of a lathing from the lining. Turn the laths of the lining down. Cover the roof with any material you need.
- In the middle of the posts, fasten the timber with holes. They are designed to secure the gate.
The hole for the gate axis must be made in the form of a cylinder from the sides, and the handle of the gate must be laid in the beam on top, like a groove. The holes are made smaller in diameter than the diameter of the axis and the handle.
- Glue the wooden plate into the groove.
- For the gate, take a dry log, the edges of which are trimmed with metal corners and secure with washers.
- Drive the shaft and handle into the holes. Bolt the handle onto the handle.
- In the front of the well, nail a wide board - a shelf for a bucket.
- Align the narrower boards around the perimeter. They can also serve as a frame for the door.
- Hinge the door.
A real house (not a house) for a well is needed if you have a hydraulic pump station operating from the well. Then not only the well itself needs protection, but also machinery. And you can’t get off with a simple house here. You can build a closed gazebo for such cases.
You can build a house without sheathing, that is, you just need to attach two pillars to the base and make the roof of an ordinary profile sheet.
Tent
The process of creating a tent consists of the following steps:
- Pillars are dug around the perimeter of the well. Better, of course, to concrete them in previously dug holes. Do not forget to process the digged-in part of the tree with bituminous mastic and wrap it with roofing material.
- Pull the canopy over the posts.
Danish well
This version of the roof superstructure is also suitable for abandoned wells and looks great as a design element on the site.

The proposed roof for the well has a stone base. Large stones are placed on the cement mortar. The inner diameter of the base should be 1m 20 cm, and the outer one and a half meters. Such a massive foundation should have an equally worthy foundation. The foundation in this case may be the concrete rings themselves, which are the walls of the well itself. You can lay a special foundation, which is laid on the depth of frost protection. Using the latter option, use concrete poles to a depth along the diameter of the well.
Outline the boundaries of the foundation and dig a small ditch with a depth of 20 cm and a width of 30 cm. Using a drill on the ditch, make holes 60 cm deep. Pour concrete into the holes and lay the first row of stones with cement mortar on the mortar that has not yet solidified.
Immediately in the process of laying the first row, two support pillars of timber are built into it.
Please note that for artificial "aging" of the masonry, it is necessary to add a little crushed stone to the solution.
Now it's up to the canopy itself. It is being built first on earth. The roof should have a triangular section and is ready-made mounted on supports.
For the roof you will need bars 5 * 10 cm. First, connect the rafters and the ridge with the lower bar, which is located longitudinally. Lay the resulting structure on the ground with one slope and, like the first, fix the second rafters. Secure the rafters with transverse bars.
On the supports on top, make special grooves for the ridge. Four roof supports with load-bearing supports are connected in a groove, and with roof rafters - with bolts.
But the roof still needs to be sheathed. For the first layer of the crate, ordinary boards or plywood that fit on the rafters are suitable. Then spread a layer of roofing material. Well, then any roofing material - tiles, metal profiles or slate. The ends of the roof just gently hammer boards.
Fix the roof on the supports and install the mechanism for raising water.
A few words about the mechanisms of lifting water in wells
Finally, we can not say about the mechanisms of water lifting, which are an integral part of the roof superstructure and are mounted on the roof supports.
- The gate is the most common. To make it, you need a log. Its length should be less by 5 centimeters of the distance between the pillars of the well, on which it will be attached.
If there is no suitable log, an ordinary beam with a cross section of 20 * 20 cm is suitable. From the side, attach a round plate to it and circle the outline. Then, using a jigsaw, give the bar a round shape.
From the sides of the log, drill a hole with a diameter of about 2 cm to a depth of 13 centimeters. As noted earlier, the diameter of the pipe of the handle of the shaft of the axis should be slightly larger. So the gate will be stronger.
It is advisable to secure the gate on the axis with washers. Around the middle of the log, a chain is attached.
- Crane.It seemed that these wells had not been seen anywhere for a long time. But no. A similar mechanism gives your architectural structure a special old Russian chic.
For this mechanism, you need a pole with a fork, where a long pole “crane” will be attached. Another wooden pole is attached to one end of the pole, the diameter of which is two times smaller. On this narrower pole and fasten a chain (short, about 1 m) with a bucket. And on the other end of the pole a load is attached, weighing more than the weight of an empty bucket.
If the well is equipped with this mechanism for raising water, then the well should be closed with a hinged lid.
Either the house or the lid must be equipped with a ventilation hole. It should be located either closer to the edge of the lid, or in the house - opposite the handle of the gate handle.
So, we examined the most important and necessary information that may be needed in the practical construction of a roof for a well in your suburban area. To avoid unnecessary costs, using the advice in this article, you can choose the right material yourself, install a house, build a gate and build a roof. And most importantly, you can do all this yourself without resorting to anyone else's help! It is possible that upon completion of the work, you will most likely feel tired, but it will be pleasant tiredness, spiced up with a sense of pride in your skillful hands. Do-it-yourself roof of the well is the dream that you can fulfill by reading the materials in this article. To the cause!
Alas, no comments yet. Be the first!